Sunchokes

As promised here is the full sunchoke blog post 🙂 that was talked about in my newly planned Fodder garden

Just another day on the farm's avatarJust another Day on the Farm

Yesterday in the bitter cold, we dug up a few plants worth of Sunchokes.

P1060351

Qouted from this site

Sunchokes, the vegetable formerly known as “Jerusalem artichokes,” are the tuberous roots of a native North American plant in the sunflower family — neither from Jerusalem nor related to artichokes — originally cultivated by Native Americans. The Oxford Companion to Food says that the plant was noted in writing as early as 1603, when Samuel de Champlain (the same guy Lake Champlain is named after) described the root as tasting “like an artichoke,” ostensibly starting the naming confusion that has plagued the vegetable since its European debut.

Things get even weirder, etymologically speaking, because in much of Europe, the vegetable is known as topinambour (or some variation), a corruption of the name of an indigenous Brazilian tribe that was on “tour” (I won’t even comment on that one) in France at the…

View original post 636 more words

Posted in Life moves on daily | 2 Comments

Planning a new livestock Fodder Garden

The biggest move over will the comfrey, I have at least 15 plants to dig, split into two or four and replant them. I will be replanting 30 to 40 Comfrey plants into the this new fodder garden.


This will still leave me my main two rows of comfrey for use this year but it will up the production in a massive way on this plant on the farm.

I want to be able to take out many more baskets of freshly chopped comfrey leaves for the farms livestock. I still need to produce enough to do all the garden use I do. This area is one of the few that its spreading habit will be a good thing.

When I have enough I feed it out typically at these rates The chickens get 3 oz per bird per day, the piglet get a pound per day, the weaned lambs get half a pound per head working up to a pound per day, the milking rabbit does get a leaf a day and the milking sheep a goat can get up to two pounds per day.  Comfrey is a plant that has a long history as fodder plant.

The second big row that is having a line of transplanting will be nettle roots, Nettles are outstanding as livestock feed for use in winter and or use with my milking animals. This area is not for fresh use, its totally for harvesting, drying and outside summer use. I have enough now to meet my fresh needs, the household year round needs, and the garden-livestock fresh summer needs.

What I need is more dried for livestock needs and I need to have a larger area so that I can start digging a percentage of roots for livestock use.

The third row will be digging out my current Sunchokes patches and doing a clean up and replanting of all those extra roots that will create the 3rd row in this fodder garden. I am going to share a great post I did on Sunchokes back in 2016.  I am after the greens of this plant for fall fodder and the roots for barn use into fall-winter as fodder.

The last row in the area will be a annual.. sunflowers. Black Oil Sunflowers.  I have grown the big Russian sunflowers on the farm over the years but I want to increase the Boss use on the farm as a fodder, so I will be adding in a second sunflower growing area.

These four will be the backbone of the new fodder garden. The best perk of these is that it will not cost me a dime to do the planting of these. I have all the plants, roots, and or seeds needed on the farm or in my current seed storage. That is outstandingly frugal in its own right.

This post is part of the 31 day challenge on what are we doing to increase our self reliance, the most I can grow, harvest and use fodder that is raised on the farm, the less I need to buy off the farm.  What will it cost.. time of course

Still the plants are at the point they need to be split, or dug and replanted so this is just taking a job that already needs to be done and turn it into very productive replant that will return year after year.

What do you grow on your homestead that is used to help reduce costs and feed your livestock? Beyond the normal of pasture or hay or if you really have a larger farm, your own grains. For those that have limited land, we need to get more creative on what we grow to help in this way.


Posted in 31 Day Self Reliance Challange | Tagged , , , , , , , , | 2 Comments

Dandelion Flower Fritter Balls Recipe

Just another day on the farm's avatarJust another Day on the Farm

Ok so Dh had a busy morning, it had started to rain, I had made the bread, another batch of nettle tea, had the lilacs in their jars or in the drying trays, same with the spruce tips, and hoping the rain would be enough that we would not need to water in the newly planted rows and Dh decided it was a nap time.

So I snuck over to Farmer T’s for an hour and on the way home, could not help but notice and admire the awesome perfect Dandelion flowers on the way home, somehow a dozen the biggest and most perfect were picked and brought home with me..

2012-12-24 238 (500x375)

Soon the kitchen and our tummies were enjoying the yummy taste of little bitty fritters..

2012-12-24 241 (500x375)

This recipe is so easy, that I am not sure it should be called a recipe, and in order to make it the way…

View original post 200 more words

Posted in Life moves on daily | Leave a comment

Preparing Dandelion Flowers for future use

Dandelion flower are lovely to use in a number of ways. You can add them to honey to make Dandelion honey. You can add them to butter. You can add them to dough and make cakes with them or mini doughnuts. You can use them to make Tea or in meat glaze.

The key to really enjoying this amazing flower in so many ways is the careful prep work that needs to be done to harvest the flowers. Far to often folks will tell me they tried them and found them bitter.. that is because they often dip the whole flower in batter and fry it as that seems to be one of the most popular things you will find on the net as a way to try them.

The problem with this is that green is left on the flower itself and that is where that bitterness comes in. It certainly will not hurt you in any way.. after all we can and do eat the leaves as greens, fresh when young an tender and blanched when older. That is the issue by the time the plants are in full flower, the greens are in full mature stage and therefor if you were going to use them, you would be at the blanch stage.

So in order to enjoy the rich and full bodied taste with its sweetness in regard to the flowers they must be prepared properly, it does take time but its not that bad as long as you are working with nice big flowers, it adds up fast in the bowl.

Step one -Pick Flowers, if possable pick in the morning but after the dew has come off, you want the flowers open but still fairly tight together, if you pick in the heat of the afternoon, they will be more open and just a touch harder to work with,  This photo shows what I consider a perfect picking flower. After picking let them sit for ten or twenty min to help get the bugs out.

Now the more green you have, the more undertone of bitters to the dish you will get, so here is me showing how i pull the flower part out and leave the rest behind.

lovely pile of sweet flower petals waiting to be made into syrup, jelly, mock honey or in this case, put into a jar of honey itself for later use.


Leaving you with a mass of lovely flowers bits..

Fill a glass jar, be it either pint or quart, boil your kettle and pour boiling water over the flowers, push the top ones down with a spoon and allow to sit overnight (you can do it for a min of four hours and go but I prefer to do it, cool and then store it in the fridge overnight) I strain the flowers out the next morning..

Measure your liquid, then get out your Powdered Certo box, find your basic Jelly Recipe and follow the amounts given. Please use the powdered Certo -not the liquid kind.

The second way to make it is to make a simple syrup, which is one cup of sugar to each cup of flower water, bring to a boil, simmer at the boil a min of 3 min.

Follow all regular canning rules, clean your jars, heat your jars, fill with just boiling syrup, clean the lip, put the lid and ring on, just to finger tight and then water bath can for 10 min before cooling and storing them.

The syrup works in many way, can be used to make a lovely flower tea, can be used in bases for salad dressings or used for meat glazes. This post is a mix up of three older posts on this very subject. I re-used photos from a number of other years.  I am sad to say that its to early here on the farm for flowers yet but I know that many other places will have their lovely first spring flowers to use.

I will be doing second follow up post of how to make Dandelion flower Fritter Balls.. Enjoy exploring this “amazing” weed in your kitchen 🙂


Posted in 100 mile diet, 31 Day Self Reliance Challange, Food Production and Recipes, frugal | Tagged , , , , , | 3 Comments

Wild Violets Uses

There are folks that consider these weeds as they freely grow in my local area, so I would consider them a “wild” harvestable food. The perk of this, is that you should be able to find yourself some of these for free to transpant back into your own yard and garden.

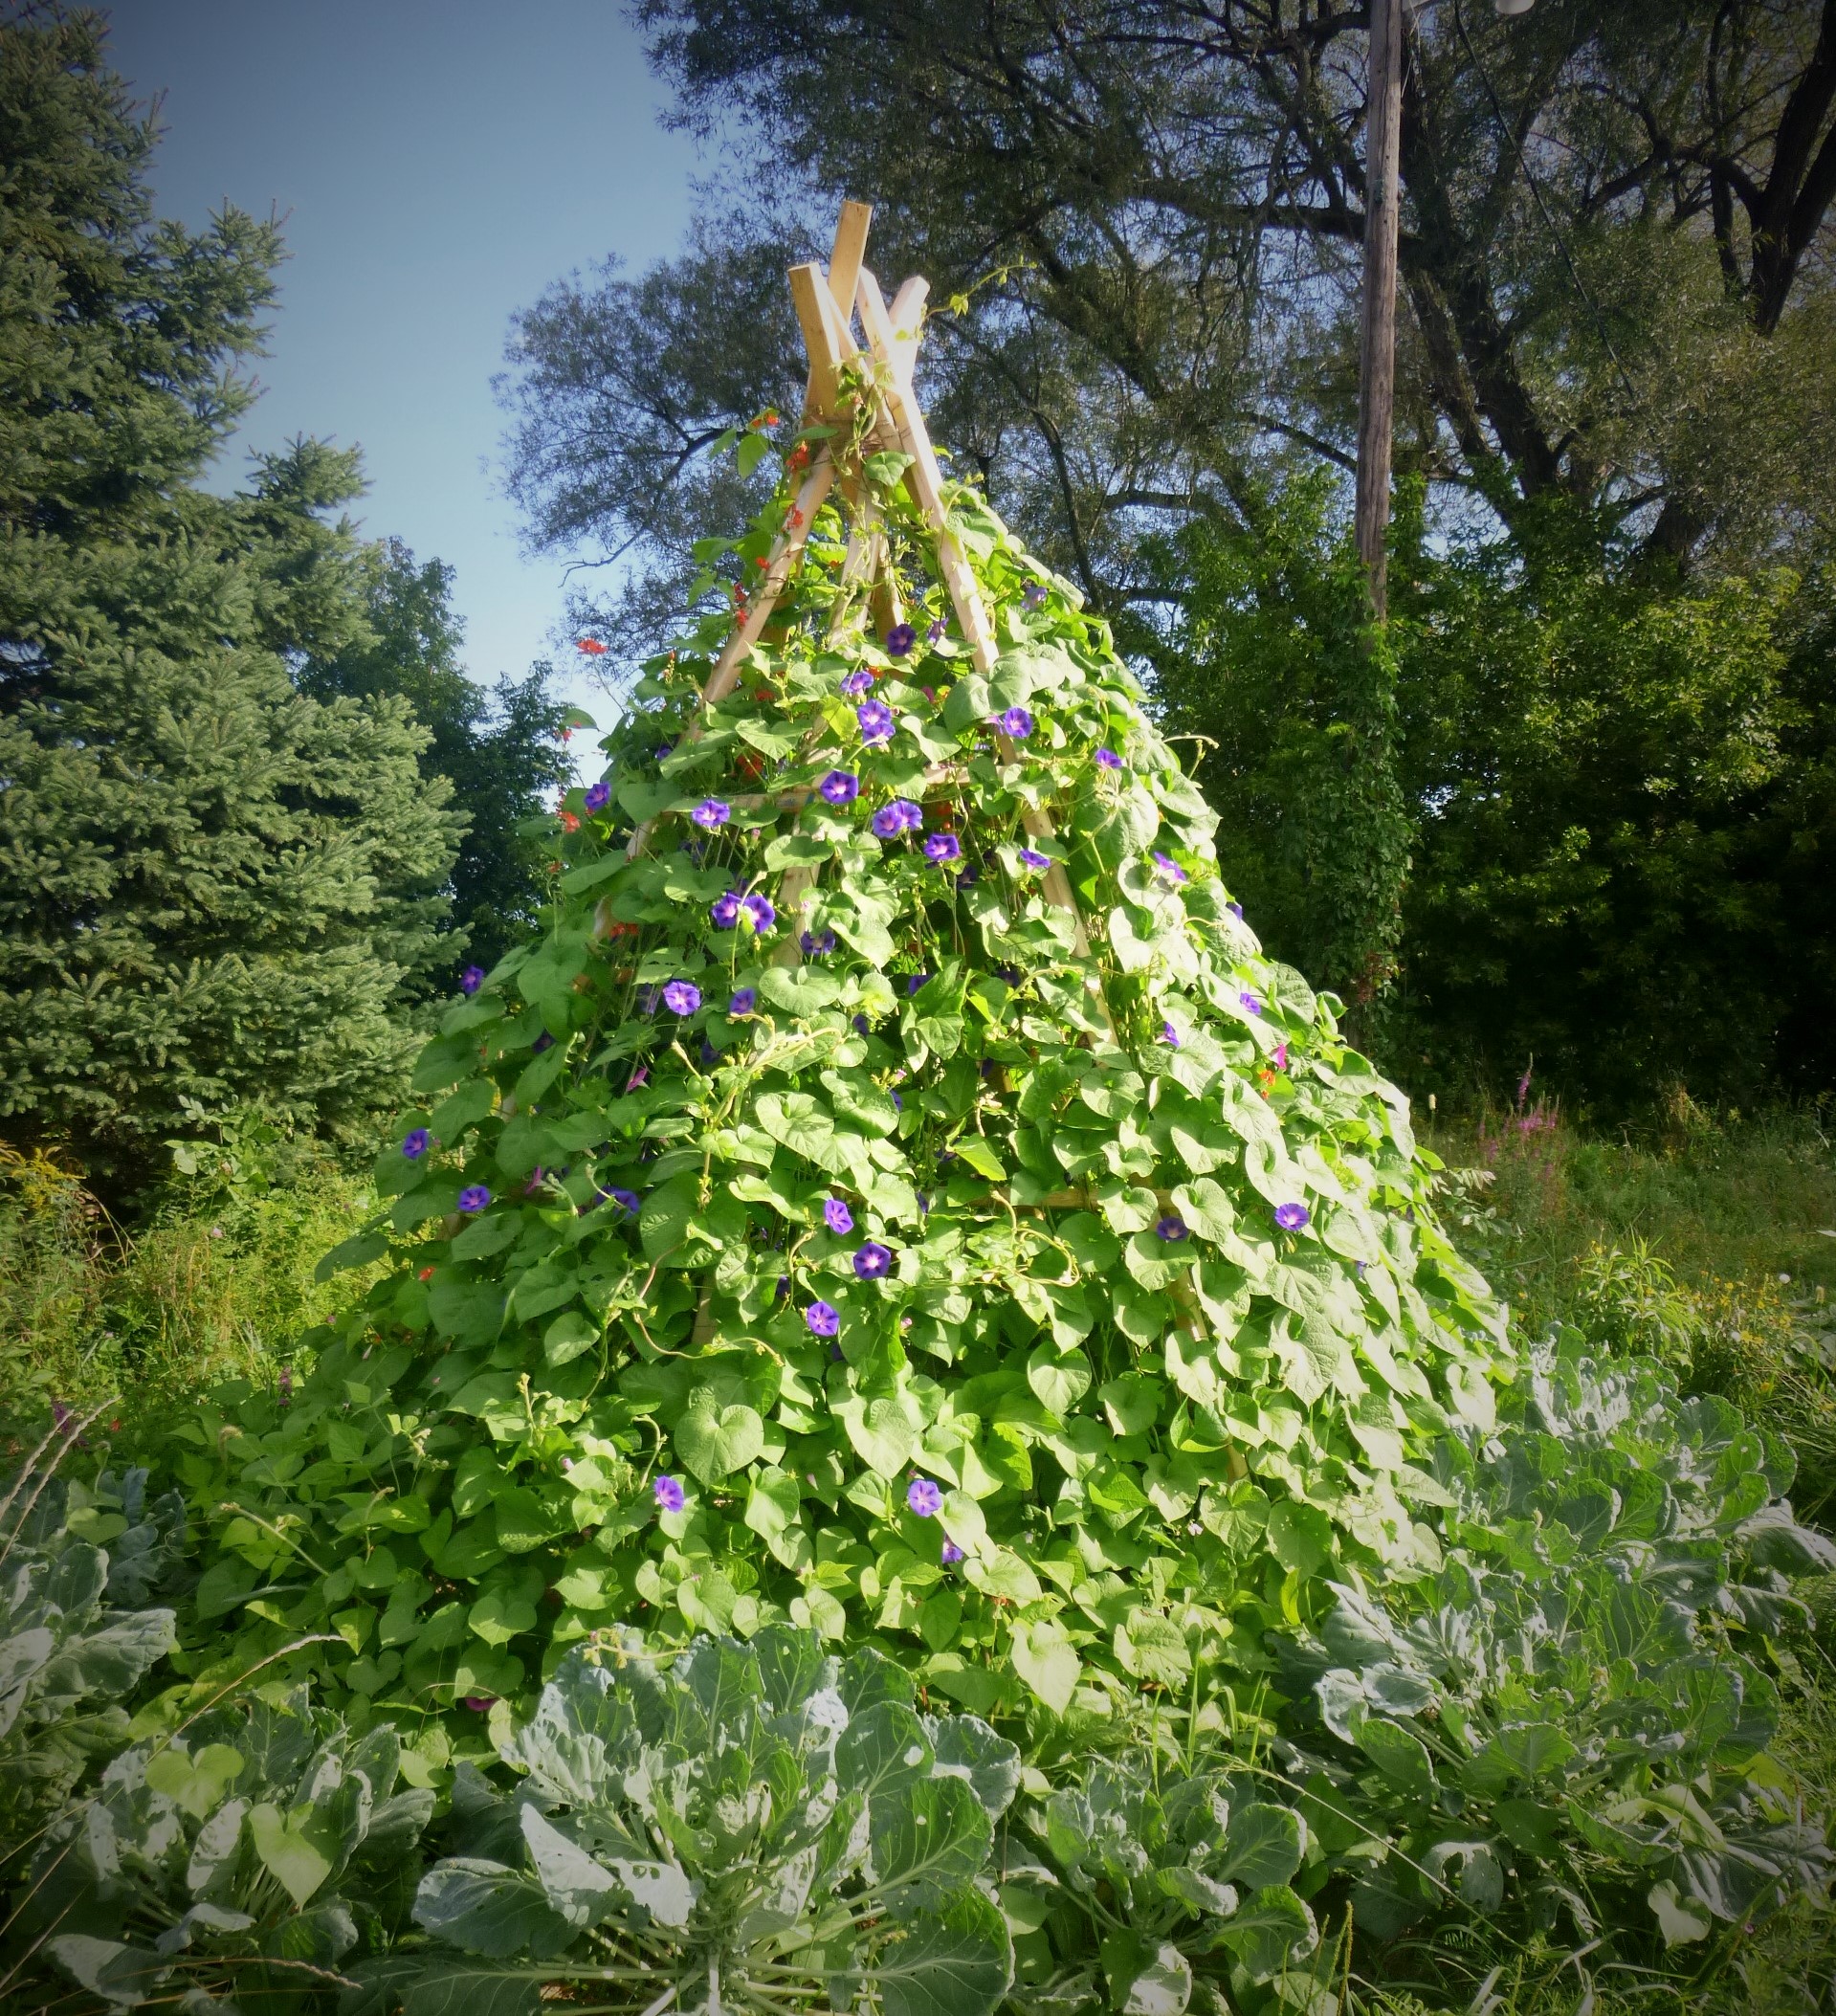
Warning: These hardy plants spread rapidly, and so plant them where you can mow around the edges or in a area that you don’t mind if they take over as a lovely ground cover. They do well in shady areas under tree’s but are tough enough to handle most conditions. As with all edible flowers, use ONLY varieties that have been organically grown and never sprayed – and do not eat the African violets, they are not the same as wild Violets.

Leaves are heart shaped attached to long petioles, Five petaled purple or blue flower with white centers. Spread by short, branching rhizomes, typically in bloom from May to June in my  %a garden zone.

According to “Stalking the Healthful Herb” by Euell Gibbons, violets are “nature’s vitamin pill” containing 150mg of vitamin C per 100g of blossoms, three times the amount of that in oranges weight for weight.

Both the leaves and the flowers are available for use. I do not eat the leaves personally but I use them a lot in my healing salves

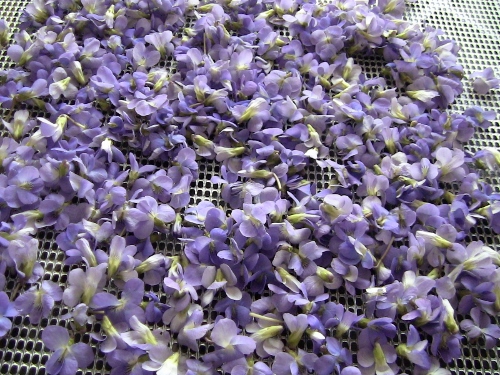
When making Violet Tea used fresh or most often dried.  I use a 2 to 1 portion, so 2 tsp of dried leaves to 1 tsp of dried flowers. The flowers are in bloom for a very limited time. If you are going to make the tea, cut and dry and then crumble them for rest of the year use will work well.

Wild Violet flowers and greens with a fresh dippy farm egg for breakfast

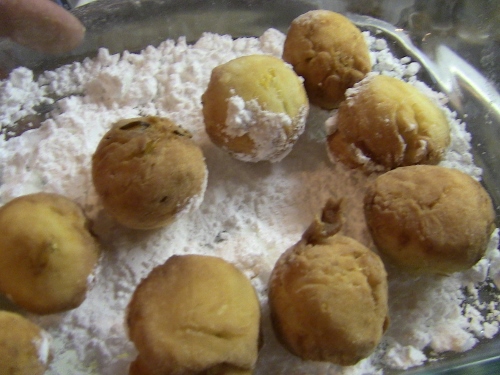
However the real treat is the flowers, there are all the regular uses, you can make them into candy Violets, you can use them as color in salads or you can put them into sandwhichs fillings for extra color and for the health benefits

You can make Wild Violet Vinager (as you can with any other safe flower) by filling a jar half full of clean picked flowers and then covering with a light white vinager (rice, white wine or white), and flip up and down once a day for three days, strain out the flowers and bottle, will keep for a full year and can be used as a flavored vinager for dressings/salads etc.

Of course you can make Wild Violet jelly or syrup,

My Basic Flower Syrup, pick your flowers and use only good quality fresh flowers, and into the jar they go, covered with boiling water, let steep for a full 24 hours, then strain and measure, I personally like to reduce my flower water by half a very slow simmer, then measure again, at this point, I make a simple one to one sugar syrup, so if you have 1 cup of flower water, you match it with one cup of sugar and one tbsp of lemon juice, boil till its a thich syrup and into hot clean jar, if you are going to use right away, allow to cool and into the fridge, if you are making for later use, hot water bath the jar for 15 min and then cool and store in a cool dry dark place, will keep at least year.

Now what are you going to do with that amazing Syrup, how about a lovely Wild Violet tartlet? Now you are going to have to be a little creative on this because its another one of those Farmgal recipes but I will do my best to share how I do it, if I miss anything, please ask.

Enough of your favorite pastry for 12 tarts, you can use basic or you can use a sweet dough recipe, both will work well.

Preheat your oven to 350 C and then take about a tsp of room temp cream cheese and put it in the bottom of the tart, press to be fairly level, drizzle in at least a tbsp or two of Violet Syrup over the cream cheese, bake for about 12 to 15 min till pastry is golden brown and the middle is bubbling hot. Find twelve of the most perfect Violets flowers you can find and when the tarts come out, carefully (they are hot) place the flower dead center, pushing gently, the syrup will be sticky and they will become a colorful centerpeice on the tart.

Allow to cool and serve on a plate with a dollop of whipping cream on the side.. this is a treat in so many ways, first its just plain awesome in taste!, second its a wonderfully dressy little show off peice for a special event or fancy afternoon tea.

The violet syrup can also be served over shaved ice for amazing slush on a hot summer day, or it can be used on pancakes or waffles, its excellent when added in to your standard lemonade, it gives it a wonderful twist on the basic flavor.

So do you have this wonderful plant in your backyard? Do you harvest its flowers for use in the kitchen? Have you found a great way to use those green leaves? What is your favorite recipes for using the jelly or syrup?

Posted in 31 Day Self Reliance Challange, food, gardens | Tagged , , , , , | 3 Comments

31 Day Self Reliance Challange Intro

Hello Folks,

I am to introduce myself today. When I started the blog it was normal to have a handle, which why I am now known as FarmGal


However real name is Val, feel free to use either. I am 45 and am coming in on 14 years on the current farm we live on. I have five acres that belong to the farm, and I have been “gifted” use of six wooded acres across the road with creek. I also have permission to forage, plant and harvest and ride my horses in all the local hay fields ( which adds up to close to 200 hundred acres at least) I am within easy walking distance to a creek and short ride or drive to the bigger river.

I was raised in Alberta either on small farms or in the northern bush area’s, I moved to the Rockies for a while in early 20’s and moved to Yellowknife NWT for a year before moving to Iqaluit, Nunavut for almost six years before coming to our current farm.

I have lived, worked, hunted, foraged in all the places I have lived. The farm is a mixed farm, we have livestock, garden, fruits tree’s and 3/4ths of an acre of mix food hedges, food forest, permaculture, livestock fodder producer etc.

I teach classes on canning, preserving and other homestead skill sets from making cheese to milking sheep to starting seeds to saving seeds and so forth.

We raise a beef calf from week old till butcher weight once every two years, we raise a pig or two yearly. My largest flock is my sheep and a smaller herd of goats, we had a milk cow for a few years but that did not work out.. Sheep and goat for milk is much better fit. We have meat rabbits, ducks, geese, turkeys, chickens, red wigglers worms, mealworms.

We have lots of gardens.. so many gardens… I love our 12 foot bean teepee with its outer garden ring.

I do my own butchering and processing of the livestock raised for our own use and I send out if we are selling at farm gate, as per the law locally.

So now I am to talk about what I want to do on this challenge. I am keeping simple here so that I can make sure I will make happen. I will do at least two new content posts related to homesteading on some way weekly, I am going to pull out my most popular posts over past seven plus years for at least two days of the week.   I need to do a weekly round-up.. anything above that is gravy 🙂

Now what are my goals?

  • Build one new hugelkultur bed
  • Butcher out rabbits and one yearling goat
  • Cross fence at least one more line to make another smaller paddock
  • plant at least two new fruit tree’s
  • Start new fruit bushes ( I want to put in a new row of elderberries)
  • Plant the main garden

If I get that done on top of all the regular farm work, I will be very happy. Is there something you want me to cover?

Posted in 31 Day Self Reliance Challange | Tagged | 11 Comments

Creamy Dock Sauce Recipe

One of my first plants that is up in the spring is Dock, I have a few different kinds of Dock plants in my front bed, this bed is always melts out much faster and heats up and is very dry in the summer. However the dock is the first harvest from the garden for 2018.

Dock has a light lemon taste to me, the young fresh leaves are far less strong or tough compared to later in the season, this plant’s leaves can get upward of two feet when mature, if you are going to use older leaves, take out the ribs and just use the leaves but for fresh early like right now, I use them both, leaves and stems.

It can be used to make a lovely Cream Sauce that goes very well with Chicken or Salmon. In this case I make it to go over pouched chicken breast, Mashed Potato’s and Roasted Veggies. It was a solid 2 thumbs up from Dear Hubby which is not easy to get LOL

Creamy Dock Sauce

  • 2 cups chopped dock leaves (see above, fresh young leaves, picked, washed and coarsely chopped)
  • 1 cup whole sheeps milk or 1 cup light cream
  • 1/4 cup of Parm cheese-grated
  • I clove garlic -diced
  • Salt and pepper to taste
  • 1 tbsp butter

In your pan, add your butter and garlic at med heat till its cooked, then add your prepared 2 cups of chopped dock leaves, cook till wilted. Bring your heat down just a touch and add in your rich whole sheeps milk or light cream or if you want to go full out, heavy cream.  Bring it up to a very soft simmer, stirring often.. Add you cheese and allow it to naturally slightly thicken. Add salt and pepper to taste

This was served over the pouched chicken breast and on the mashed potato’s. It works for either or both very well indeed.

Lots of people try to eat dock fresh in salads and then believe they don’t like it much, if you think of it as a “lemon” Green in your cooking, it will open up idea’s on how to use this plant.


Posted in Garden | Tagged , , | Leave a comment

31 Day Self Reliance Challange

Follow along as we share posts to help you:

Save money and energy
Raise animals for meat, eggs, and dairy
Grow fresh food in your own garden and orchard
Cook healthy meals from scratch
Hunt and fish to provide for your table
Create your own bath and body products
Preserve the bounty of your homestead
Forage for wild edibles and medicinal plants
Provide a healthy life for your family and pets
Take on DIY and home craft projects
Prepare for emergencies
Live an abundantly simple life!

We would love to have you join the challenge and share your own steps to self sufficiency . Follow us and share your self reliance methods, tips, goals, and dreams! Be sure to visit the other bloggers and read about their self reliance journey! You can follow along each members blog or other social mediums be it Facebook, twitter or more.

If you would like to join in this challenge, please go here to fill out the form on her site

Please check out this outstanding bloggers that are joining in the challenge. More might join as we go along.

Lisa Lynn – The Self Sufficient HomeAcre

Maria – Maria Zannini

Frank – My Green Terra

Shawnalee – Homegrown Self Reliance

Ashley – Practical Self Reliance 

Candy- Candy’s Farm House Party

Robin- A life in the wild

Kathi – Oak Hill Homestead

Nancy- Nancy on the Homefront

AnnMarie- 15 Acre Homestead

And myself.. Just another day on the farm 🙂

I will be writing new content for this challenge. However I am also going to bring out of off my most popular homesteading and related posts over the blogs seven plus years history. We are asked to do a one week round up and sharing of other blogs favorite posts, I am looking forward to getting to know these new bloggers. We never stop learning 🙂


Posted in 31 Day Self Reliance Challange | Tagged , , , , | 2 Comments

The Flock and Scrub Spruce

We took down three Scrub Spruce that had grown up in the wrong place and needed to be removed.

They were cut down and hauled down to the big barn to be thrown in the pens for the goats and sheep to nibble on. Spruce needles are exceptionally high in Vitamin C
They contain carotenoids an are rich in minerals such as potassium and magnesium.

I have heard that its possible that this can also do a light deworming, I have heard positive things in this regards including a girlfriend that does her own fecals and has checked before and after use.  I have not done so, but I do believe that it is a very good for their overall health and that can only be a good thing 🙂

If I had true growth in the pastures my sheep and goats would not be very interested but that is not the case, they are getting fresh air and a bit of time out while I am doing chores but otherwise they are in dry lot due to both the rains (wet pasture) and the fact that the pastures are just starting to grow up now. Add in that I have done some re-seeding and I need to keep them off the land itself.

I am pleased with the growth rate on all the babies but I will admit that I know they would be doing even better if I had them on pasture. Its going to be a tricky thing this year, I had so many losses last year that so far this year I will not allow the flocks out without being with them. I am not sure how that is going to work for the whole season. Hubby says we are going to make a smaller paddock that is very safe to give them a bigger outside loafing area and then use hot lines as we rotate them around the pasture, he is hoping that just as the hot lines will keep the sheep and goats in, they will keep the coy-wolves out. We will see.  I do not want to lose a single lamb or kid this year.

We didn’t forget Red the pig, when we were digging out wild parsnip, coming second year burdock roots and such.. it all went into big old 6 gallon buckets and three were hauled down and given to him to enjoy.

I have a lot of clean up this year in regards to brush clearing, and I intend to harvest them at the best time possible to use them as fresh tree hay for the flock.


Posted in Critters, frugal | Tagged , , , | 15 Comments

Forage “Daylily Spring Leaves”

I have talked about those old fashioned orange flowered Daylily’s before. I love to harvest their flowers for both fresh eating and to dry them for year round use.  I have talked about harvesting the tiny but bursting flavour of the spring or fall roots that can be harvested.

Daylily spring leaves rice blend

However I have not shared about eating the first early spring leaves. I do not like to harvest leaves on my own plants here on the farm. I am after them growing as fast as possible to get to the point of giving me the flower buds for eating.

So that means that I like to Forage for these plants off the farm, and thankfully a number of farmers have huge patches of these growing in ditch lines or at fields edges or forest edges. Yesterday after walking around my own yard shaking my head as the fact that not much was ready at all.

We headed off the farm and did a forage harvest of Daylily Leaves, I like to get them when the plants are between four to six inches high, I will harvest up to 8 inches high but not above that. I picked 2 cups chopped worth for the coming dish.

Now that you have them, what is the best way to introduce them to yourself or your family? I melted a bit of butter, put 1 diced big clove of garlic in the pan and added the washed, chopped Day lily leaves on med heat and cooked them till bright green and wilted nicely.

I added 4 cups of rice to this (I had cold rice in the fridge but you could use freshly cooked rice as well) I put a sprinkle of salt, pepper and to taste soy sauce.   The taste of the daylily’s is to me at least a mix of celery-mild leeks. It is very good, hubby eat his with a smile.

We finished this rice dish with pulled BBQ rabbit on it, Chicken would of course works as well if you do not have access to rabbit. I think any firmer white meat would work nicely with this rice.

Now I need to do the safety talk.. Do not use unknown lily leaves, you must know that they are the original  old fashion orange day lilies for safety. When eating a new food, always try a small amount of it for the first time and then wait 24 hours to see if you have any reaction to it.  Increase amounts only once you are sure that is safe to eat for you! While Daylily is considered safe, some people can react to it. Always treat new food to the safety test please.


Posted in 100 mile diet, Food Forest, Garden, local food, wild foods | Tagged , , , , | 3 Comments