
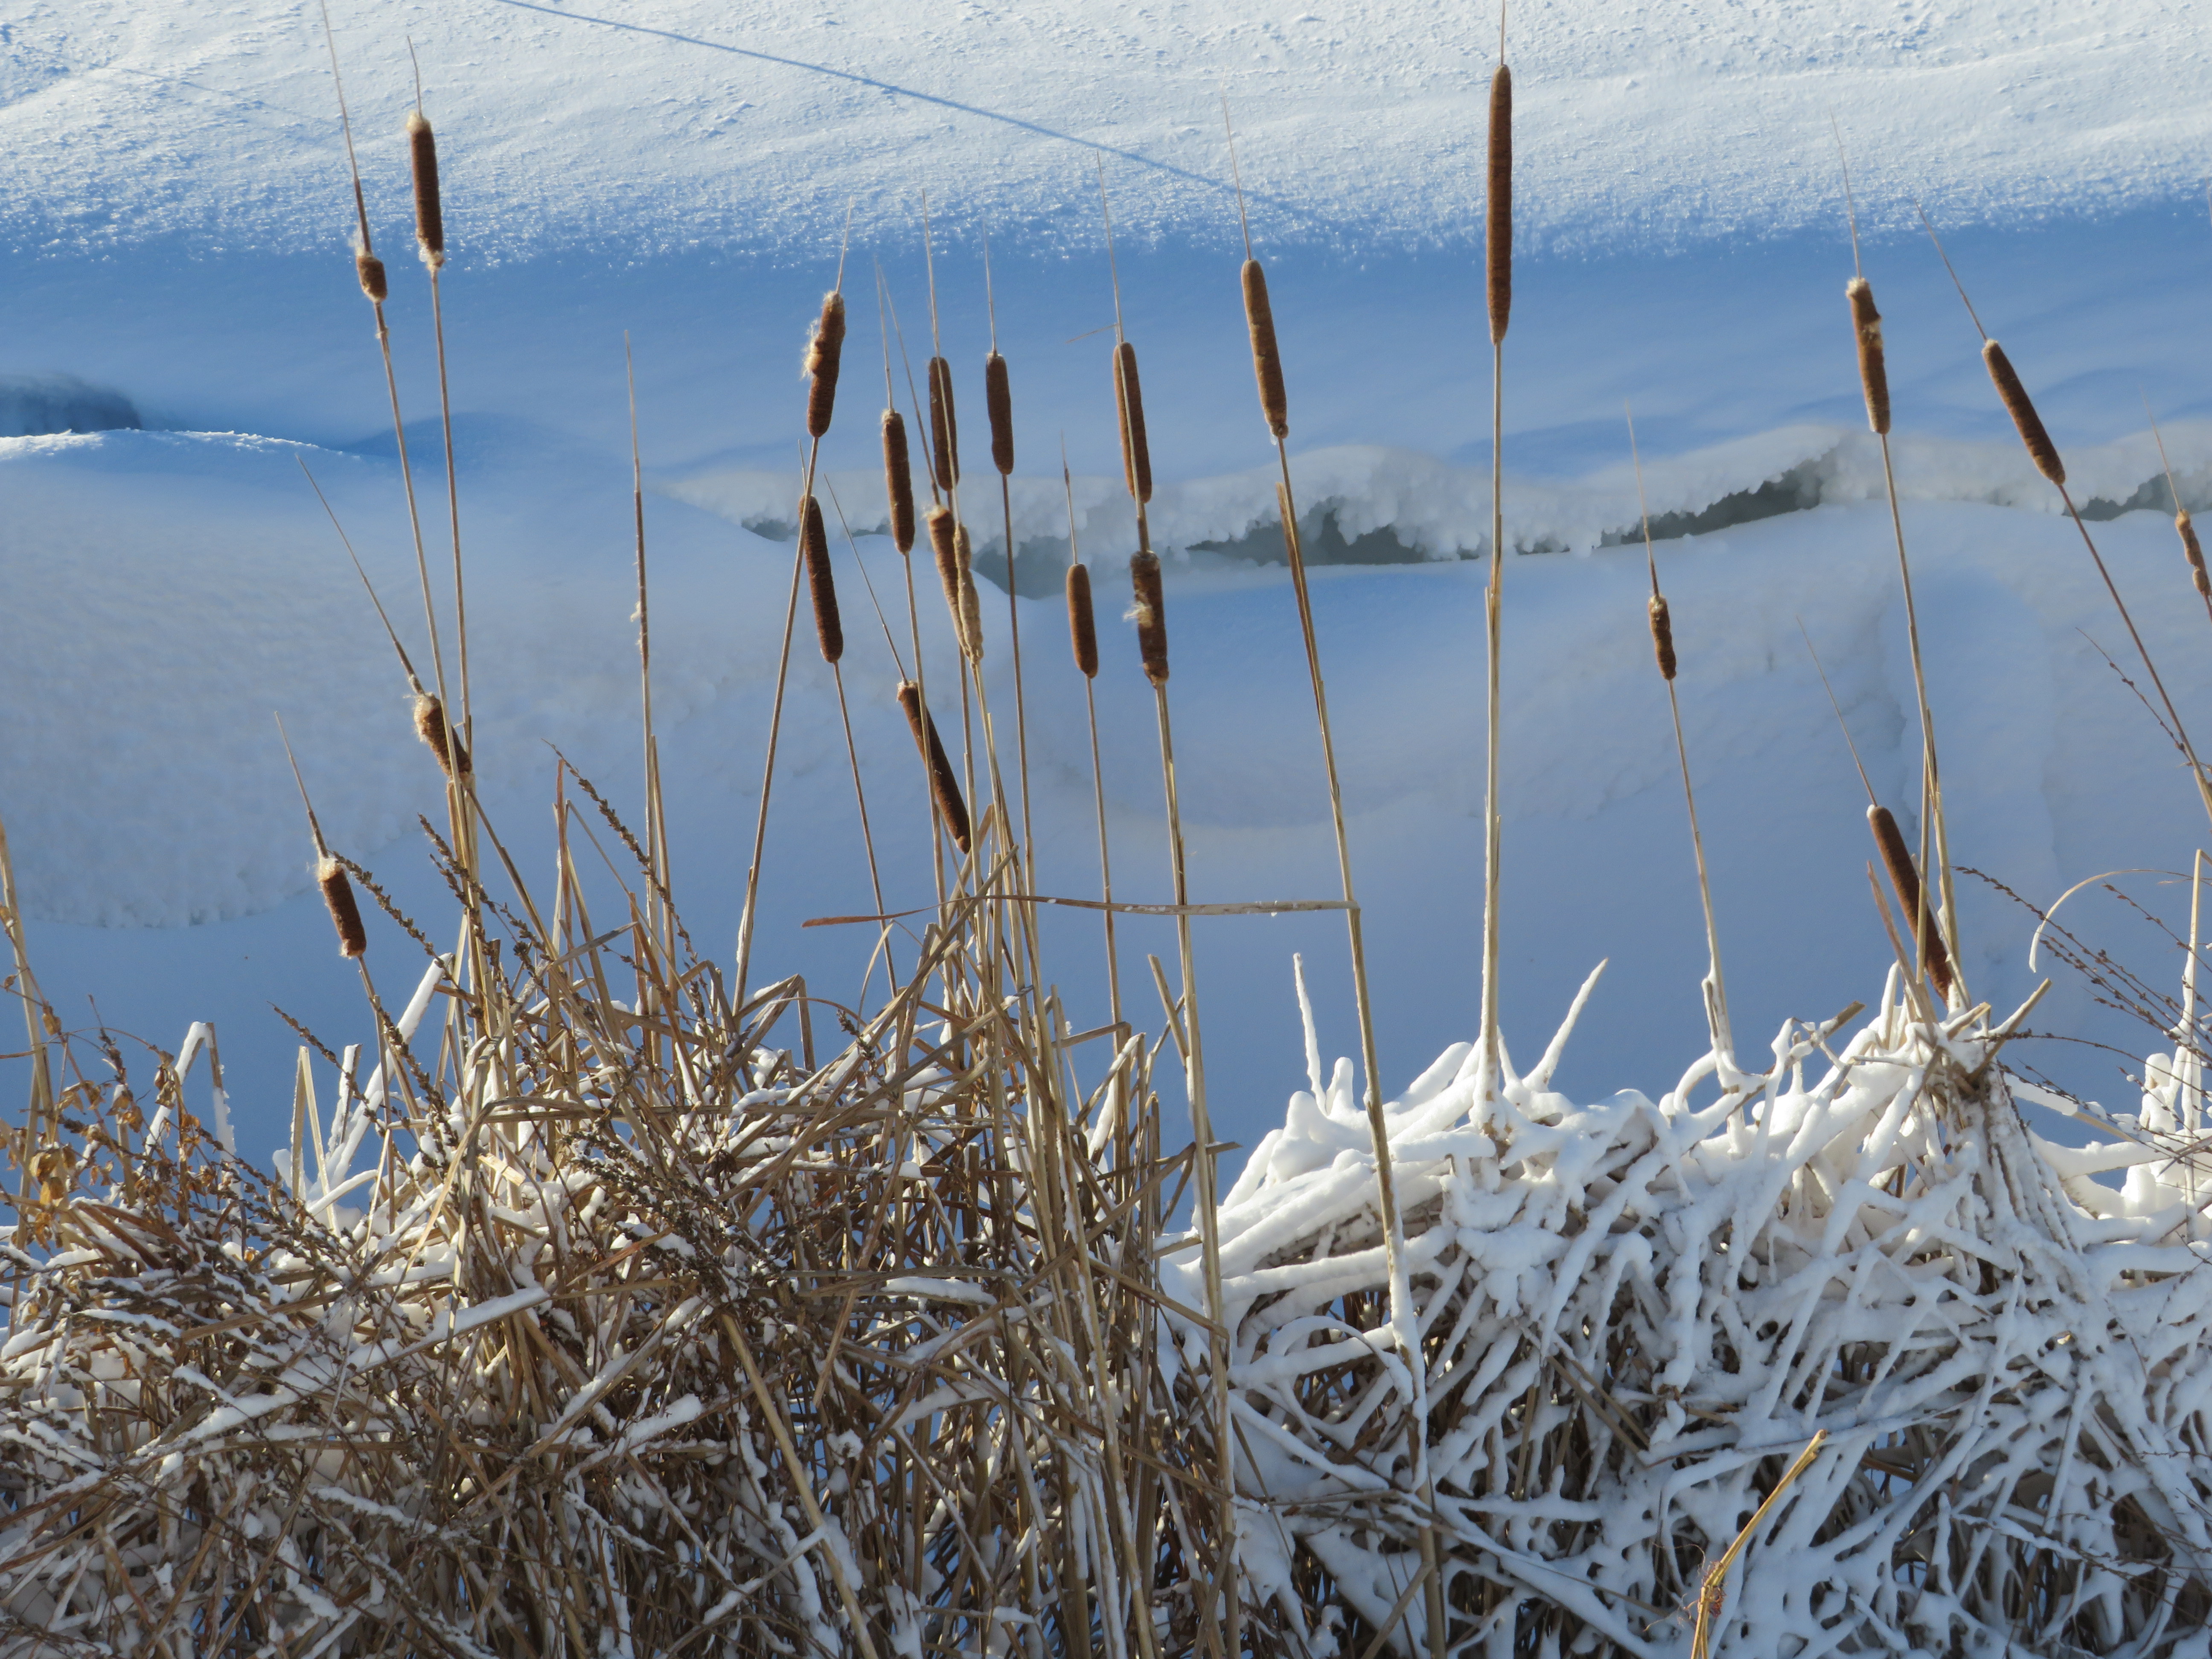
 Well, the local news is filled with information on Cold, Snow and Wind Chill Factors in regards to this storm. We have not had this cold of a snow storm recorded in a 100 years.
I am not going to brush this to the side.. Ottawa was the coldest capital in the world, Friend of ours in the arctic teased that they were warmer then we were, the snow, o the snow.. so much snow..
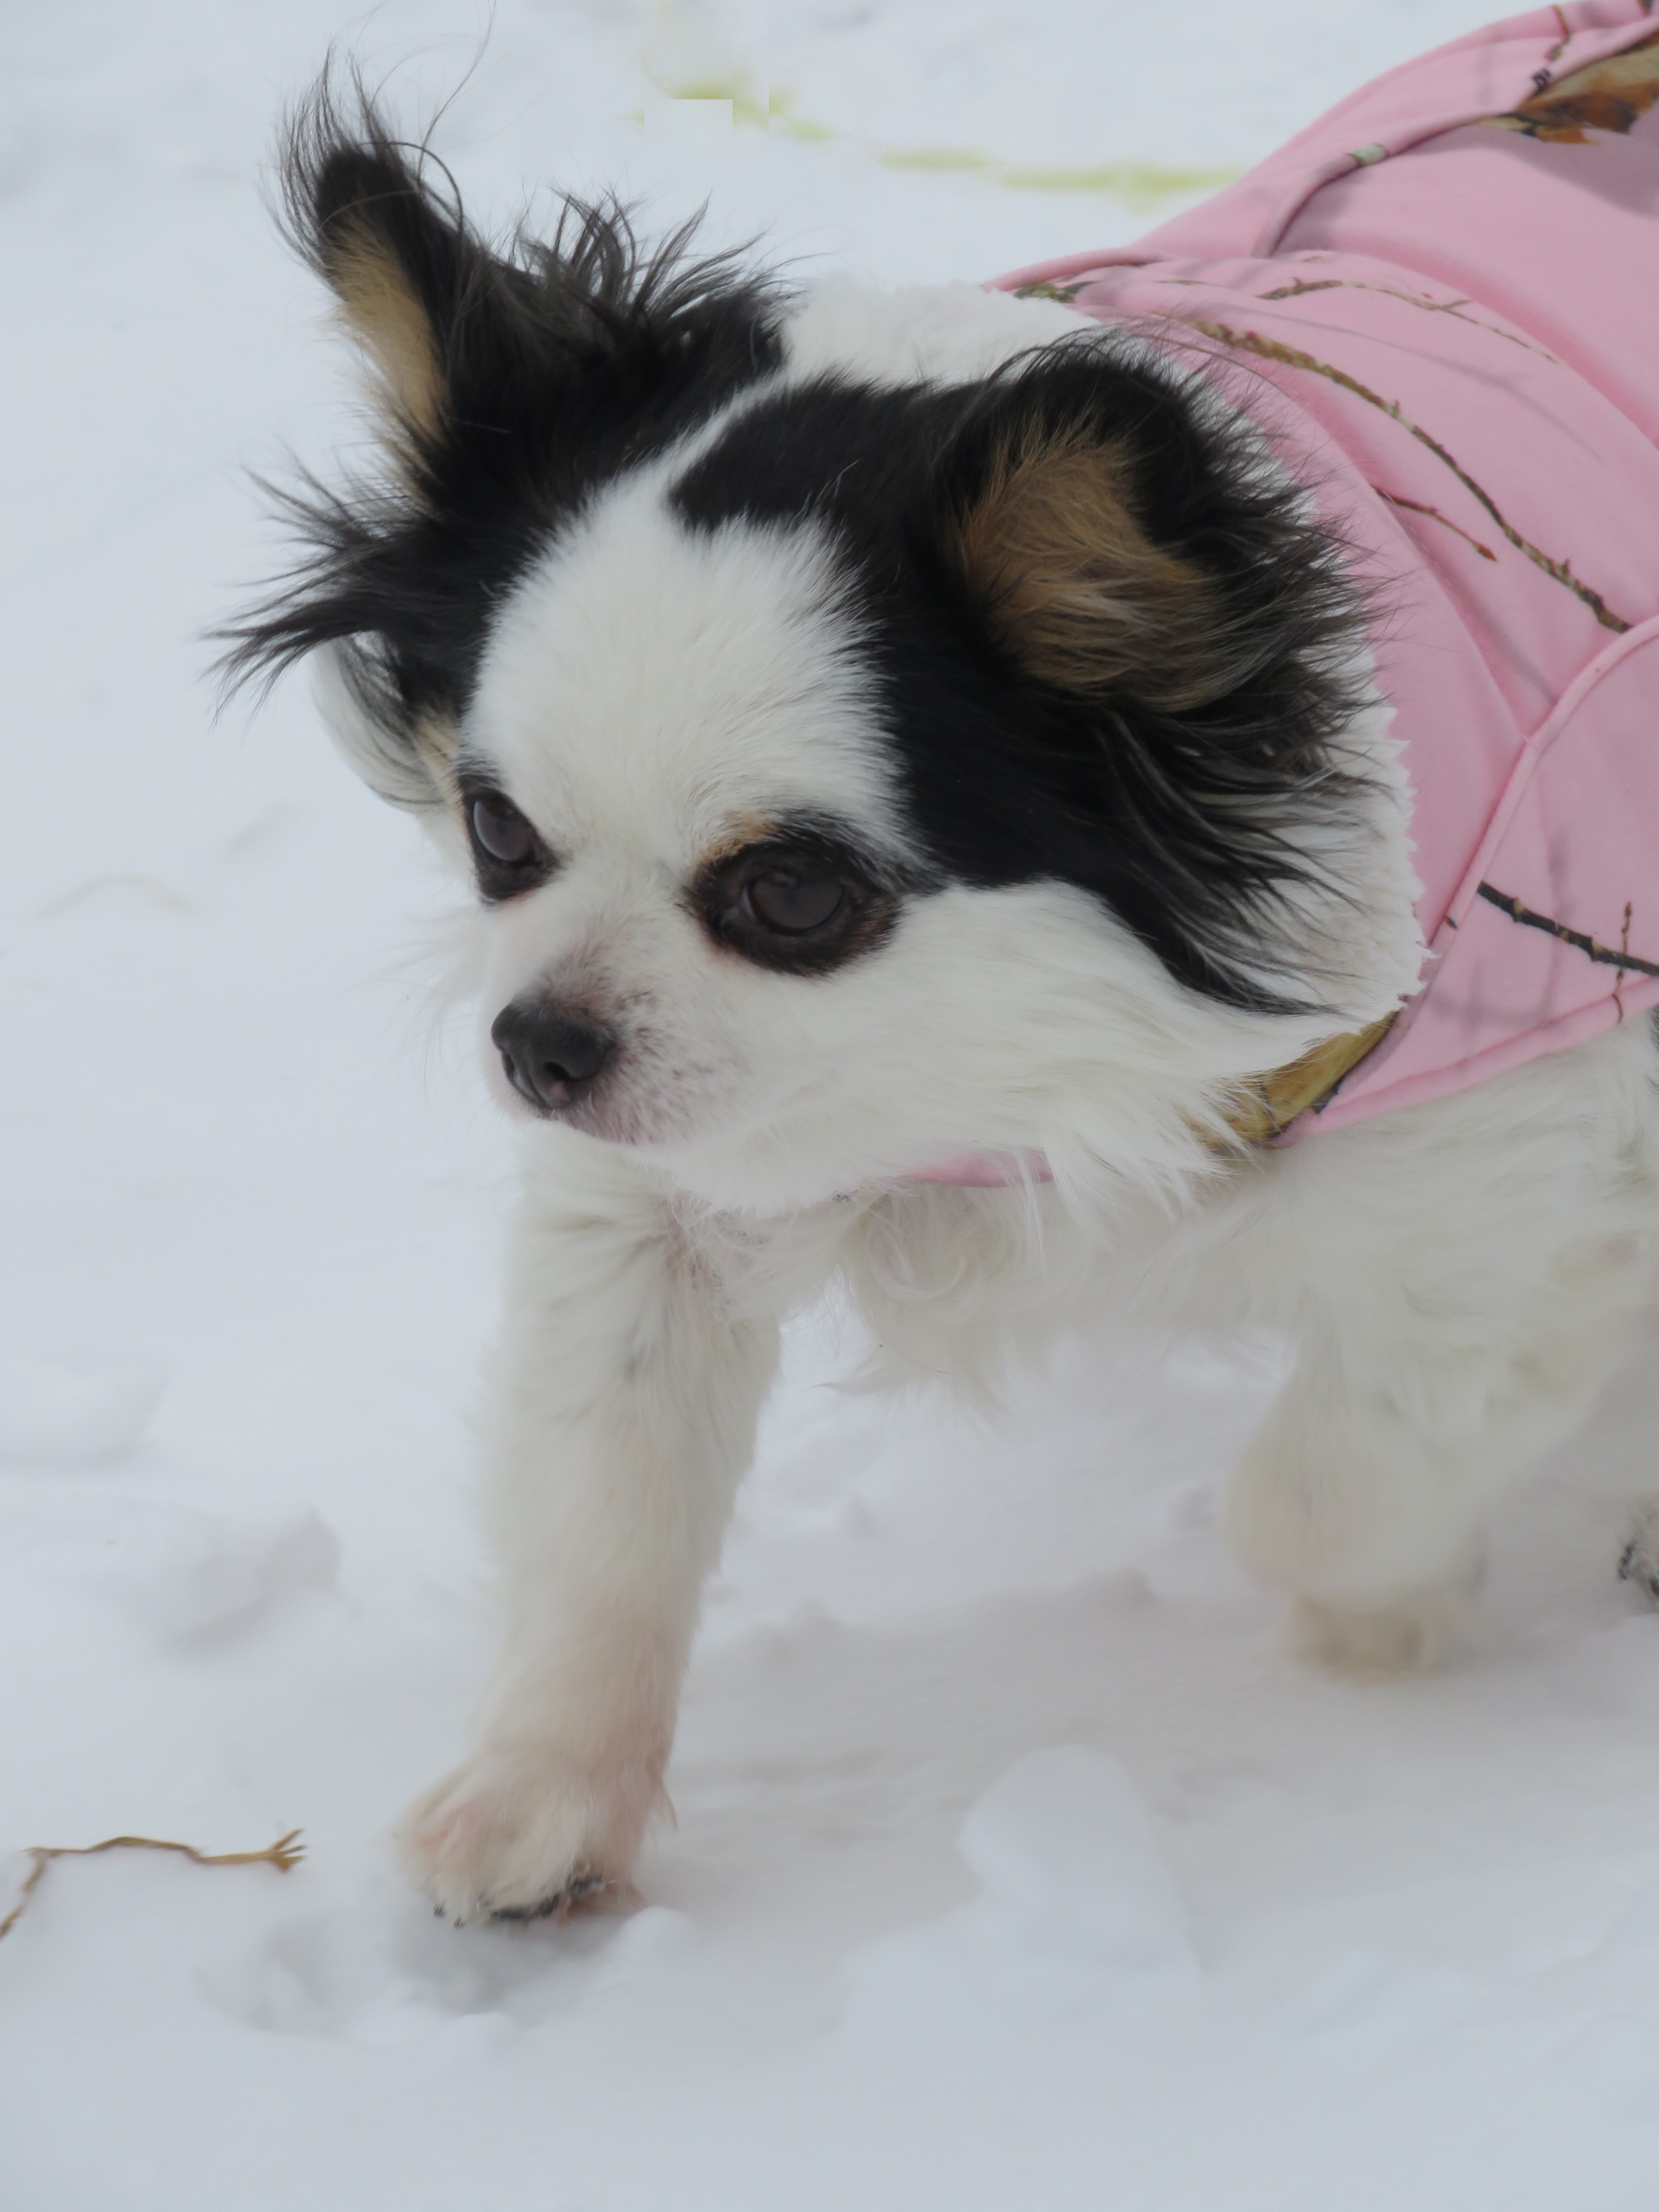
Little Wee Paris was in an out in her Jacket as fast as possible.. and even in that time, she would start doing the cold foot dance. While the farm dogs hated it, they were not allowed to follow us around doing farm chores and where kept in the house. While they are used to going out for a couple hours a day and so they do have a reasonable amount of “built in cold weather toughness” this was beyond that..
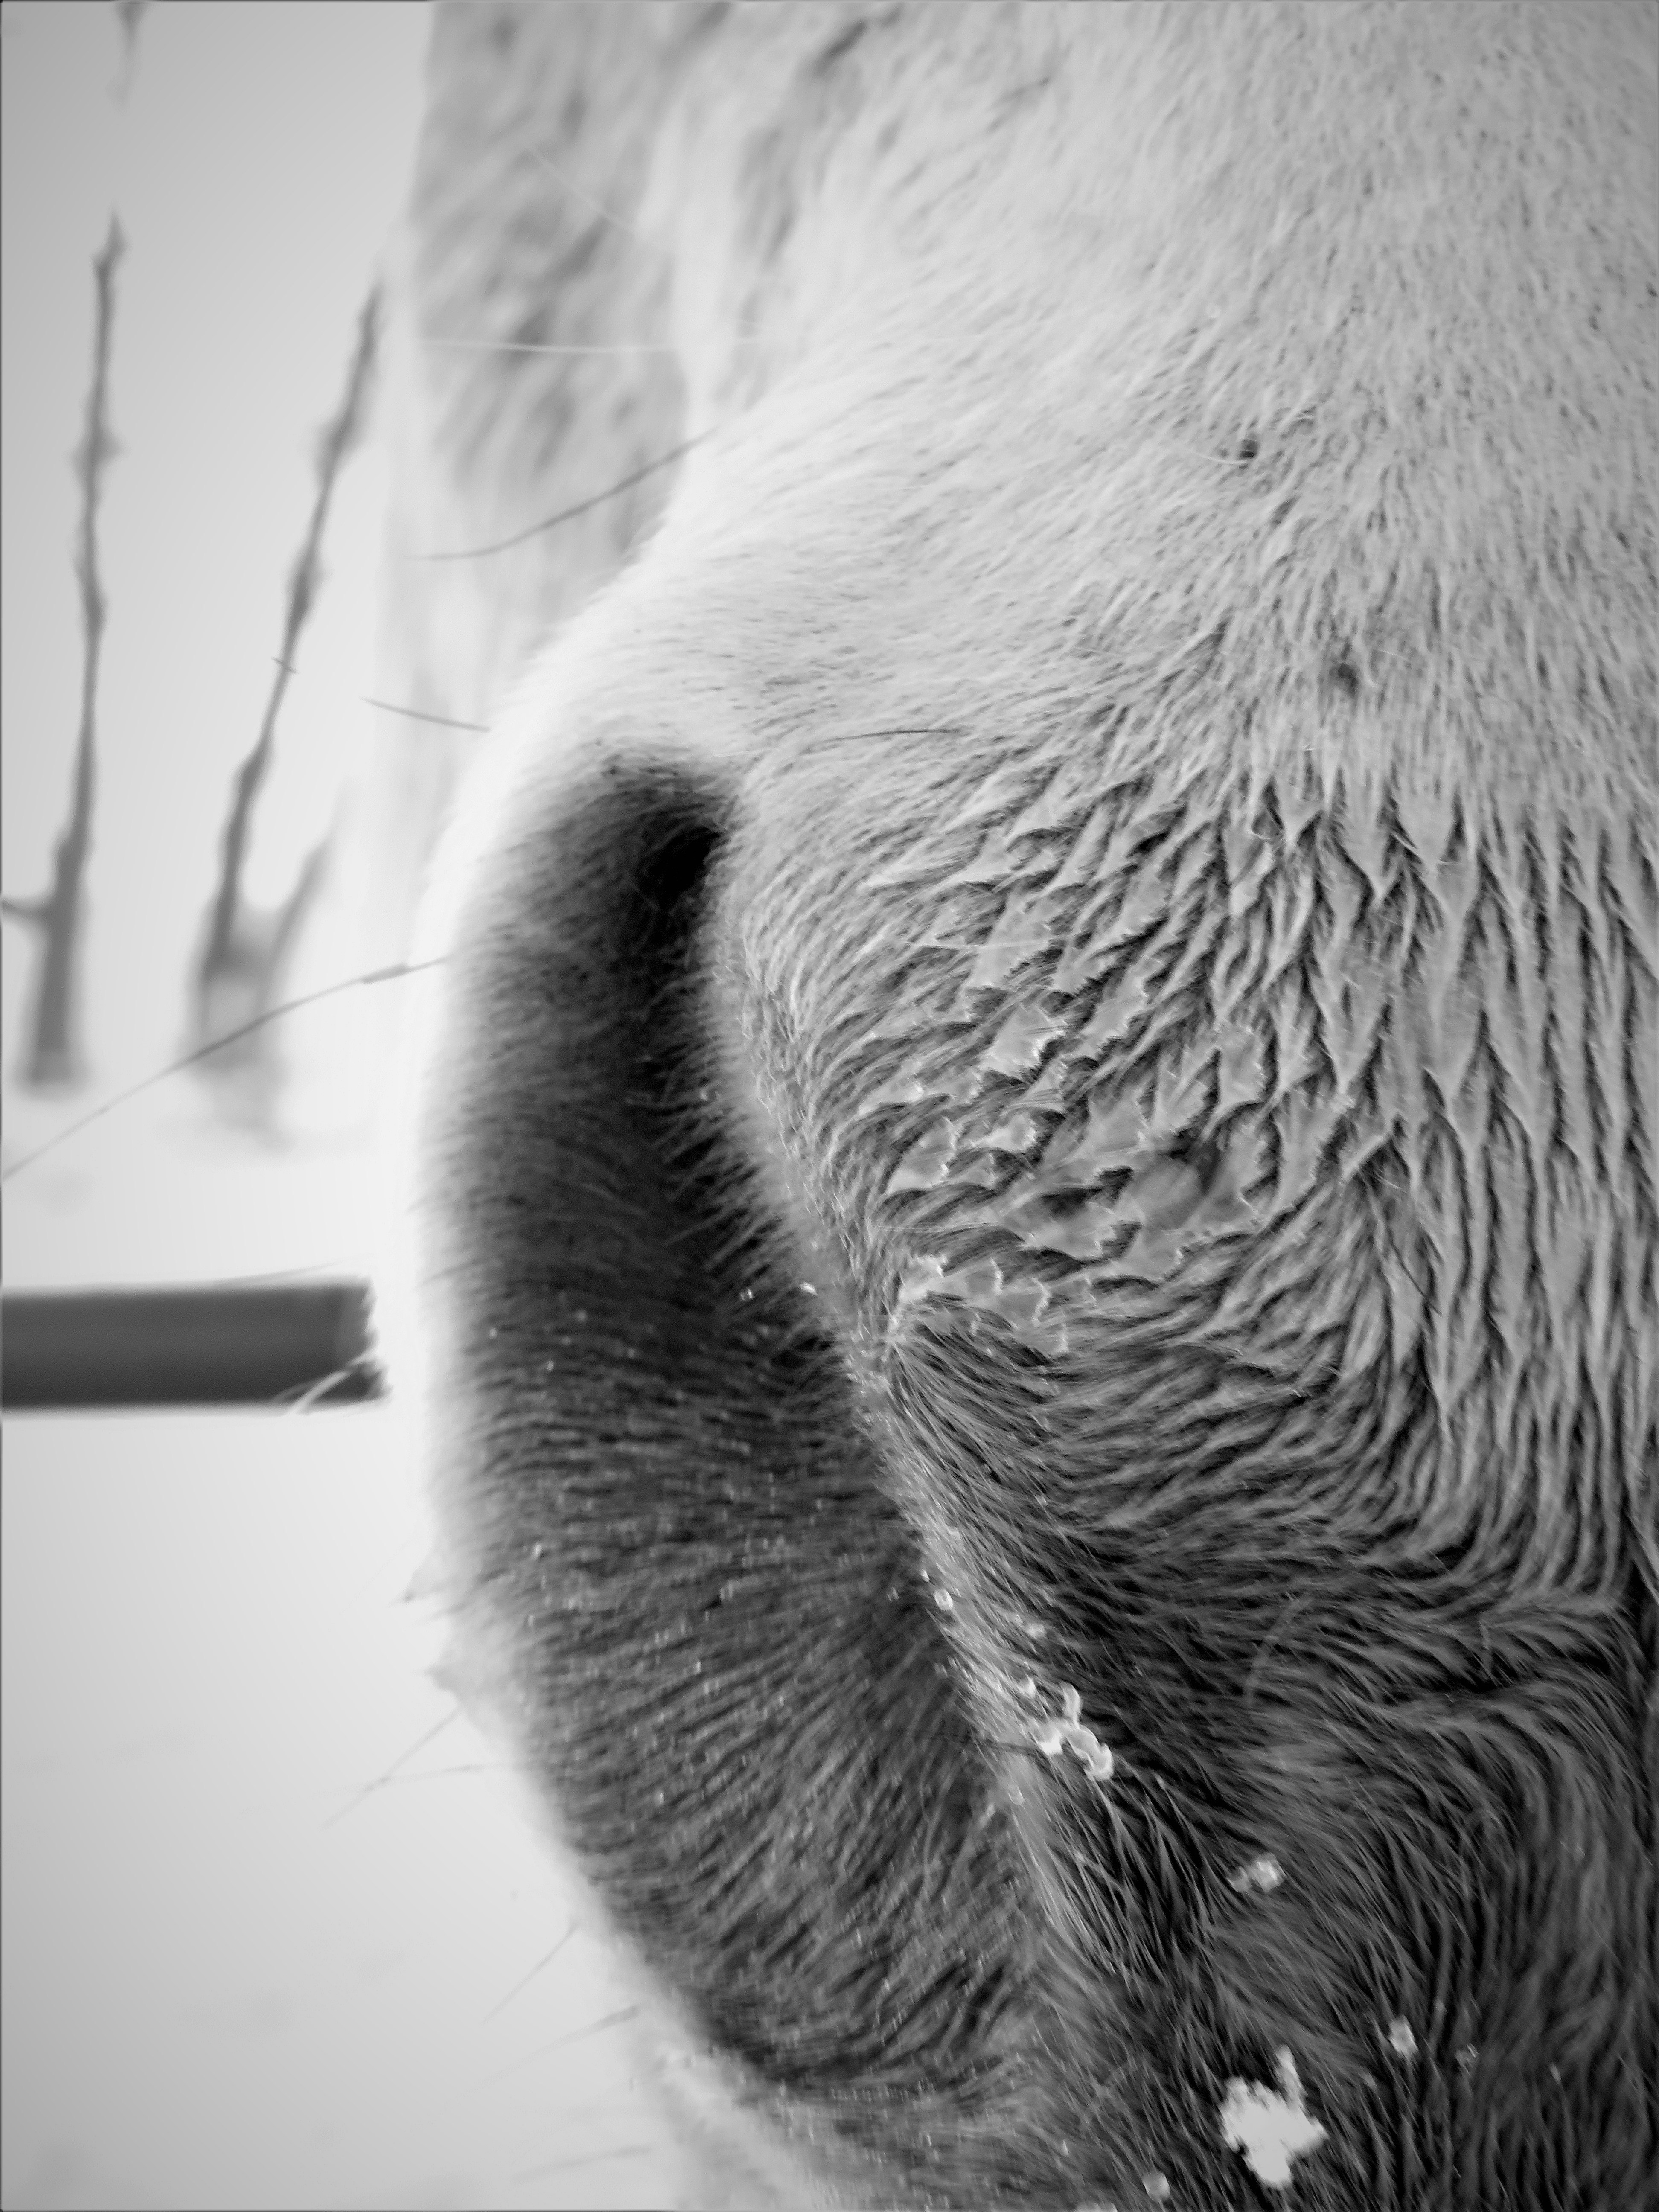
this was bare skin freezes in mear minutes..
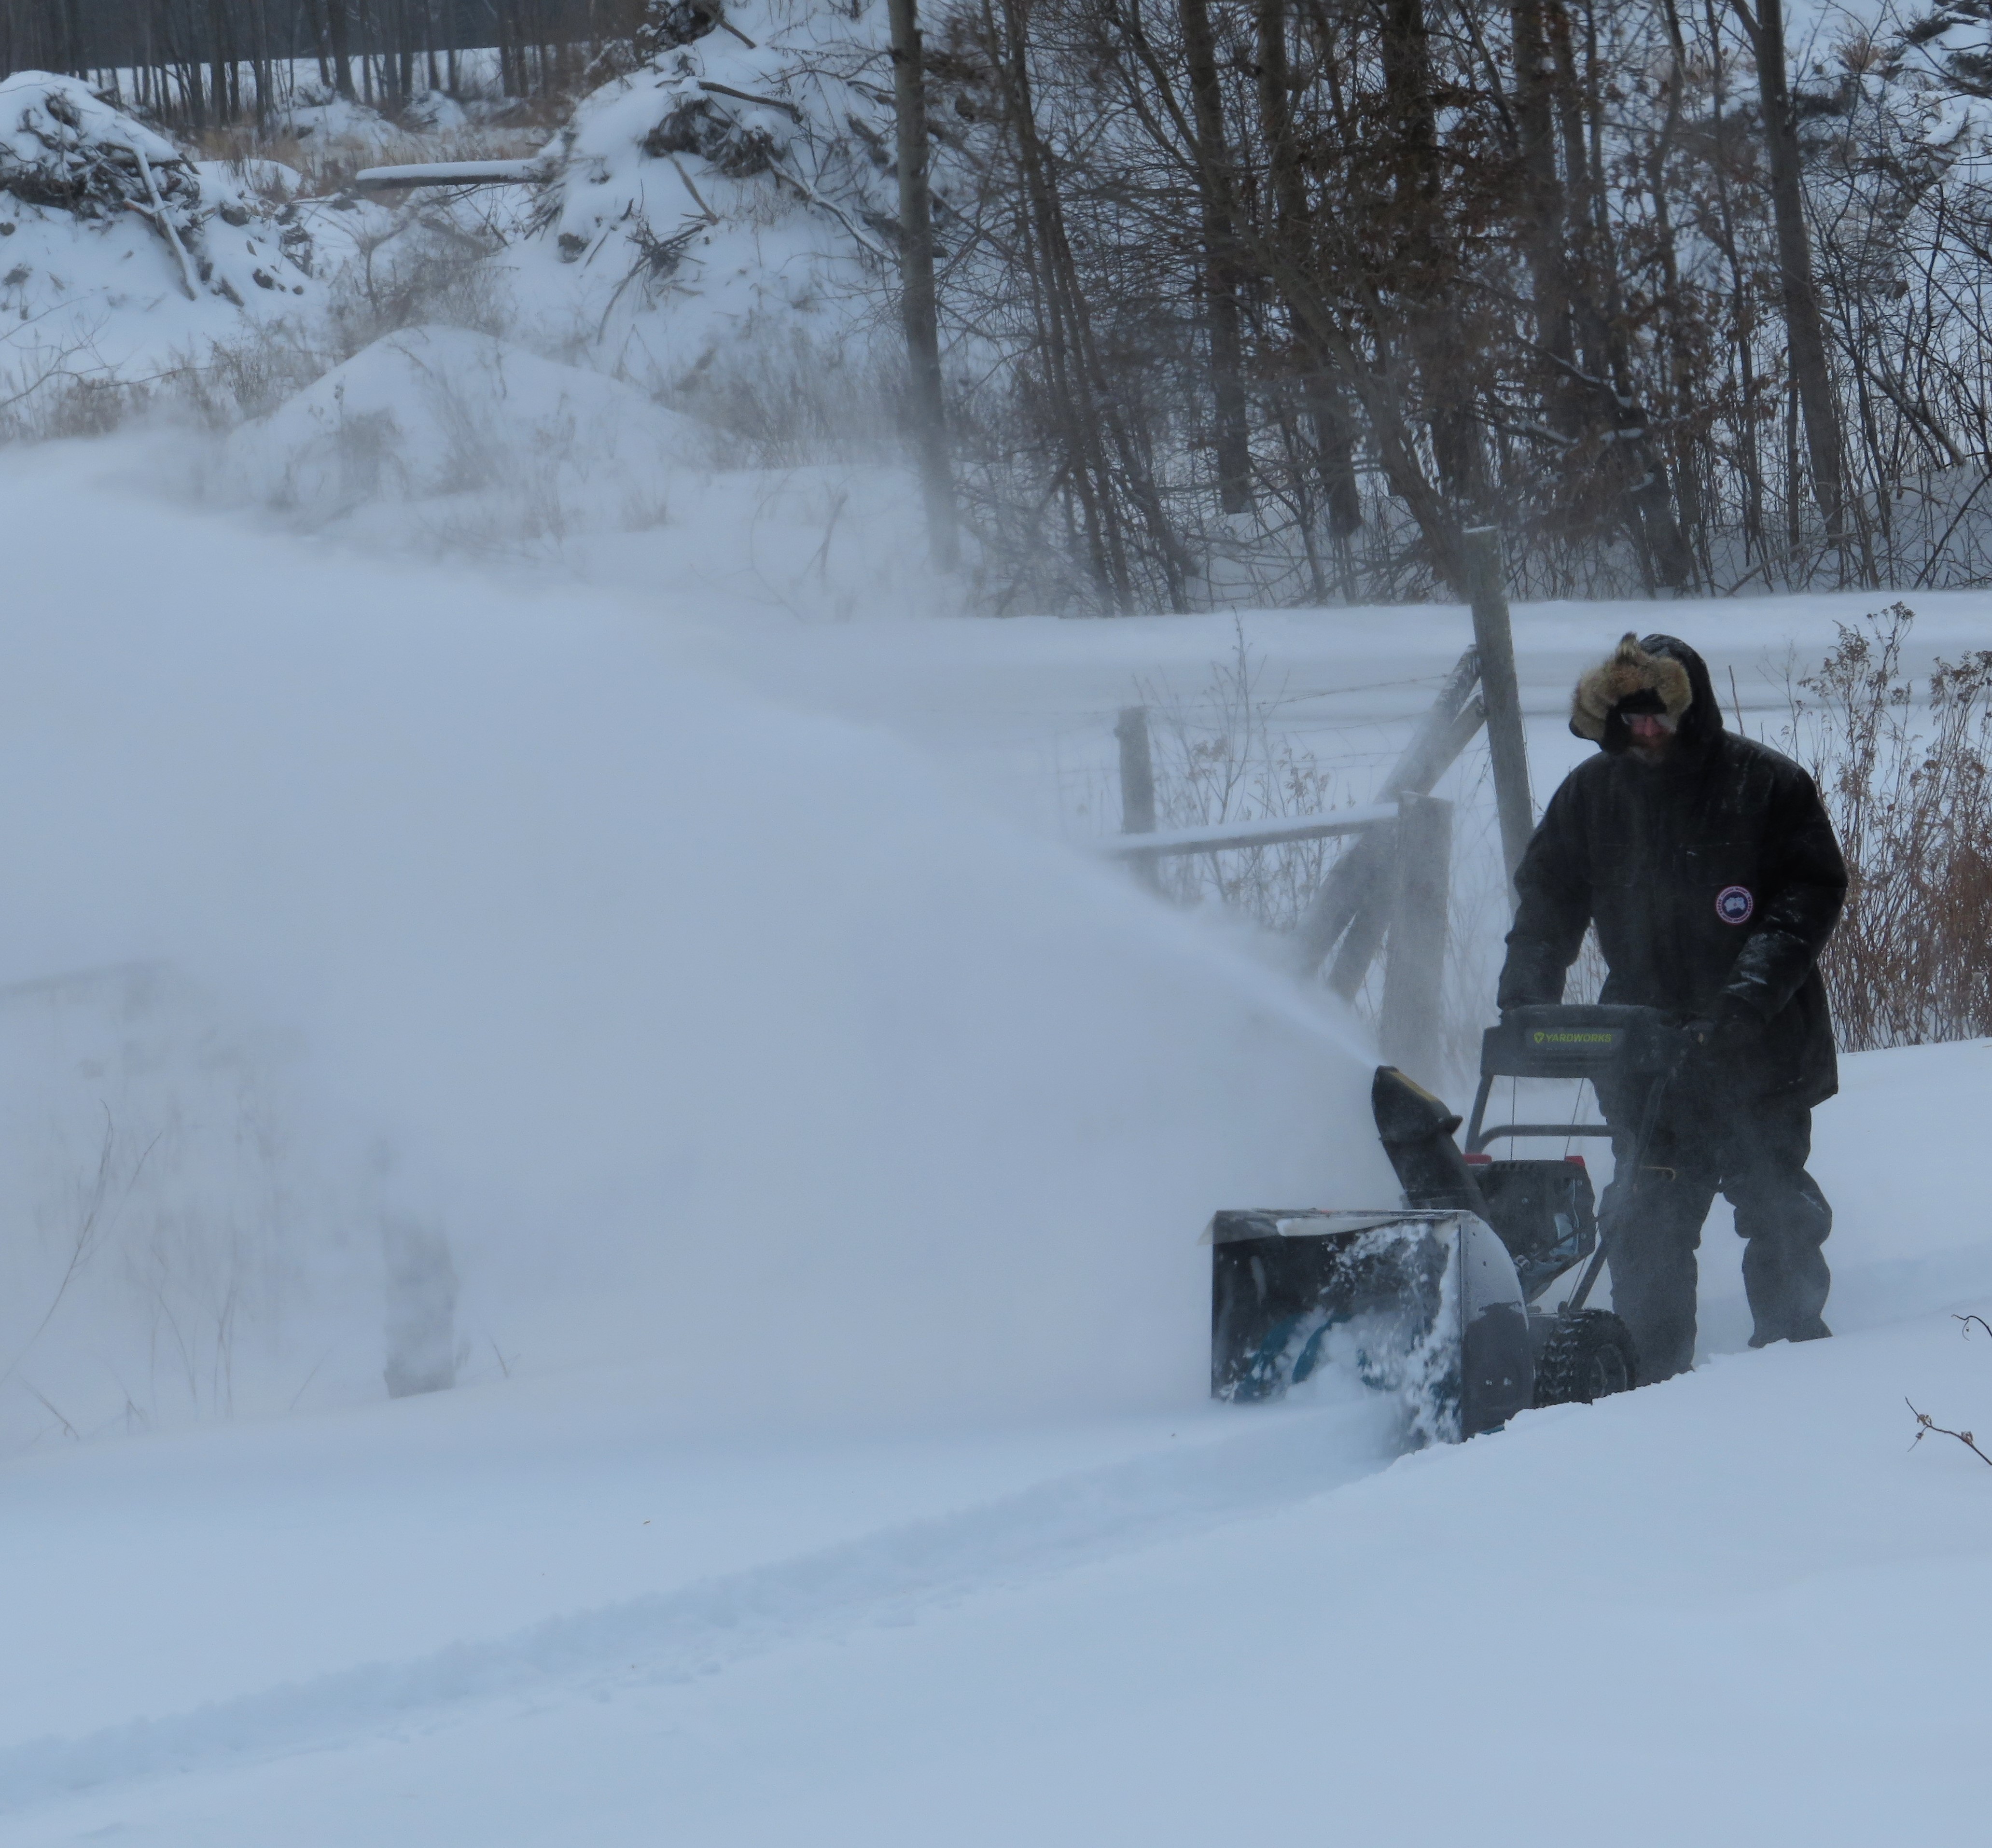
Last year we wondered if we would like that snow blower.. the answer is yes!! While there is still shoveling to do and I am waiting for the cold to break before I do the extra’s..
Let me tell you in this deep bitter cold, you do what must be done and you wait for the rest, we are to have a break in the cold tomorrow on weds. That means we have been in the Deep Freeze now for four days.
The cats are in the house (other then two that will not come in, who are in the croft with lots of warm bedding to snuggle in) and they are going stir crazy.. thank goodness for catnip to keep everyone calm.. They are not used to being “cooped” up for this long but they also do not want to go out in this cold and I don’t blame them.
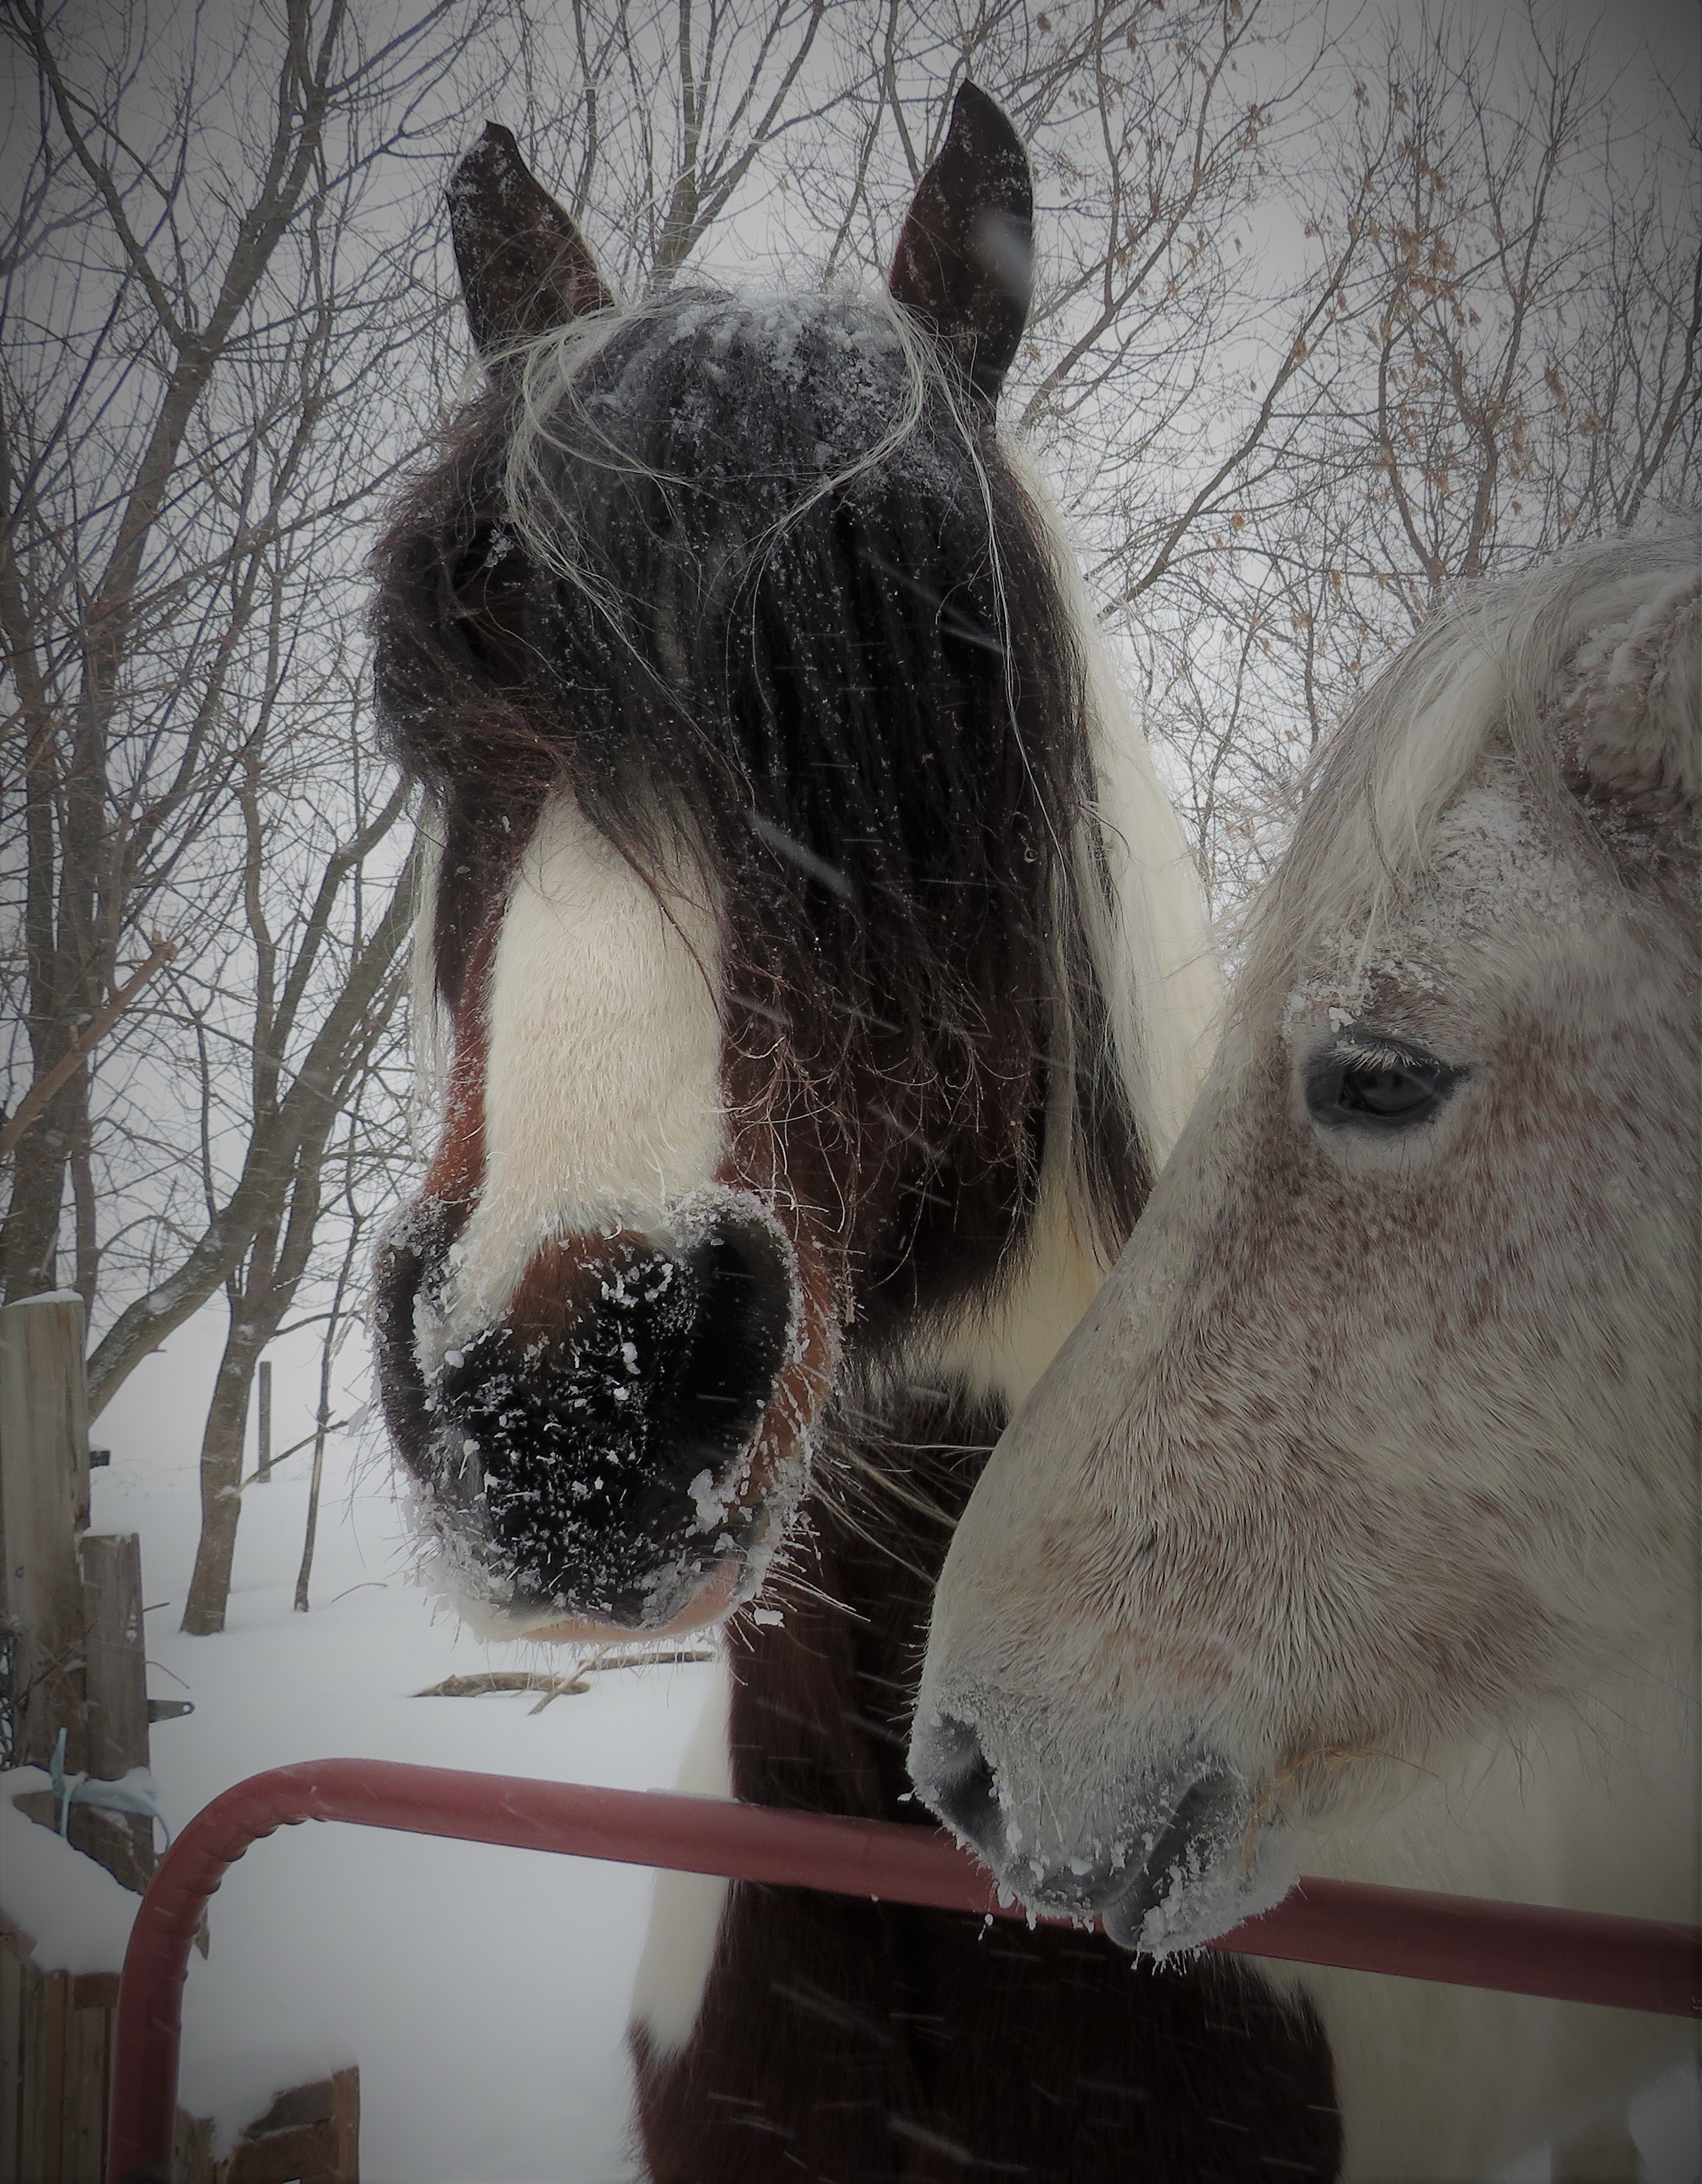
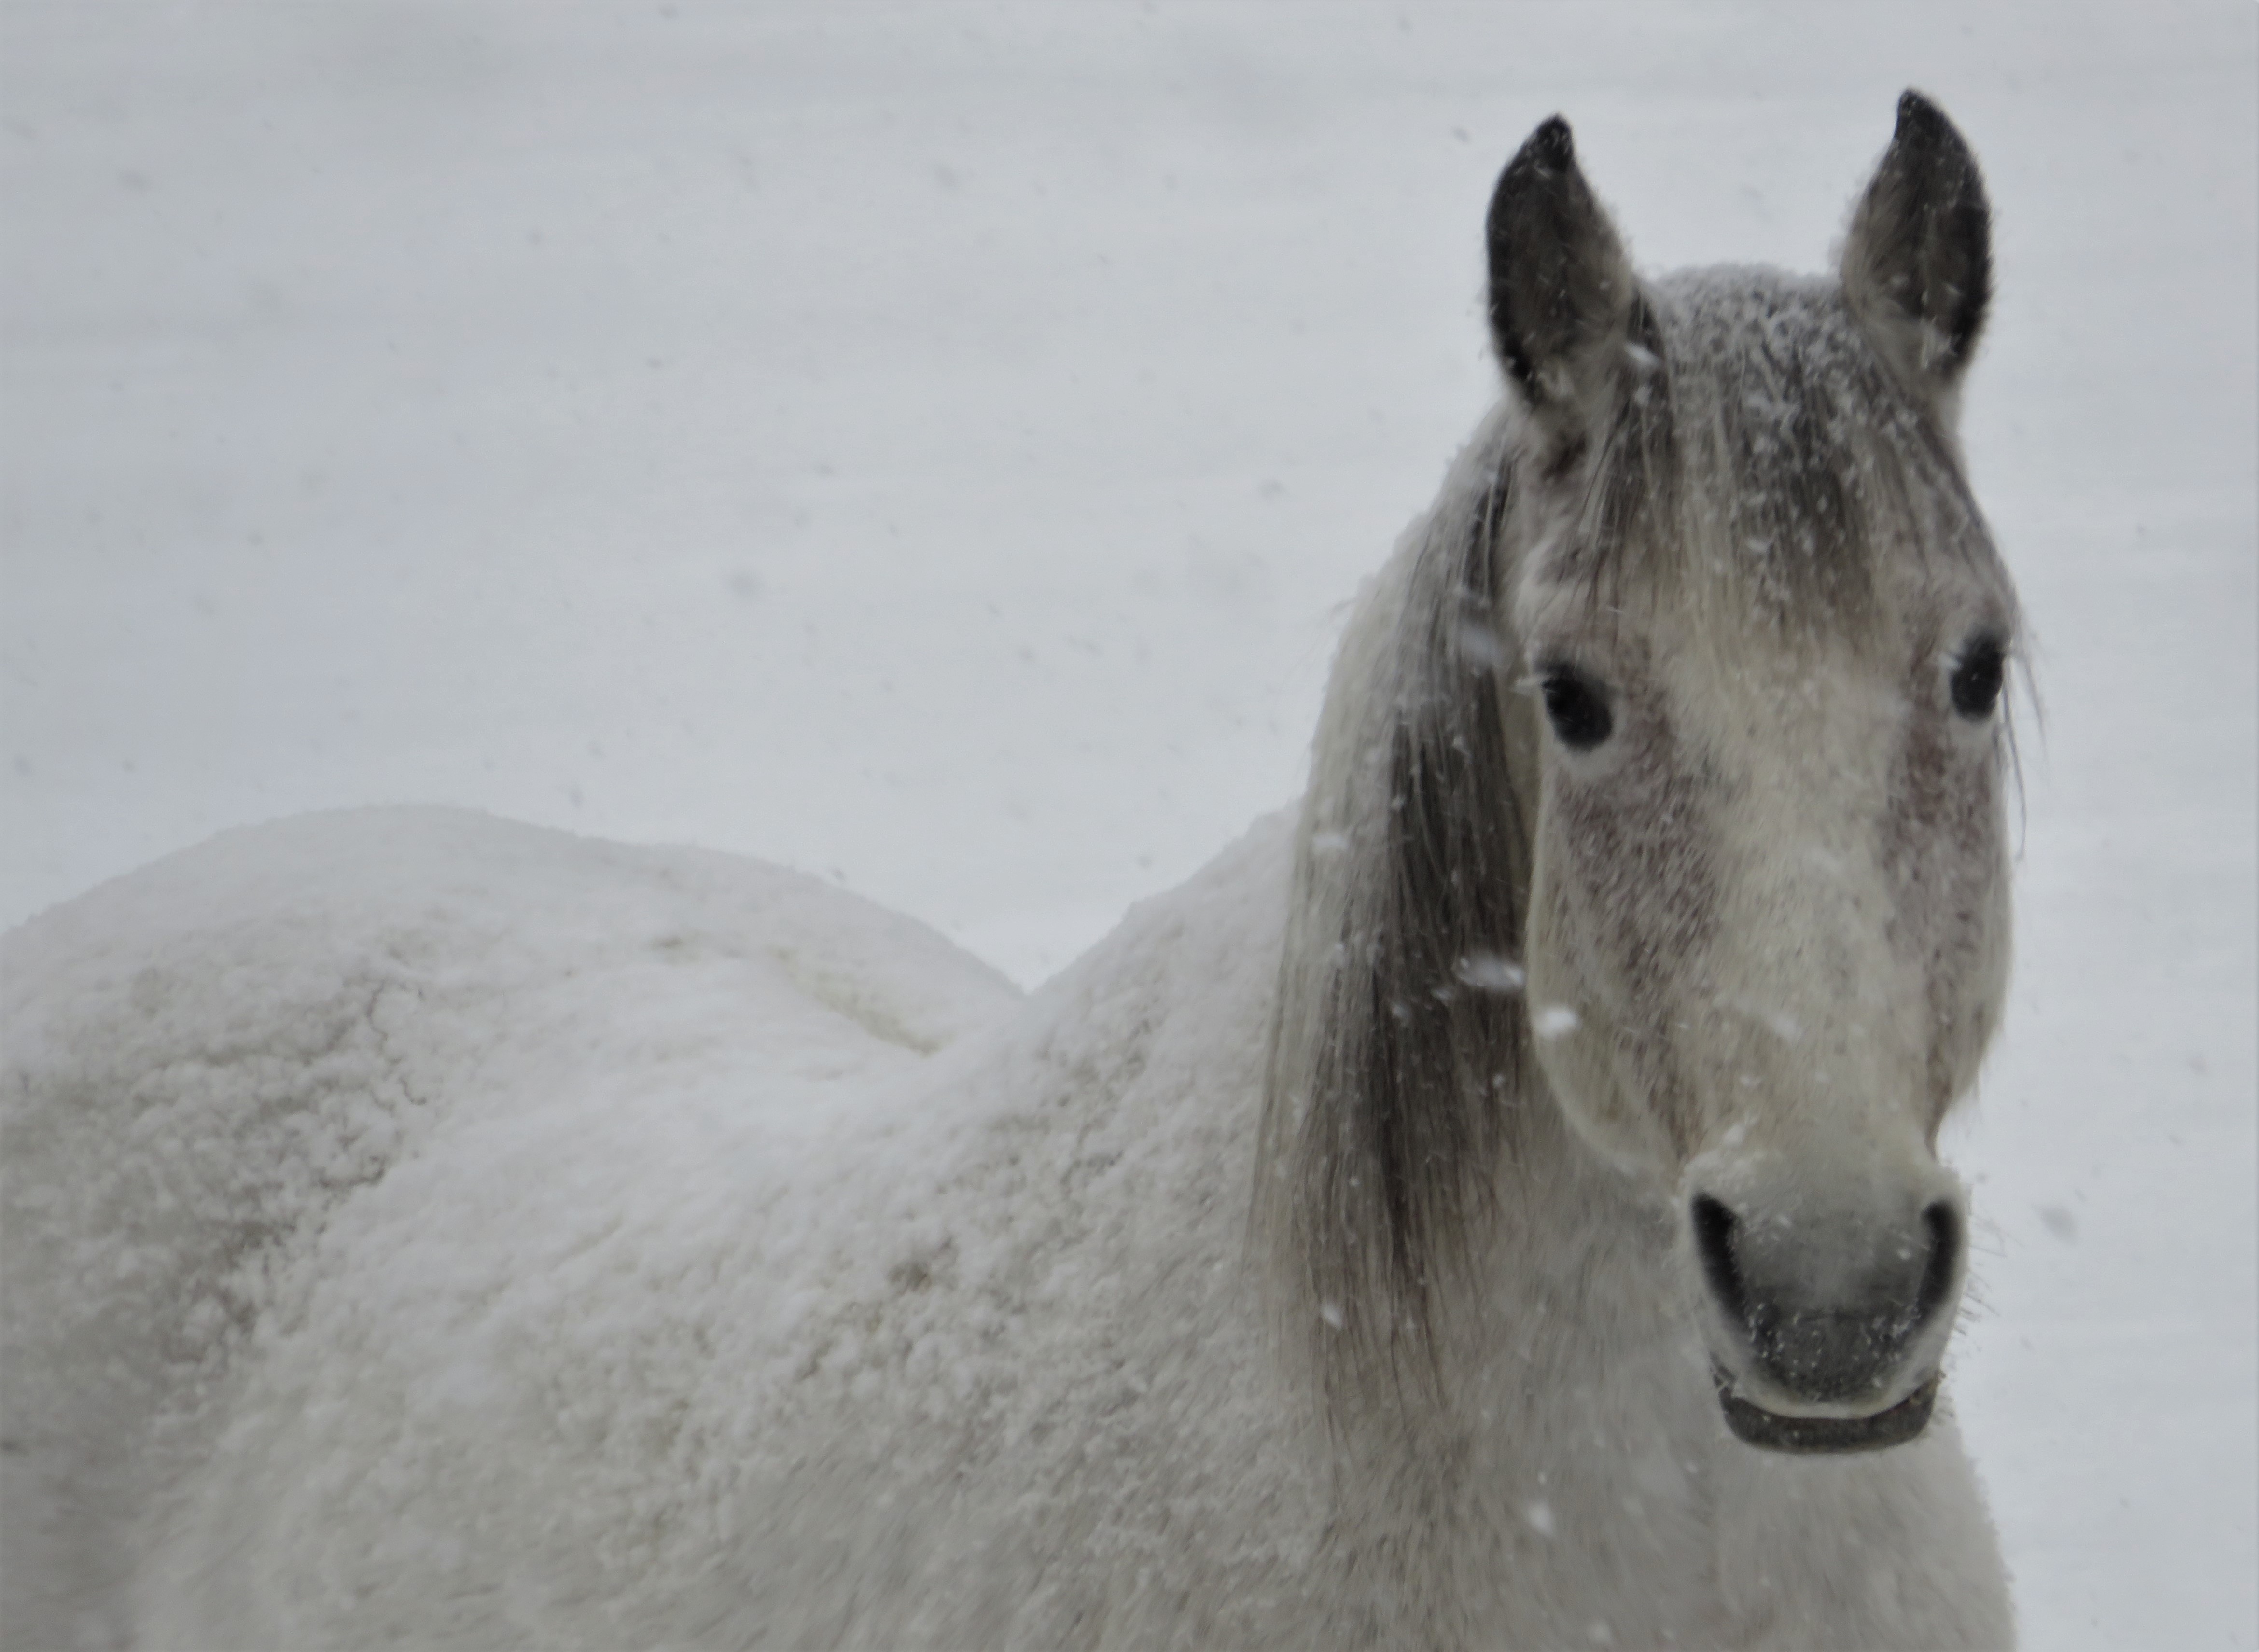
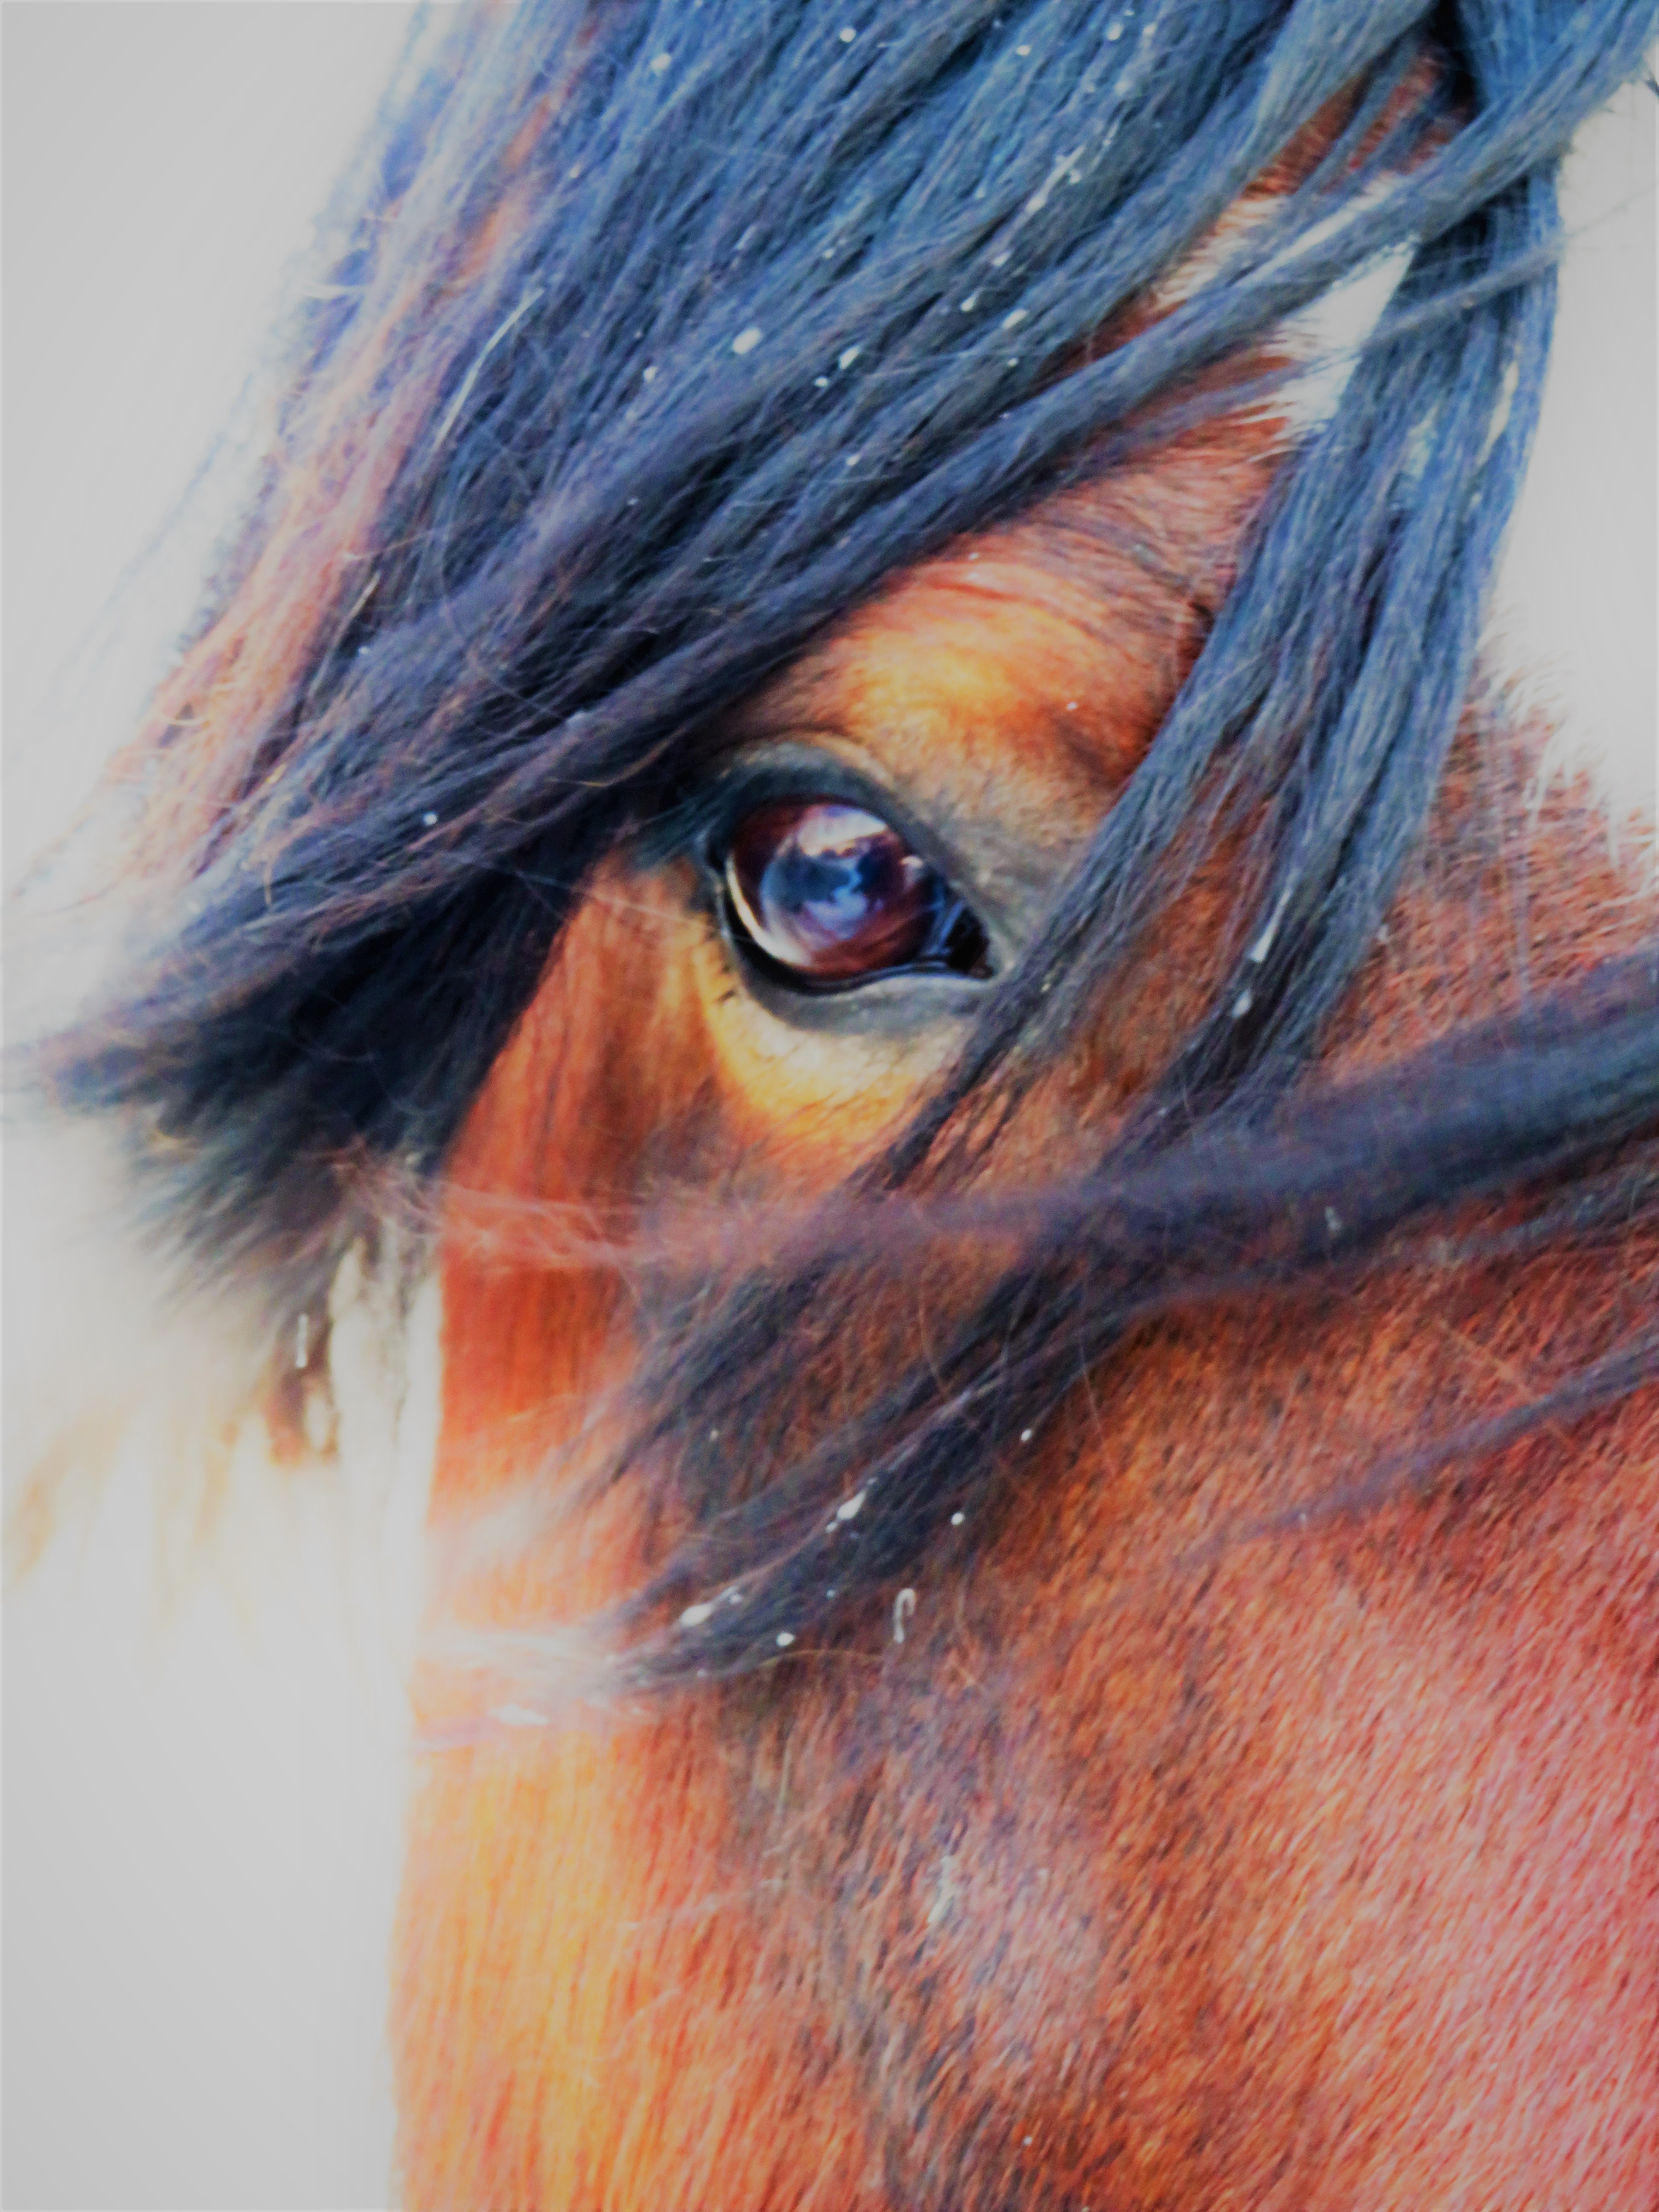
The horse’s hear us and meet us at the gate and follow us around no matter how cold and bitter it is.. but thankfully the poo piles in the big barn lets me know that they are using it most of the time to be out of the weather for eating and resting.
Its very important to keep everyone drinking but really important for the horse’s.. so while they have access to their regular water, we are also hauling room temp water out twice a day to encourage them and the sheep to drink extra.
Colic in cold is something to be careful of in this deep cold, they must eat more hay in order to stay warm but that means they need more water as well to keep that moving though smoothly 🙂
I will need to start worrying about ice balls forming in hoofs during the warm up and then cool down, but that I think will be its own post because snow balls can effect different critters and its worth talking about in a bit more detail on ways to deal with it depending on the critter.
Yesterday everyone was good in their checks.. so it looks like one cold duck was the worst of what we got and she made a full recovery.
The house has held up well, the repair work has held and we have had no frozen pipes this year and I expect that this will be the coldest we get so that is outstanding news indeed. The sun came out today and its pouring in the living room, only those curtains are open to allow the solar heat in while all the other curtain closed to keep out the cold.
Its that blue sky, sunny bitter cold day today.. its different then the snow storm/wind/cold.. One more day, one more day they say!
I hope everyone stayed safe if they have been hit by this storm.


")


")
")

 (2)")
")
")
")

")
")
")


")
")
")


")
")

")

