
The Baggy Seed Starting Method is very easy to do and its very worth it!
All home harvested seeds and older seeds should be given a germination test using this method NOW! in seed ordering season.
I can not stress this enough, its worth taking a little time and figuring your seed germination rates. If you look on bought seed packages, it will give a germination rate on it, normally it will show over 80 or 90 percent. Smaller seed houses often do not list this and I find that can be because germination rates “can” be lower or just because they do not want the extra print costs for changing this per type of seed.
None the less, we are the gardeners and there is NOTHING worse than saving seed and planting out whole rows of seed that barely comes up. In years past, I have had this happen and just went.. hmm and gave them a bit more time.
In today’s climate change and with the higher need for our gardens (not matter their size) to produce, I changed this over years ago and went to the baggy method. There have been a number of springs that I have a very short window of cool seed starting before the soil jumps to warm starting seed timing. three years in the past ten, we have had very short spring windows before summer heat came crashing in.
I no longer have time to “see” what happens and plant again.. I want that edge, that leg up and I am betting that you would like the same leg up!
Test out at least ten random saved seeds from home saved. However for those fresh rare seeds, test them a bit later, so that you can pot them up.. No wasting those genes when they are limited to begin with!
Now I know that this method is not “green” in the sense that I am using a plastic bag and paper towel.. sorry I will give this a think.. and maybe play around with it to see if I can do this kind of testing without using them and still get steady return rates
I used Brussel Sprouts which need a huge lead time in my garden zone, I start them in Feb to get a outstanding harvest late season.

You will need paper towel (not tissue or bathroom, they are to fine and will rip far to easy for this process, but tissue is just fine for homemade seed tape.. A plastic baggy and seeds.

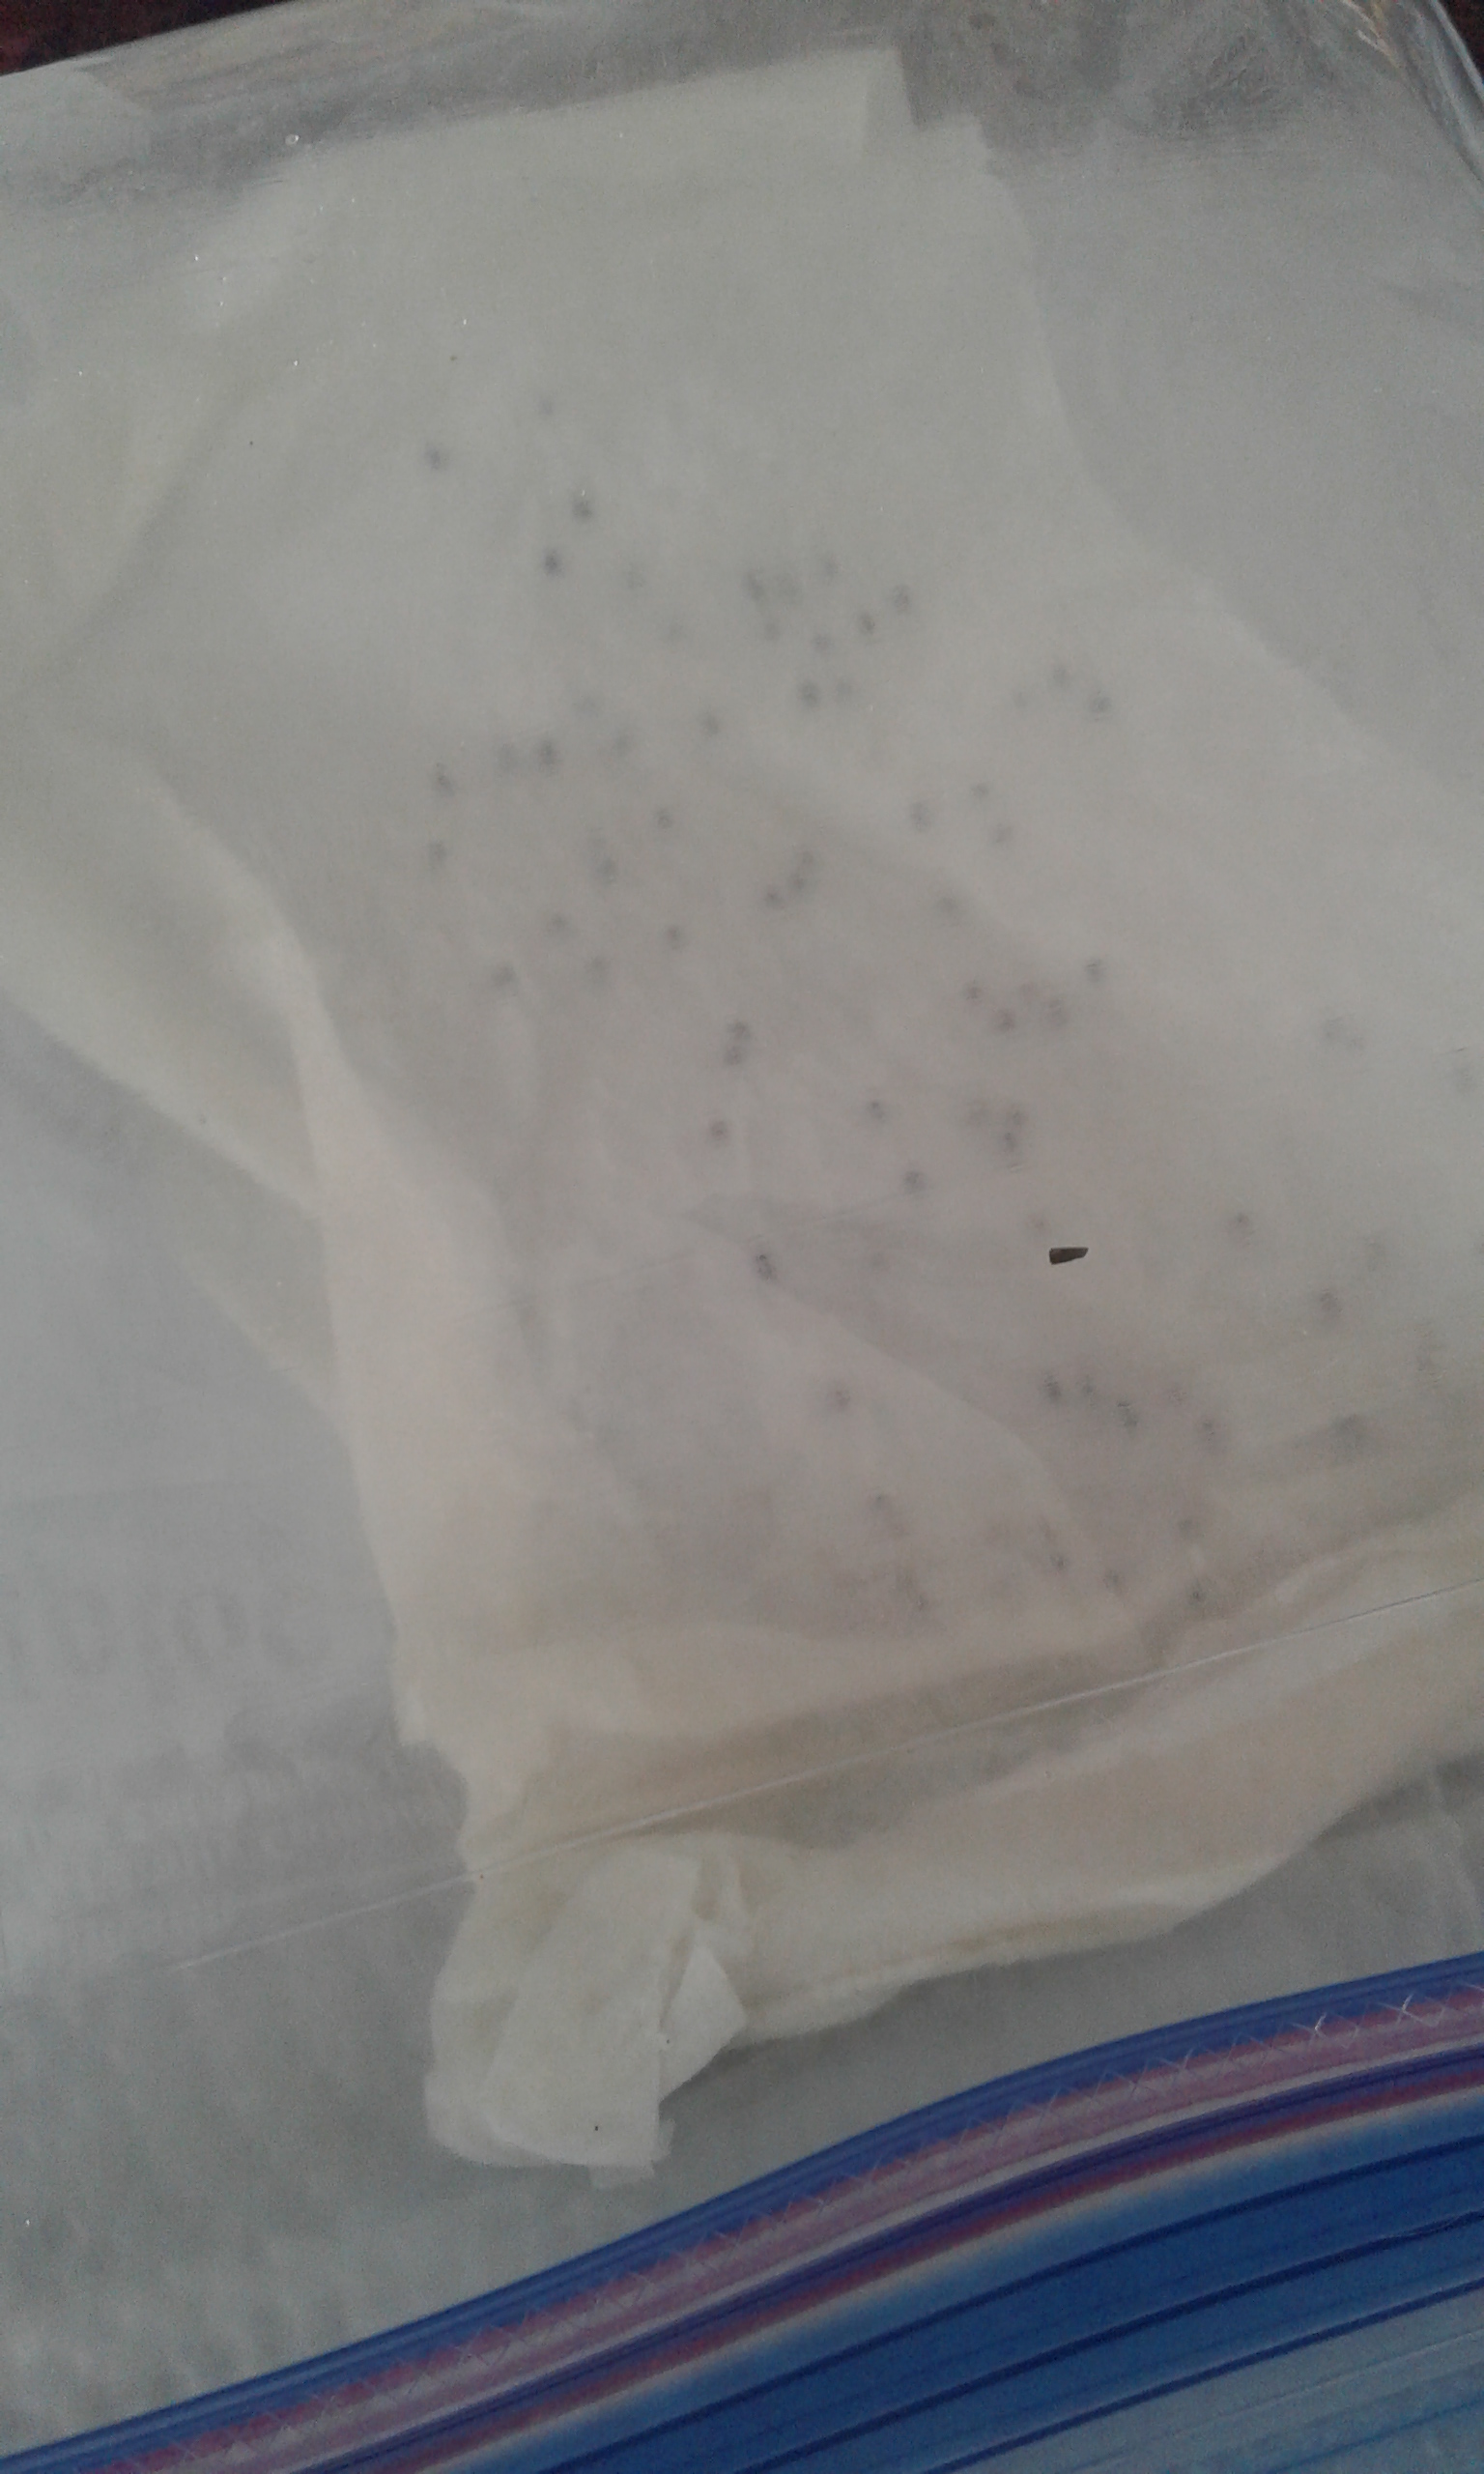
Now I put a goodly amount of seed on the paper, you can do it in more tidy lines if you want, or you can do as I did, the key is that it must be on one side so that you can fold the paper over it.
This amount of seed was to start my plants, you can use a lot less if you are just testing your germination rates.. these rates should go into your garden tracking book.

Fold it in half and then using water off your fingers or a spray bottle, wet the top sheet till its nicely damp but not to wet or dripping.. the paper should be wet enough that after about 60 second or so, you can see all the seeds clearly though the top layer but the very outer edges are still soaking up the water.. hope you can see what I mean in the above photo.

Fold it gently in half and slide it into the plastic baggy and then open it back up.. it should take up most of the space on the bottom of the bag. if you want to do larger amounts of seeds you can scale up to the point of a full sheet of paper towel and the largest baggy.
Then seal the bag most of the way and then blow in some air into the bag so it puff’s up some and then mostly seal it closed. Place your baggy in a warm spot, dark is fine.. top of fridge or spot by the heater (not on the heater) and watch them go..
now we can move it over to the next step if you are using your started seeds.
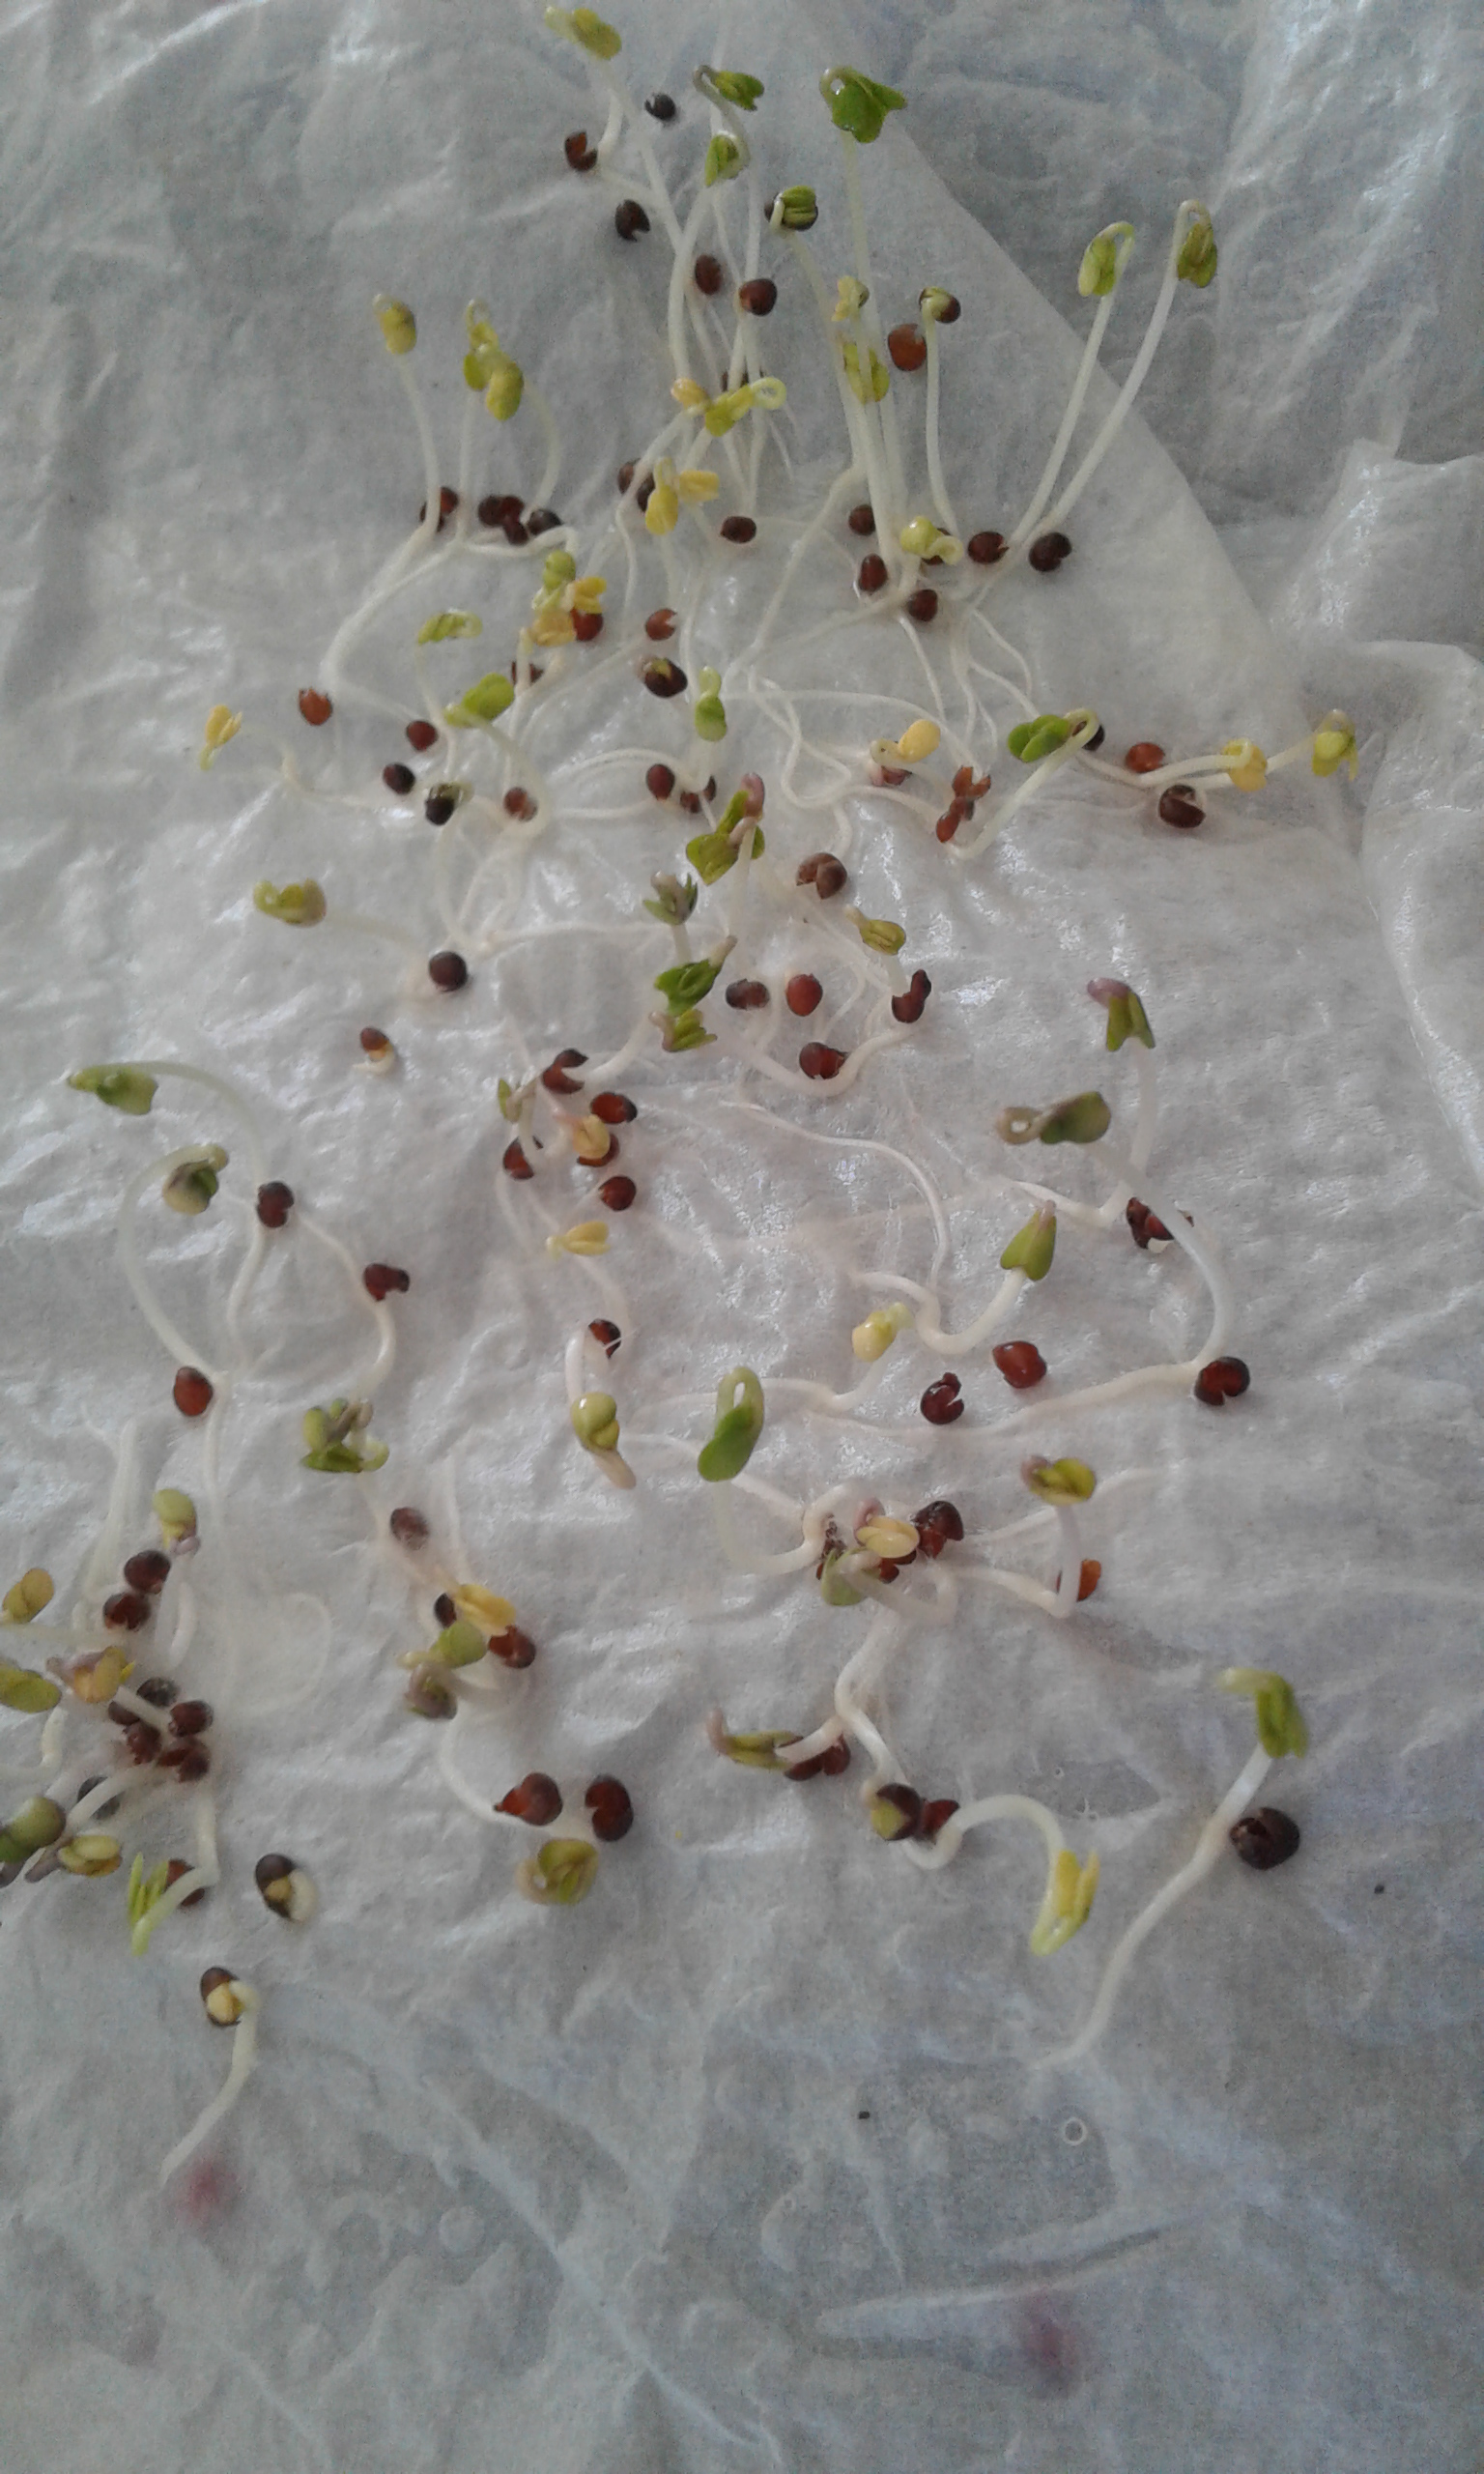
Now you pick and choose the seedlings. As you can see the germ rate on these Brussel sprouts seeds was outstanding.. I left them in the baggy till they were turning into true wee sprouts, then I moved them carefully and planted them up into their pots..
A mear 24 hours after being planted.. they are up and looking fab! They are now set up with a greenhouse topper, under the grow lights, once they get big enough that they move from the starter shelf to the grow shelves they will remove the top.

In total I planted out 30 strong seedlings, and feed 11 of the didn’t make it to the chickens bucket.
Compared to dropping two or three seeds per pot, I used a lot fewer seeds, so if you are seed frugal, this is a very useful tool. (you often hear about this type of seed saving in square foot gardening books)
Now, I say that one of the perks is that you don’t get to just select your seedlings based on the true starting leaves but also on the root as well. Now is time to start your cull process.
Anything that does not have even proper true leaf was removed.. Anything with very short or with reduced root structure or the few that had very long and thin roots was culled out.. at this stage, being part of the pack is just what I am looking for.
41 one seedlings, and I culled 11 or 26 percent of them.. we will see if all the once planted out make the grade.. I am game for all 30 but I really want 24 plants, and I am hedging my bets by doing a few extra.
I took a training course on growing plants with seed saving and plant breeding improvements and it was outstanding, I have never looked at gardening quite the same way. I used to garden for what was in front of me right now.. Now I garden both in the here and now but also with an eye to the future of the plant genes and what could be
Click on the Self Reliance Challenge Banner to be taken to post with all the other members in the challenge or at any time, click on the Banner on the side bar of posts on the website to see what the others are up to.


")
")


")

")
")
")


")
")
")
")
")
")

")
 (2)")

")
")


Good tip. I will use this method for my foraged seeds. Thanks and Happy New Year.
It really does wonders Crafty in making sure your seeds are good, and how the baby plants look. I used this when I did my rhubarb seed starting and it was so great to find the different colors in the seedlings even at that young age. Happy New Year to you as well 🙂
Cool observation about the rhubarb.
That was cool! I’ve been doing a lot more reading about seed starting because I’m affected in the northern coastal zone and can use a boost to the growing season also. After your seeds have sprouted and you transplanted into a potted growing medium, how long will they be in this medium before you plant them out into your gardens?
Hi Sheri, Great questions, It really depends on how soon I need to start the seeds, in some cases, in the worst cases, they are started 12 weeks before our last frost date, but most are 4 to 6 weeks.. Even in the later season, they all have at least four true leaves on them before they go out.. they will move out to the harden off and in/out during the day and then into the lean too unheated green house and then finally fully out once all danger of frost is normally past. You can move them in a matter of weeks if the temps outside/evening and soil temps are right 🙂
J > In our case frost is not an issue – we don’t get any (well, rarely, and only in mid-winter), but the equivalent is the date by which there is little likelihood of being blasted to death by powerful winds!
Thanks Val! Another question: I’m getting the idea that the seeds your starting don’t mind being transplanted. I transplanted a very young zucchini to another area of the garden, got all the roots…but it never took off, then I found out they don’t like being moved. What seeds do well with this?
hi Shere, another great question but that needs a much more detailed list, a follow post would be better to answer that. I have had both with zucchini, I do pre-start them and some will take off and others will stunt, I honestly do not know why but as I am always stagger starting, if it will not go, pull an put a new start in.. all the hevy producers from last year were all pot started..
I’m wondering if it makes a difference the size/type of pots your starts are in by the time they’re ready to be planted out Val? I.E. Roots still reaching for the outermost soil, and not root bound = less chance of transplant shock?: )
Not sure Deb, maybe.. I have found that its more about where they are planted that seems to “shock” them more.. I have taken plants started at the same time, the same size and the same hardening off and put them in different gardens and have them react totally different , which makes sense, different sun levels, compost levels, wind pressure and so forth
As you’re saving your own seed, you’re getting plants that actually thrive in your terroir, so simply to yank and be done with the failures is a good thing anyway: )
You said they usually have four true leaves before planting out, but what sort of root/ soil/ space ratio do you like to have in your starts?
hmm, I will need to look at pots and get back to you on that. Four true leaves is a min and most of them have more then that.. I will have to watch this year to get a answer on it, I have never thought to track it before
If I remember correctly, when we were up-potting starts a couple of years ago now, they were going into individual 4” pots?
Yes for that stage growth but I have some that are three inch and some that are five inch as well.. but most of them go into the four inch posts for second stage transplant from the seedling trays for grow out till they are transplanted out.
Sadly, I think this is where most people just getting into starting their own seed stop short – seeds go into the big trays and never get up-potted into bigger pots, as singles. Like planting trees, most people don’t realise how much space they’ll need as they get bigger and just don’t have the room for them either:/
That’s fair Deb, I have to admit that towards the end of the spring, its a jungle in the house, in the sun room and this year with the new side greenhouse going up.. its going to be wall to floor plants baby! I have so many things to start this year.. and lots of them are going to need to stay potted up in the “nursery area for the year” and now be potted out till next year.. cuz dang buying bushes is crazy costly and I am sorry but I am going to have to start most of my own to keep the price of re-do and replanting my yard down.. I will put the money out more for the storm garden, It must be planted out to “get those” root in place to hold but there is area’s of the yard, that I will prep/annual plant and plan to re-plant with grown items from 2019 in 2020..
Oh yeah, I definitely hear you on that. I find seedlings in my “Nursery Bed” all the time – stuff that comes in on the wind, fallen out of birds, or was imported in the soil from other people’s gardens, lol… Then every Spring, when I go through and weed out what’s not wanted, I’m always amazed to see what surprises have come my way. You just never know what’s going to show up: )
J > Very, very interesting and yes we have same reason as you to use this. I will discuss with D tomorrow, as we are about to start sowing (in pots or in greenhouses – impossible outdoors until March). Plastic has its legitimate uses : reduce, reuse, repurpose, recycle etc .. but at end of life dispose of responsibly.
Great to be joining in on the challenge with you! I use save jars when I’m starting seeds this way. It cuts down on plastic and makes the jars more useful. We don’t have glass recycling out here so I feel a little better about reusing them.
Never feel guilty about reusing things Robin (after all, the 3R’s are Reduce, ReUse and then ReCycle; )
This is a great idea, I want to grow more this year and I think the mistake I made last year was not starting early enough. I will give this a try with a few of the seeds I saved. ^_^
Morning Silveryew, It helps make a few seeds go further this way, instead of planting a couple seeds per and then trimming them out for the strongest and it really does give a head start, certain things do not like transplant, like carrots etc but anything that says early start on the package is golden, plus beans and more do well with it.. what are you thinking of starting early?
I saved some seeds from a melon and a butternut squash that I’d like to try, and also some Swiss chard.
Hi Silveryew, they will all work well for the early starts, I have to admit that I rarely start swiss chard early myself but I have seen it on the greenhouses for sale. I almost always start the melon’s early and I have done well with butternut early.. best of luck 🙂
About your concern on using paper towel & ziplock bags for this process… The paper towel I use is the unbleached/brown kind, so less toxic in the production and definitely compostable: ) while these baggies can be washed/ sanitised, rinsed and dried to reuse for this purpose over and over again. So I don’t feel guilty in the least, because nothing else is as good at controlling moisture levels on your sprouted seedlings: )
Love all this information. Thank you Val for all your time and knowledge.
Great post on starting seeds frugally, thanks for sharing it on the Homestead Blog Hop!
Pingback: King of the North Pepper Report | Just another Day on the Farm
Reblogged this on Just another Day on the Farm.
Yes! This is so important – though I use rags as I do not use single use paper towels or plastic baggies anymore! Old seeds are such a trial if someone we know but will not mention left them in the glasshouse all winter! This was an excellent post too – there is a lot of great information here!
Thank you so much Cecillia, I know that it would be better to do the rags, how do they work for you, what is your cleaning method that you feel they get the job done well, I have thought about some of my old linen cloth that I used for cheese making , worn thin over the years from so many boils, it would also work well I expect.. not sure how I would replace the micro clmiate without the bag itself but it could be figured out I am sure.
I wash everything in grated and melted Castile soap or old homemade soap off cuts. Then sun. Stains don’t bother me.
All those cotton t shirts make great rags too!
I just keep collecting any fabric that is a natural fabric. Like sheets and old towels.