Local Homestead Skill’s Day.. Message me for more detailed info

Myself and a few other amazing ladies will be hosting a Homesteading Skills Day on Aug 12th (its a Saturday)

From 9 till 4

9-coffee-meet-greet
9:30 -protein from thin air (chicken feed)
10-edible landscaping
11-Rabbits 101 Talk (no live rabbits but there will be a stuffie)

noon-lunch=break (bring your own lunch) Water, tea and Coffee and fixings will be provided.

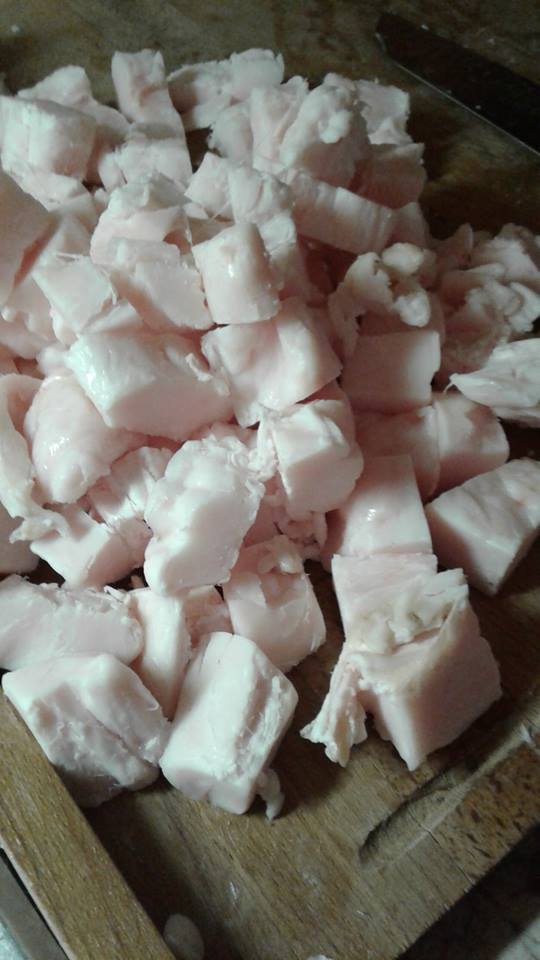
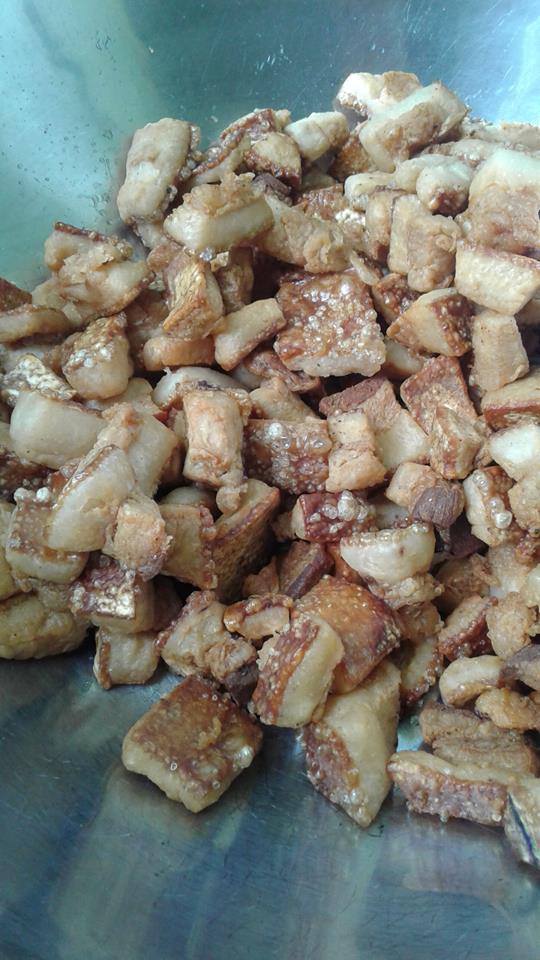
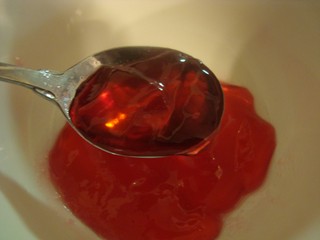
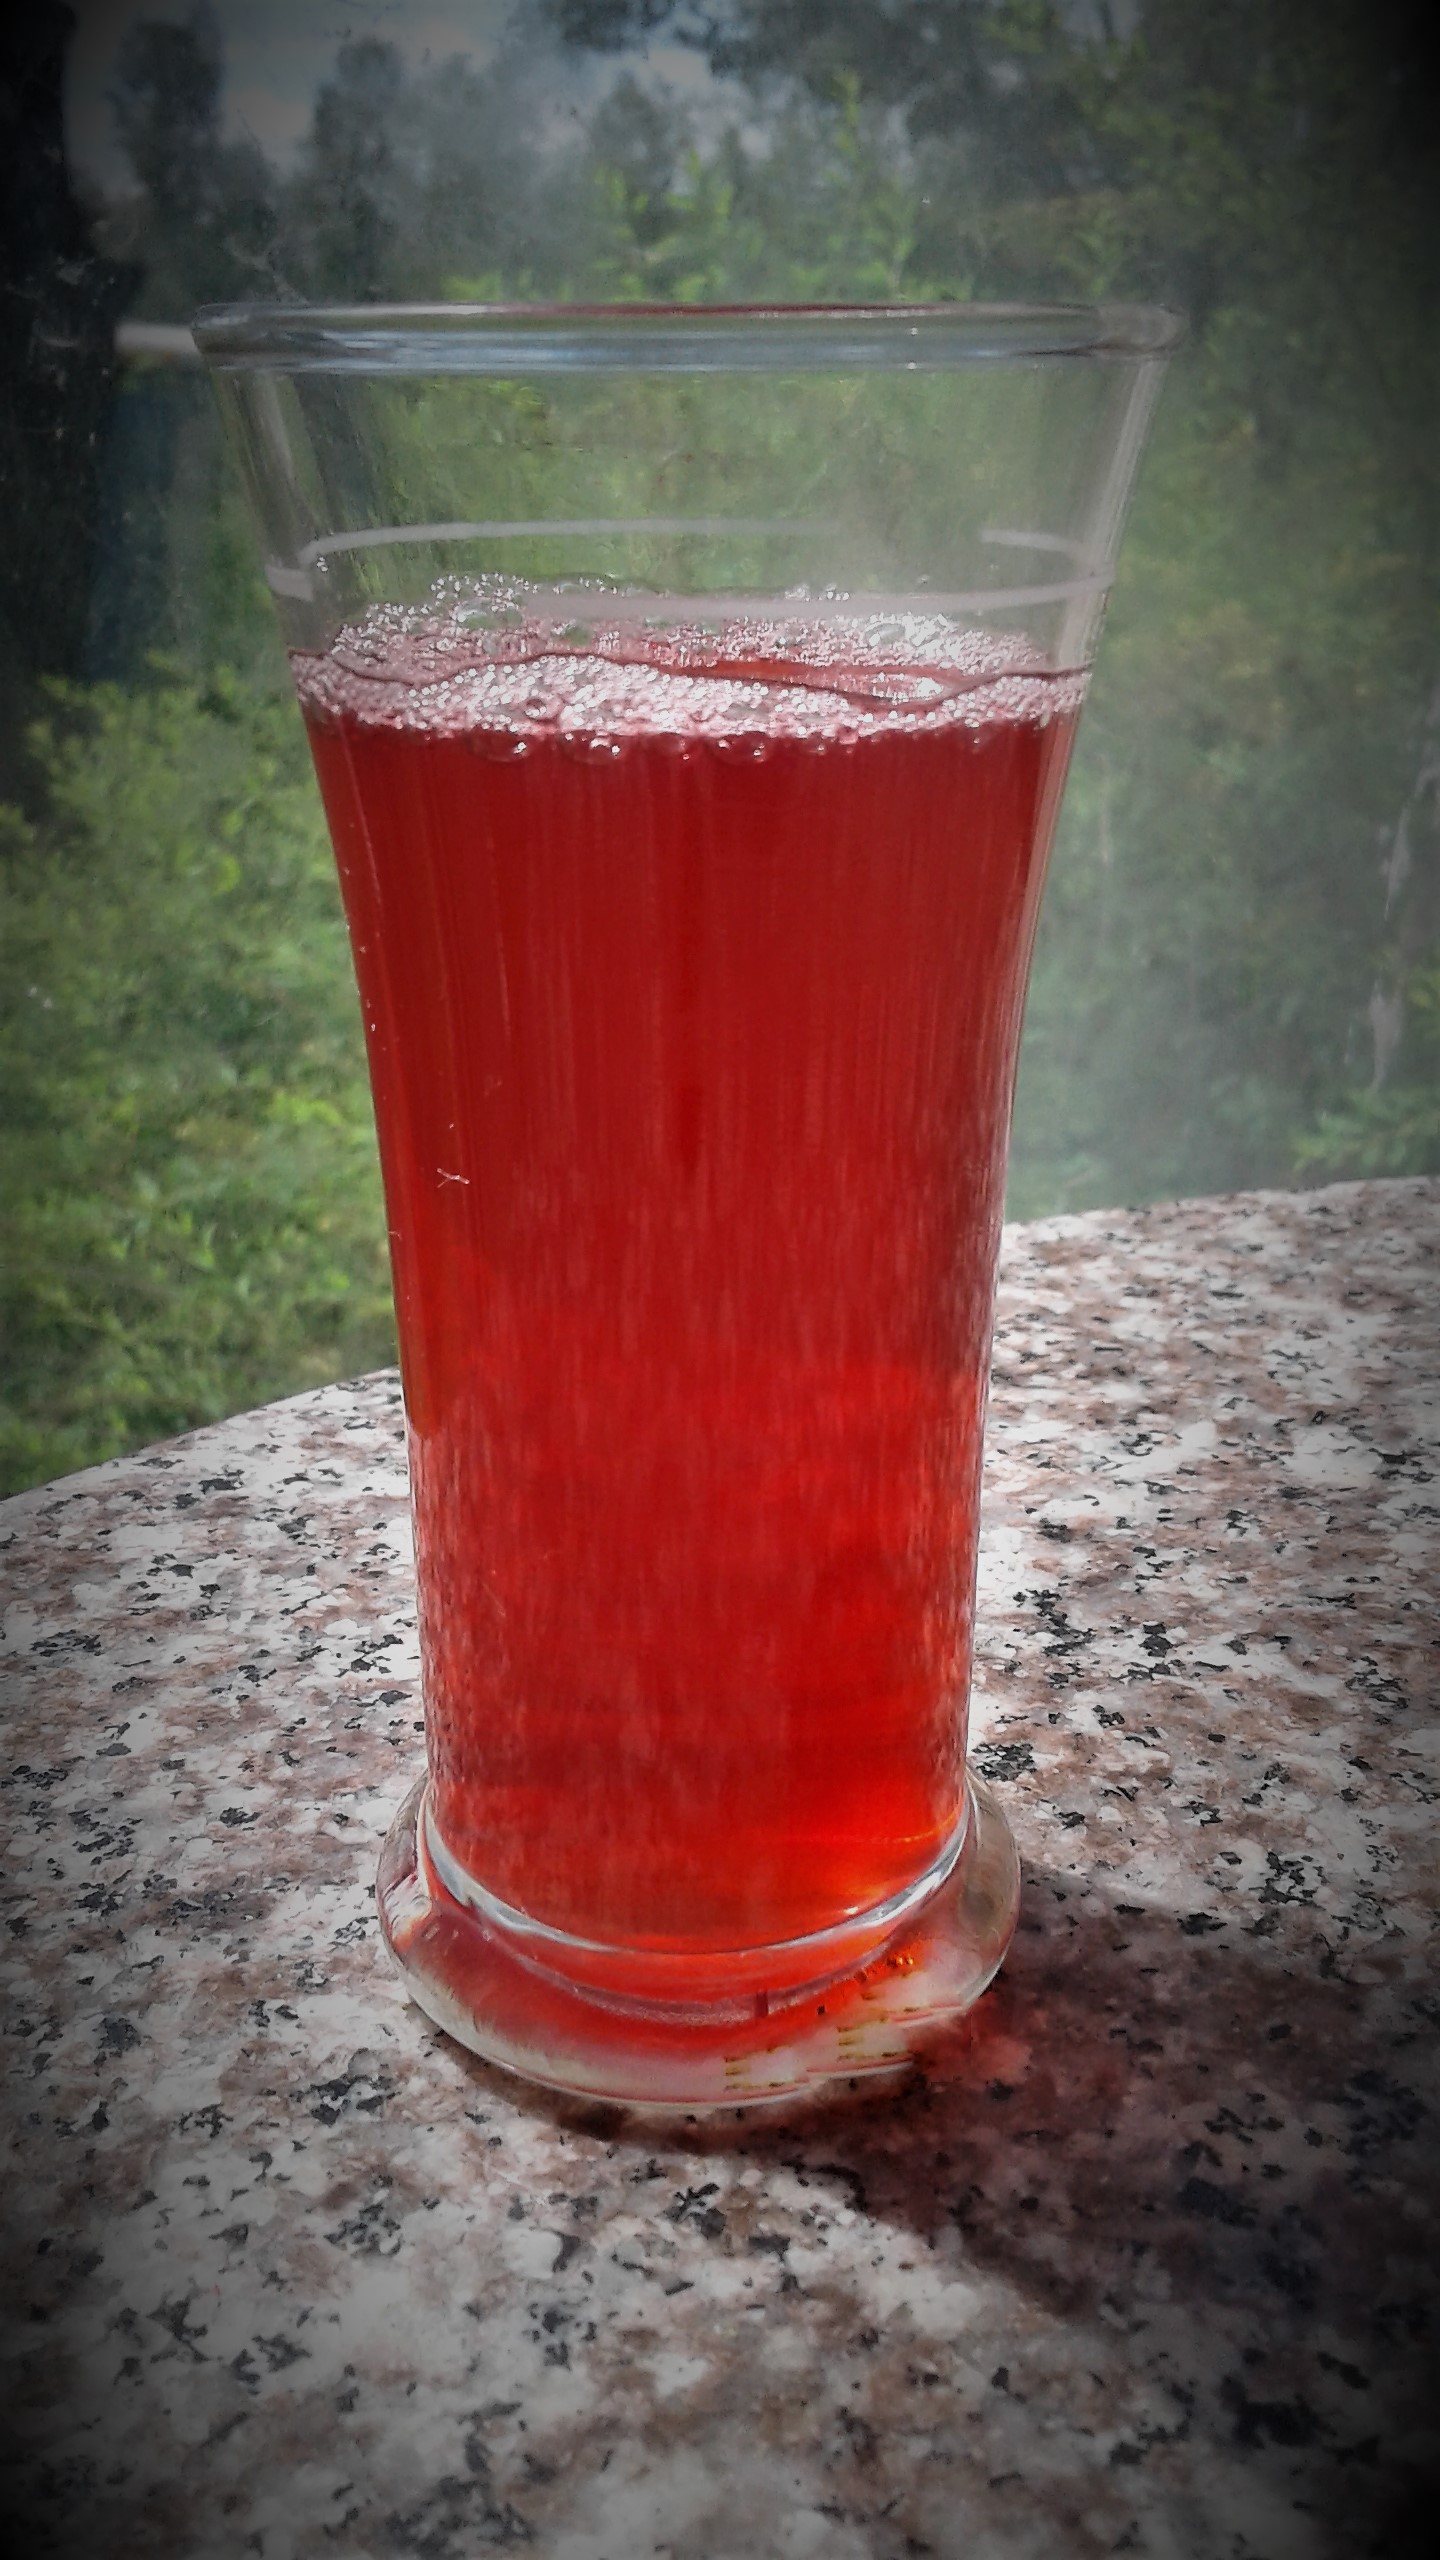
1-1:30- Rennet-traditional animal an plant

1:45- Basic Cheese-Making, yogurt, soft farmers cheese-paneer (I will be bringing Samples from a provincially approved local farm of fresh curd’s and yogurt)

3:40 Door Prize Raffle( you must be there to claim the prize, nothing will be shipped)

Full list of sponsor’s will be shared at the event- etc.. wrap up and done

This is a donate Scaled event, if you can afford to do so we ask you put something in the donate tin per person coming but you do need to be on the invite list. We do have limited seating and space.

No Pets, Its a Dry event and there will be no child care available.

It will be a fast pace event with a lot of information being shared, while there will be some limited hand-outs, bring your paper and pens.

If you are interested, please let me know either by Commenting (its moderated)

I will take up X amount of names and then I will if needed take a waiting list (because someone will always cancel the week before 🙂


Posted in Life moves on daily | 2 Comments

GooseBerry Jam Recipe

The gooseberry patch is hopping this year, a full batch of jam on off just two of the bushes with eight more to go for picking and processing. I love Gooseberry Jam on old aged cheese. The combo is a delight.

The perk of using the steam canner is that you just need to clean the berries, no top or tailing them, now I do like some of the fiber or guts of the gooseberries to be in the jam, otherwise it would be Gooseberry Jelly.

If you make the juice from the berries and then run the leftover mash though a sieve, you leave behind the skins, and stem bits but the thick fiber will push though and can be skimmed off and added back into the juice. This was a mix of berries between green and pixiewell pink Gooseberries. Give the above jam a lovely soft pink color.

Gooseberry Jam Recipe

  • 4 cups of mixed juice- cleaned cooked and Sieved gooseberry flesh
  • 5.5 cups of sugar
  • 1 package of Powdered Certo Pectin

Heat your mixed juice till its warm, add your sugar, heat up till a boil, then add your pectin and bring back to boil for one min. Then bottle and process in water bath for 10 min.

This combo in terms of percent’s is one of the best I have found for making sure I have a nice soft but firm enough set of jam.

Posted in Food Production and Recipes, Garden, Garden harvest | Tagged , , , , , | 2 Comments

Rendering Lard- Pasture Raised Heritage Pork Fat

My computer binged and it was a friend of mine.. would you like a couple bags of Freshly done but now frozen of Pasture raised heritage organic pork fat.

I was like ok, two bags, maybe three? Well her one extra freezer was on just for these bags of fat and so when she pulled in my driveway it was with four of these massive bags of fat.. took every bit of available space in my freezer’s (without me turning on a extra one).

So this post is showing just one bag, all the bags are right around the same weight. I had really hoped that it would come in ground, which is the easiest way to get the fat for grinding back from the butcher but instead it was in slabs. I had to make a choice, grind it or cube it.. I when with cube it.. it means cracklings at the as well as lard.

I was pleased to see that within each bag was the leaf fat, this very pure fat does not have the skin on it, like the bigger pieces do that you can see above in the bag.  This fat was rendered on its own and will be labels as pie crust fat only.

This fat was very fresh and the smell was excellent, you can tell by the color and texture of this lard that the pigs were not feed soy and that they had access to pasture.

Farmgal Tip of the day 

Always work with very cold fat when doing this.. keep parts in the freezer and only allow them to warm up a few min before you start your cutting work, it will make a huge difference to the process (or grind it, but again keep that fat almost frozen before putting it into the grinder)

I was running three pots, one large standard pot for the leaf lard and two of my massive pots (one holds 9 quarts and the other 12 quarts for the regular.. I didn’t fill them more then 3/4th full at max. Always done at medium heat.. trust me you do not want a fat fire doing this.

For smaller amounts, crock pots are excellent but with this amount of lard, it would take forever to do it that way. In the end this bag gave us 18 pounds of lard and 4.6 pounds of crackling that will be used for critters

So if the other bags yield as much, then I will be putting up 72 pounds worth of high quality pork lard into the pantry. These are being stored in canning jars with lids in the cool dark (no direct light) pantry.  The keeping quality of lard is effected by making sure all water is cooked out of the lard, how well its strained(no bits left) and what its stored in and how its stored, I have very successful kept lard in canning jars for up to two years with it staying good to use.

Posted in 100 mile diet, Critters, Food Storage, frugal, odd bits, Pigs, Pork | Tagged , , , , | 4 Comments

Spring Pea Harvest- On the poor side

94

94 Days of rain this spring and early summer..  Its a new record for our area since they started keeping records for the most amount of days of rain in this season.

Lets look at that again.. out of 103 days (spring and the start of summer) we have had rain 94 days out of 103 days..

My first planted pea seeds rotten in the ground, the second set washed way in a flood, half the next set was moved by rain down the row to sprout out in a puddle at the end of the rows..

But I am as stubborn as they come and we replanted again, and I finally have some peas that are up, grown up their climbers and produced flowers and voila Peas!

A few of them had gotten a bit old because I had not checked that garden for a week but most of them were harvested in their prime.. all were still sweet in taste which is what matters most to me.

We did not can any, I only put two portions in the freezer and the rest will be eaten fresh only, there are still more coming but I am pinning my hope’s on a great fall crop of pea’s.. I would normally not be able to plant them in July as is far to hot.. but not this year..

I could plant them but I need that space for beans, I will do my fall pea planting as soon as I get my bean harvest off those rows and will pull and feed the plants to the pig.

Posted in Life moves on daily | Tagged , , , | 1 Comment

Broad Bean or Fava Bean Harvest 2017

These guys were planted at the same time as the peas when the soil can just be started to be worked early spring and unlike the peas which have struggled this year, they all came up. They were in a rich bed that was slightly raised 4 to 6 inches, with good drainage and full sun.Despite the never ending rain, they produced well, they have done a great job on a average year, one a dry-drought year and now good in a super wet-wet year.. tough plants indeed

I like to use these in simple ways, dried in butter an salt an pepper till the outside is golden brown an the inside is soft and mushy when you crack though the outer.. yum

but I have been known to take the time to take out the cooked middle, mash them into a verson of Fava Hummas, garlic, oil, seasoning salt over crunchy toast.. heavenly..

What is your favorite way to use these wonderful beans?


Posted in 100 mile diet, Garden, Garden harvest | Tagged , , , | Leave a comment

Indulgent Red Current Chocolate Cake Recipe

Indulgent, o yes! This Cake is Indulgent..

Make a nice chocolate Cake.. My mom’s one bowl Chocolate cake will do quite well, just make it into two round pans or you can make it in a smaller cake pan and cut it into two slices, your choice.

In the middle of your cake once cooled, you want to spoon on Red Current Jelly and then spread it with a knife gently, it will melt into the cake, place the top piece back onto the bottom piece.

Make your regular Cream Cheese Icing but instead of using Milk or cream, use Red Current Juice as your liquid, I made it very soft as I wanted it to spread softly down the side of the piece but once placed in the fridge it firmed right up for ease of cutting.

Take your whole dried Red Currents and give them a sprinkle on the icing, it will bring a burst of fresh fruit tartness to the mix of dark chocolate cake mixed with sweet richness of the cream cheese icing..


Posted in Baking, Food Storage, Garden, Garden harvest | Tagged , , , | 3 Comments

Drying Whole Currents

Its seems so simple right.. pick your currents, clean them up, removing any bits of leaves or stems and put them on the drying trays and go..

And they will take forever.. I mean forever to get them dry..

Let me give you a leg up..  🙂

Farmgal tip of the Day

Pick your Currents, Clean them up.. prepare a pot of boiling water, deep enough that you can ideally put your favorite metal strainer in it and can lift it down into and out of easy an safely.

In a second bowl, put your ice water.. when your water is boiling.. put your currents into the boiling water and start a one to two min count.. you are looking for your currents to split their skins, as soon as you start to see this happening, take them out of the boiling water and right into the cold water with ice.. cool them rapidly, then drain them well..

At that point they are ready to go onto the drying tray’s, this will give you a steady dried product and will make the difference between drying them for 24 to 36 hours vs being done in around 12 to 16 depending on the size of the currents.

They are so beautiful when they are done..

Posted in Garden, Garden harvest, local food | Tagged , , , | 9 Comments

Dried Red Current Pulp for Tea’s and Baking

The color and flavour on this years Red currents are outstanding..

I do love the Steam Juicer but I can not waste the pulp left over..

Thankfully my big nine tray dryer is on the job..  its a bit of a process, I put them on as flat as possible like the above, let it go four to six hours, at that point it will peel off in flats, those go into a big cake pan, then that gets broken into small clumps, those will still be damp inside them.. put them back in the dryer for six to eight hours till bone dry.

Then take out, allow to cool, check to make sure fully dry, if so then pour them into a baggy and on a nice wooden cutting board and with a rolling pin.. roll them and then give them a good whacking 🙂 This perfect for use in the tea’ but if you want it for Baking, I recommend that you put it in the blender or your spice grinder and give it a whirl till its a nice fine powder. Into a super dry(make sure its dry) jar and lid and into a cool dark area.. it will last a full year (most likely longer but I have not used it by then)

Posted in 100 mile diet, Food Storage, frugal, Garden, Garden harvest | Tagged , , | Leave a comment

Red Current Honey Garlic Sauce

The Current Crop is coming in this weekend and what a crop it is..  I am on my third full steam juicer load (which makes five to six cups of the most amazing Current juice, which once made into jelly, syrup and so forth will increase in volume of finished product) and each batch creates four trays of current mash that will be used for tea and baking though out the year.

Which fresh current juice, I had to find a way to use it in my planned supper and our coming dessert-slash coffee break baking. I had pulled a lovely piece of Beef that I had planned on making into stir-fry bites and lots of veggies, we had a carb heavy lunch, so I wanted a much lighter supper.

I laughed and thought! honey Garlic.. why not Red Current Honey Garlic Sauce.

red current garlic honey sauce

Red Current Garlic Sauce Recipe (for 2 meals, double for larger amounts)

  • 1/2 cup of Red Current Juice or Jelly(if you don’t have fresh)
  • 1/2 cup of raw local honey (could cut it down to 1/4th of a cup if you wanted)
  • 1 tsp of minced Garlic
  • 1/2 tsp of Salt, Pepper and Ginger
  • Two shakes of Worchester Sauce (if you like it)

Mix together and after meat and veggies is cooked, if you have a lot of veggie juice, which I did, you can drain it and then put the sauce over for it to be a bit more sticky covering, simmering it for a min or two while gently stirring.

I left my cooking juices but the flavour was still all there an it was delightful.. so good.


Posted in Garden harvest, gardens, grass fed beef | Tagged , , , , , , | Leave a comment

Red Current Season has arrived!

In 2010, I pinned down five branches off my two biggest red current bushes on the farm. they were planted as two year old potted red current from a local greenhouse our first year on the farm and I let them root down for the year

in the spring of 2011. We trimmed them off the adult plants where it came up to join the parent plant and with care worked it out the pin and the laying I covered over that section of the branch.. what came up is a huge lovely mass of roots.. such a pretty sight.

After clearing and preparing the hole and mixing the soil with compost, we planted these rooted stems up to the start of the branch (which had just starting buds on it in early spring) We should have made the hole a bit bigger and pulled the grass back more but it was done the next year, it didn’t hold the current bush back.

Don’t prune on the first year, just let it grow and put those roots in and start shaping the bush the next spring, I take two years to get it to full shape and then just let it grow and it will be producing outstanding red currents in no time flat!

By doing this we have a dozen red currents bushes and I plan to make more to transplant into the food hedge row at the front.. one more thing that needs to be done this year. The reward from these bushes.. wonderful currents..

This year, the birds are loving them just a little to much.. but we still will have a good crop coming in, I am out of Red Current Jelly and that is one of my mom’s favorite, last year I had enough Red Current Jelly left that I made them all into Red Current Juice.

I will be making some of them into regular jelly with pectin and some I will be making Red Current-Gooseberry Current (using the Gooseberry as the pectin) and I will also be making at least one batch of Red Current-Elderflower Jelly.

Do you have a way you love to use Red Current Jelly? that you want to share with me?

How many current bushes do you have? Do you like the red best or do you like black current or white current more.. on my farm, I have all three but its the red that is the productive currents.. they out grow and out produce the other colors by a landslide.


Posted in Garden harvest, gardens | Tagged , , , , , , | 7 Comments