
Ok, I am wanting to track this down for this coming year.. March came in like a lion and roared and stomped its feet and is ending in the same.. we have had storm after storm , freezing wind, thunderstorms and more..
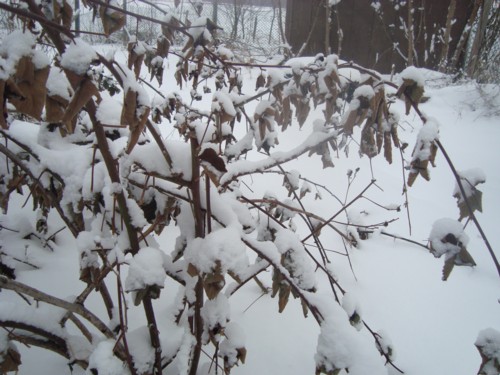
Normally by the end of march we have spring on the way, I am seeing bare land, I even on some years doing a tiny amount of wild forage of plants starting on the edges of buildings that have the double solar heat from the barn walls and so forth.. this year. I have none of that.. I am finishing march with a average of two feet of snow still blanketing the farm and drift that are still hip high in some places.
Costs for Feb 2017
Hay-$400.00
Feed- $292
Straw- 24
Farm Output- Personal use only but local costs to replace if bought off the farm
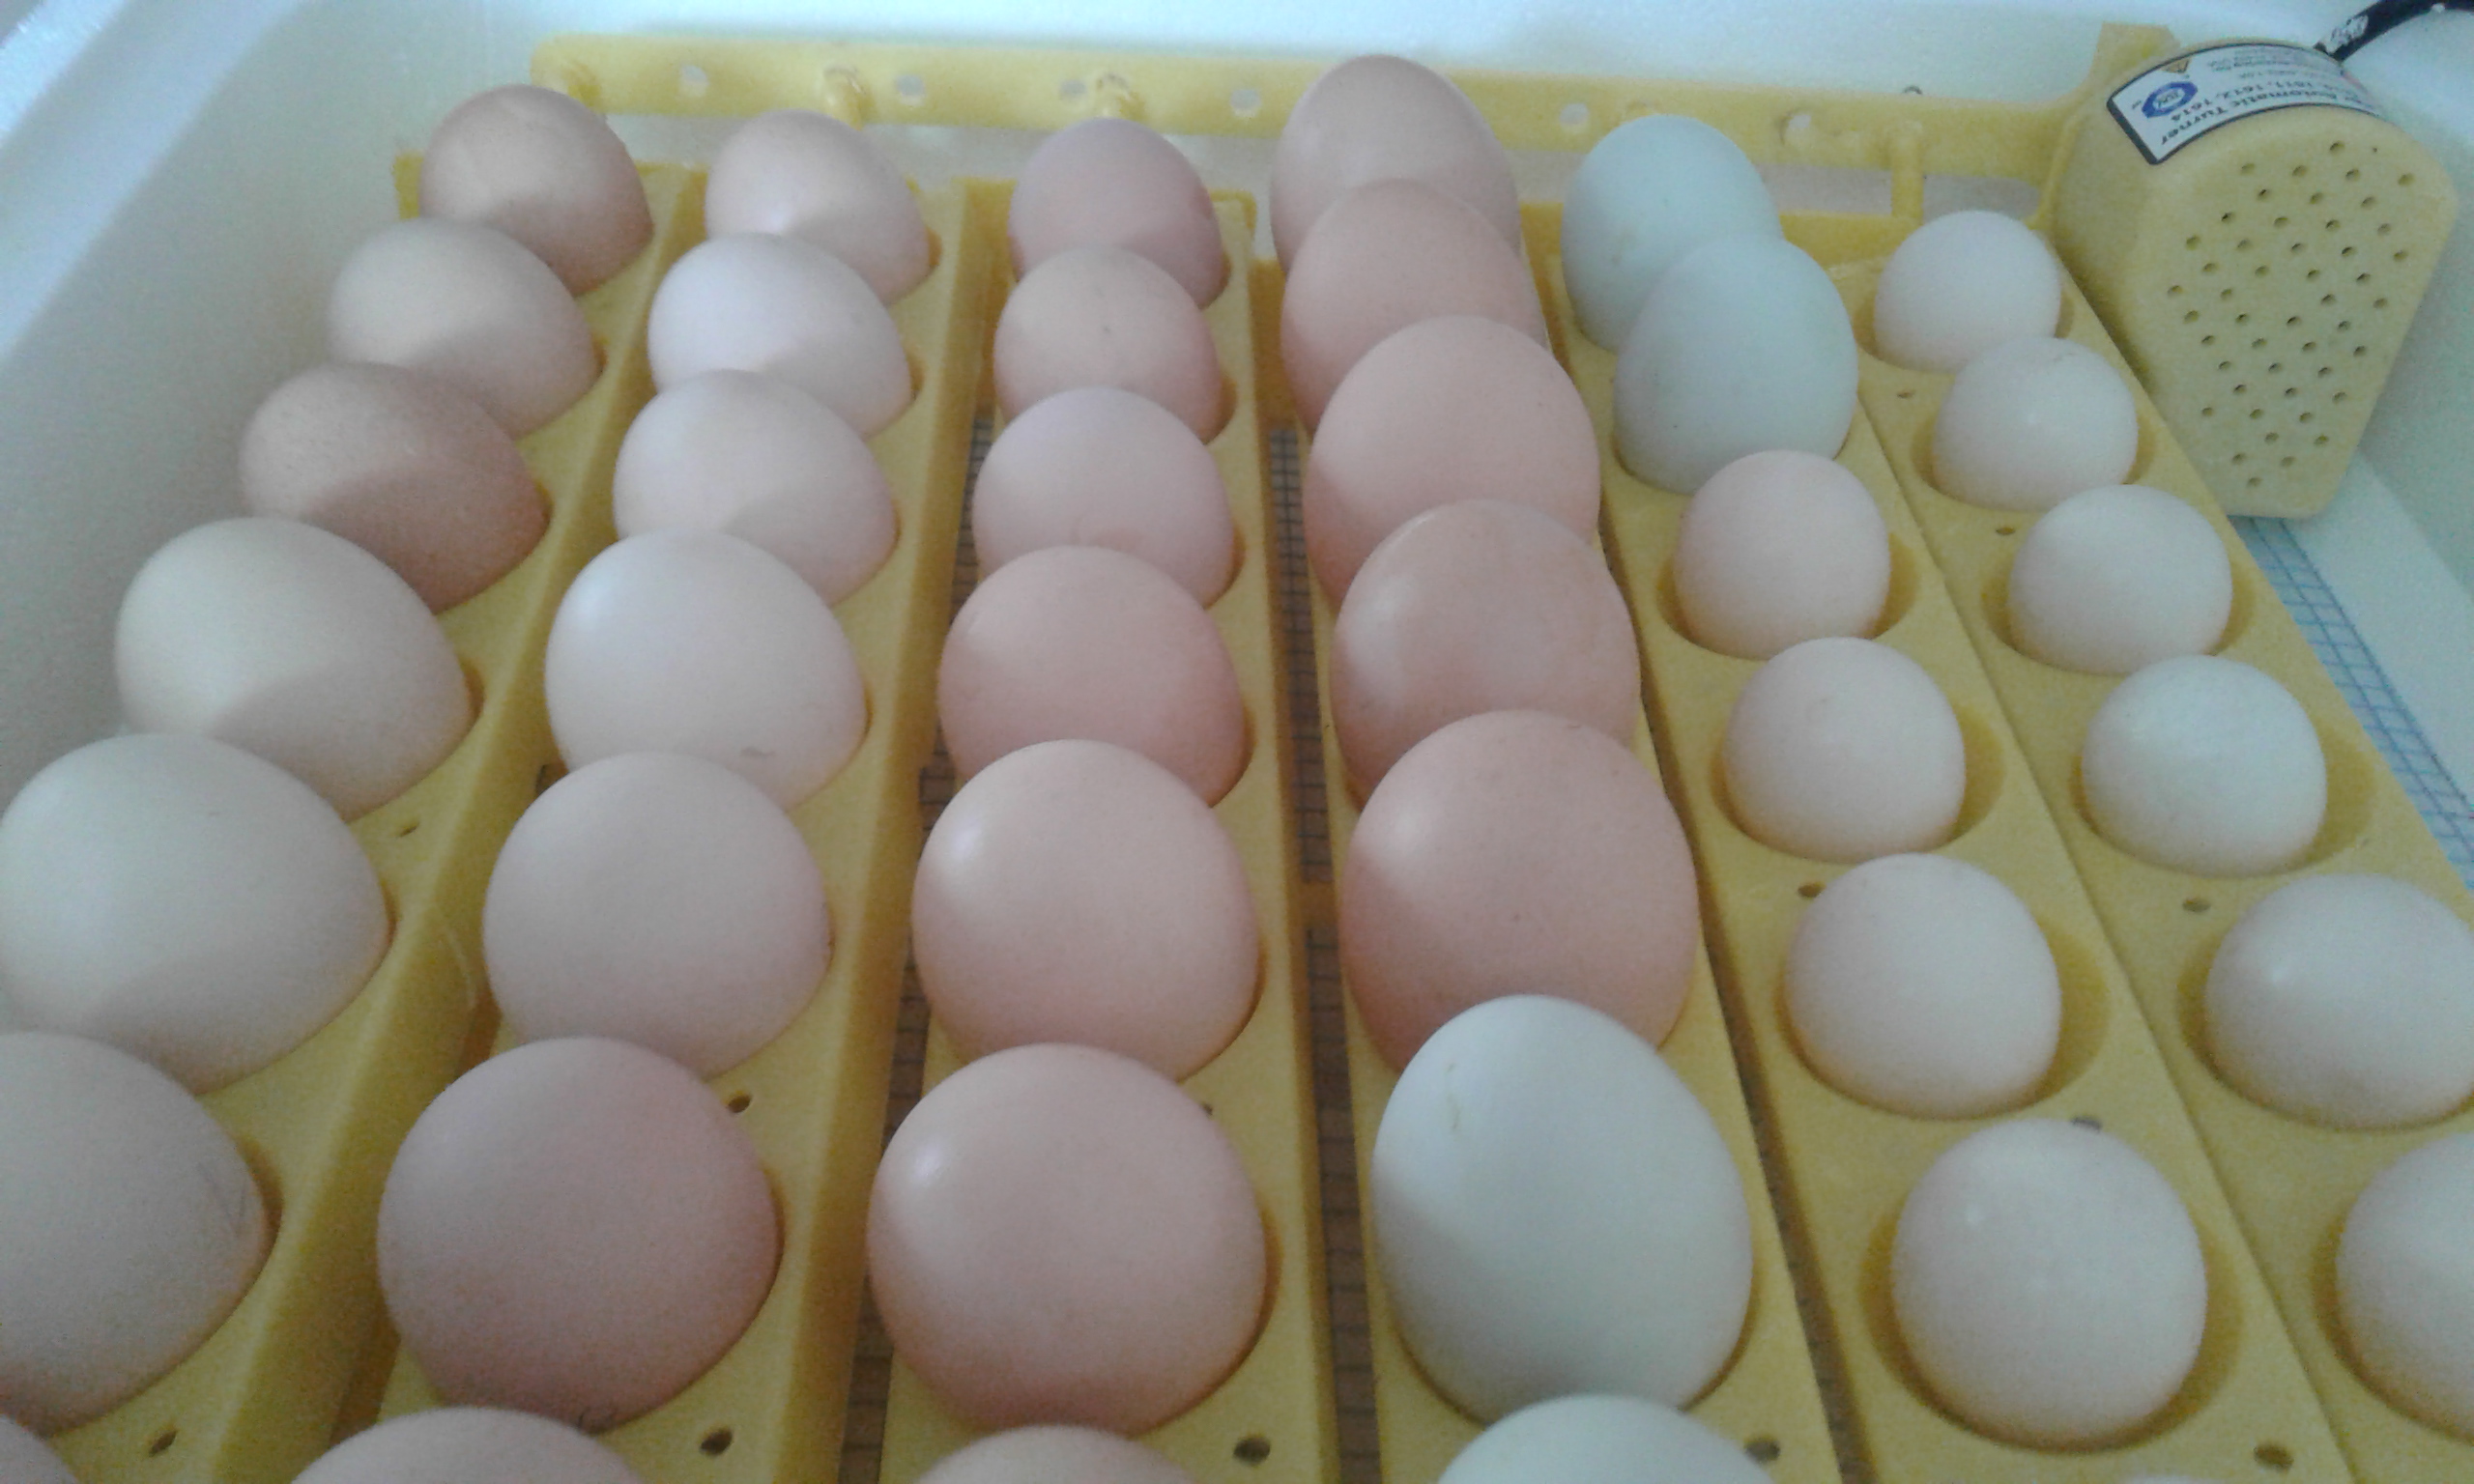
- Eggs: 5 dozen at 5 per dozen as eating eggs- $25 dollars
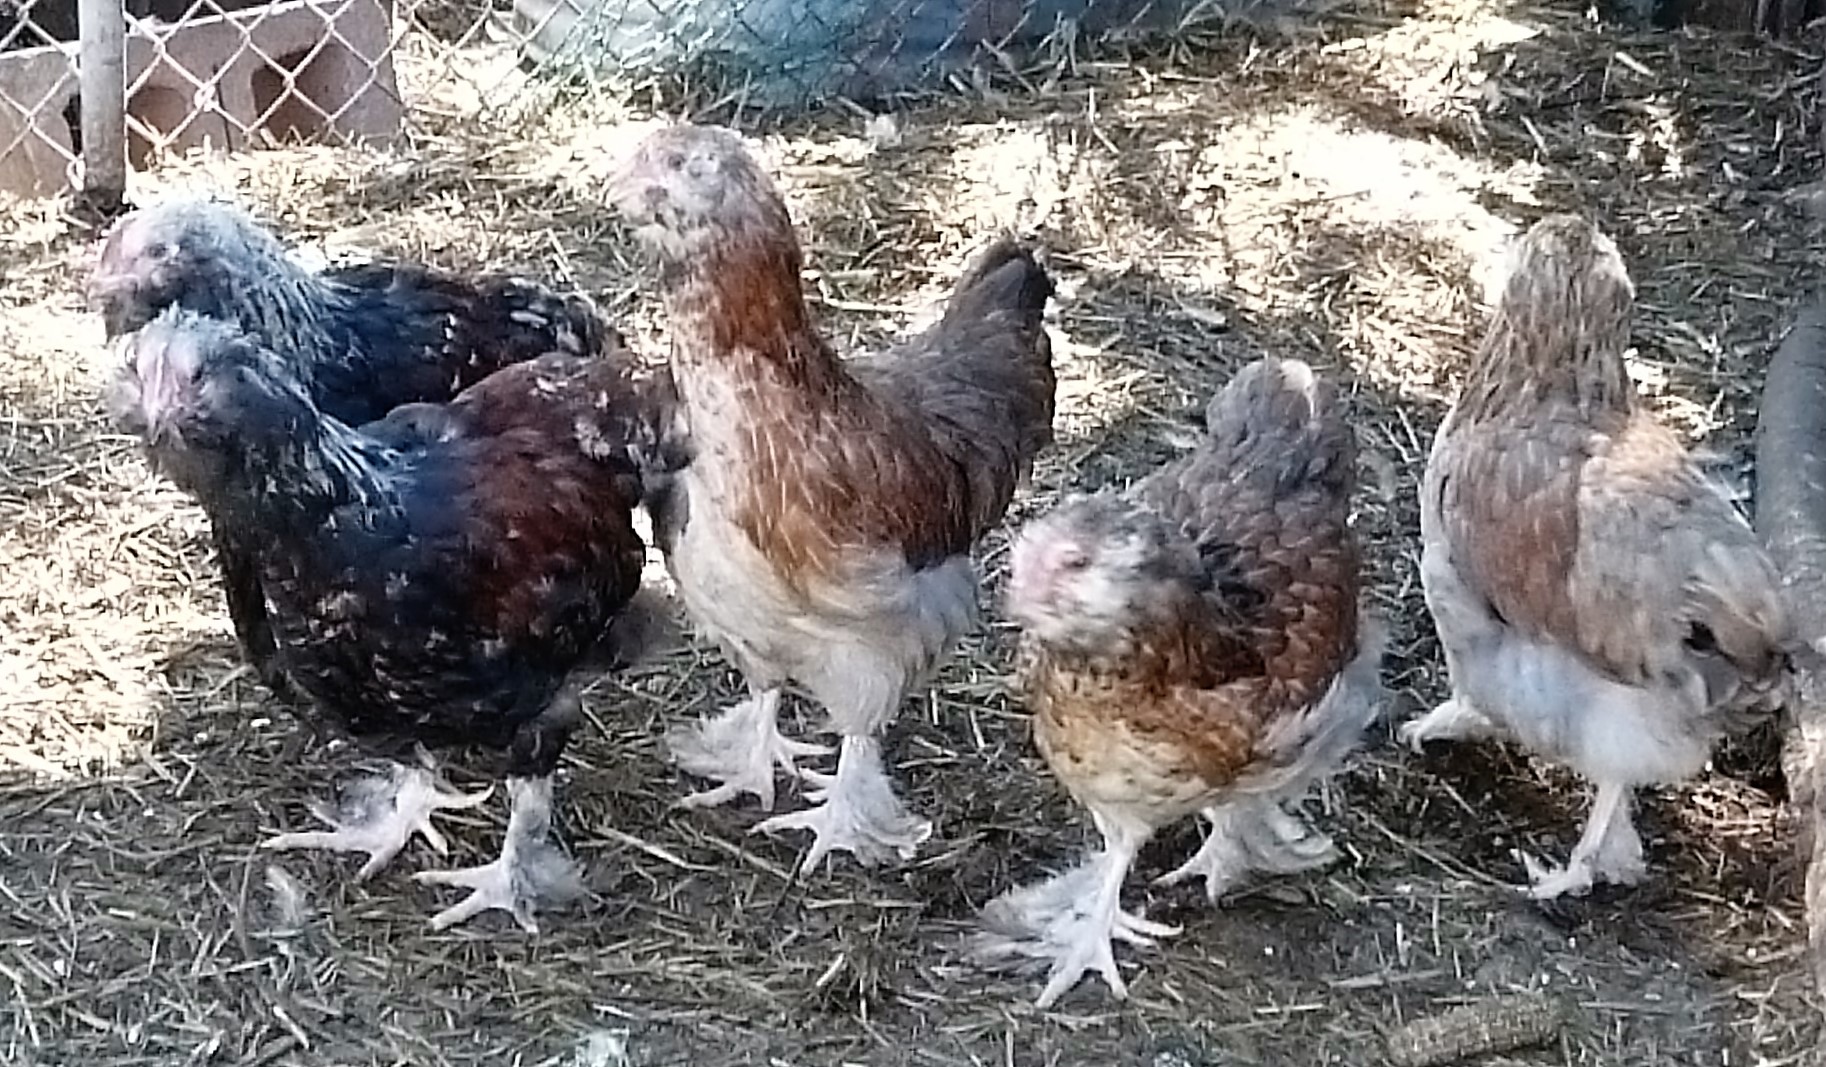
- Hatching Eggs-12 Salmon Favervolle -80 – (I went with the local hatching sale on the chicken hatching egg sellers.. so total of 6.60 per egg and total of 21 eggs $140
- Mixed Hatching eggs- Locally about $27
Goose Egg- 11 breeding-Hatching egg-55 Dollars
Sheep Milk- 24 liter -(Moving the milk price to the same as the lady down the road that sells it at 8 dollars per liter)-192
Manure: Finished composting down.. at least 50 dollars worth of compost produced this month.- $50
14 new lambs (current market value per lamb 100 as bottle babies Price dropped down since last month. -1400 - Lambs info (* for later in the year, I Will adjust the price to reflect the butcher, the return and sale price sale, but for this month, lets stay with if I sold them as a bottle baby this month)
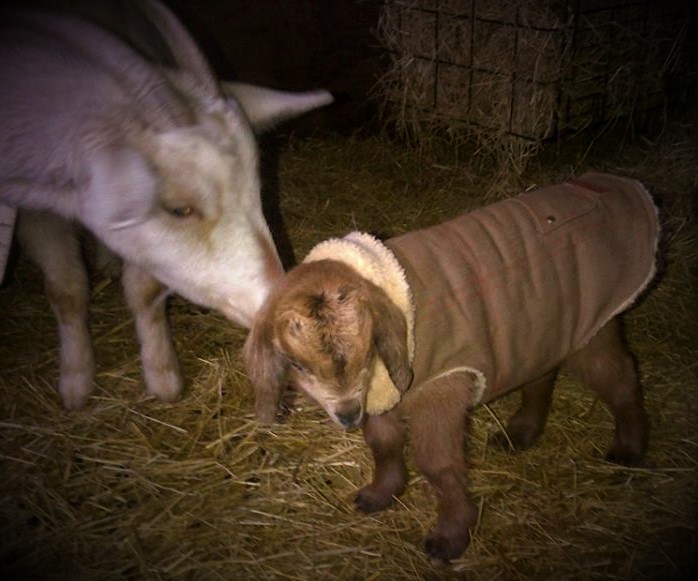
- 1 goat doeling (as a bottle baby 100) -100
- Newborn Lamb Hide- 20 dollars
Farm loss’s in Feb
- One still born lamb, skinned and hide cured..
- Loss of our Maple season this year.. we had less then three full run days.. worst Maple syrup season we have ever had on the farm.. the tree’s are breaking buds.
Farm extra’s Costs
- One heritage weaner piglet -$50
- 3 Mixed Breed Meat Does (rabbit)- $60
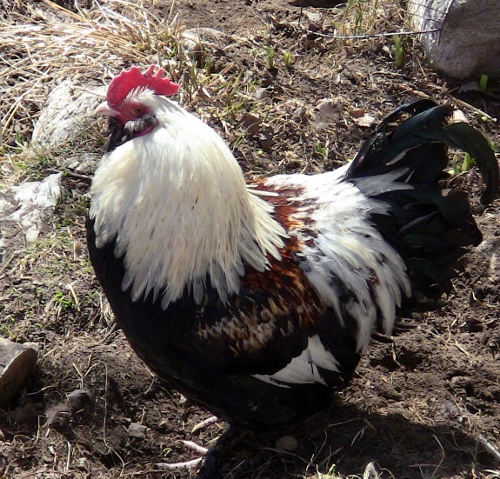
- 4 Purebred Light and Dark Breeding Set -$140
- 5 dollars worth of hatching eggs
Farm extra’s..
hardware – 0
Ferrier – 0
Vet- 0
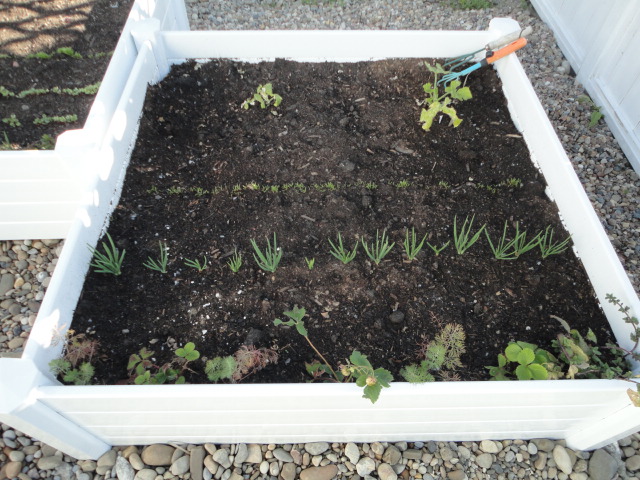
Garden Overview Feb
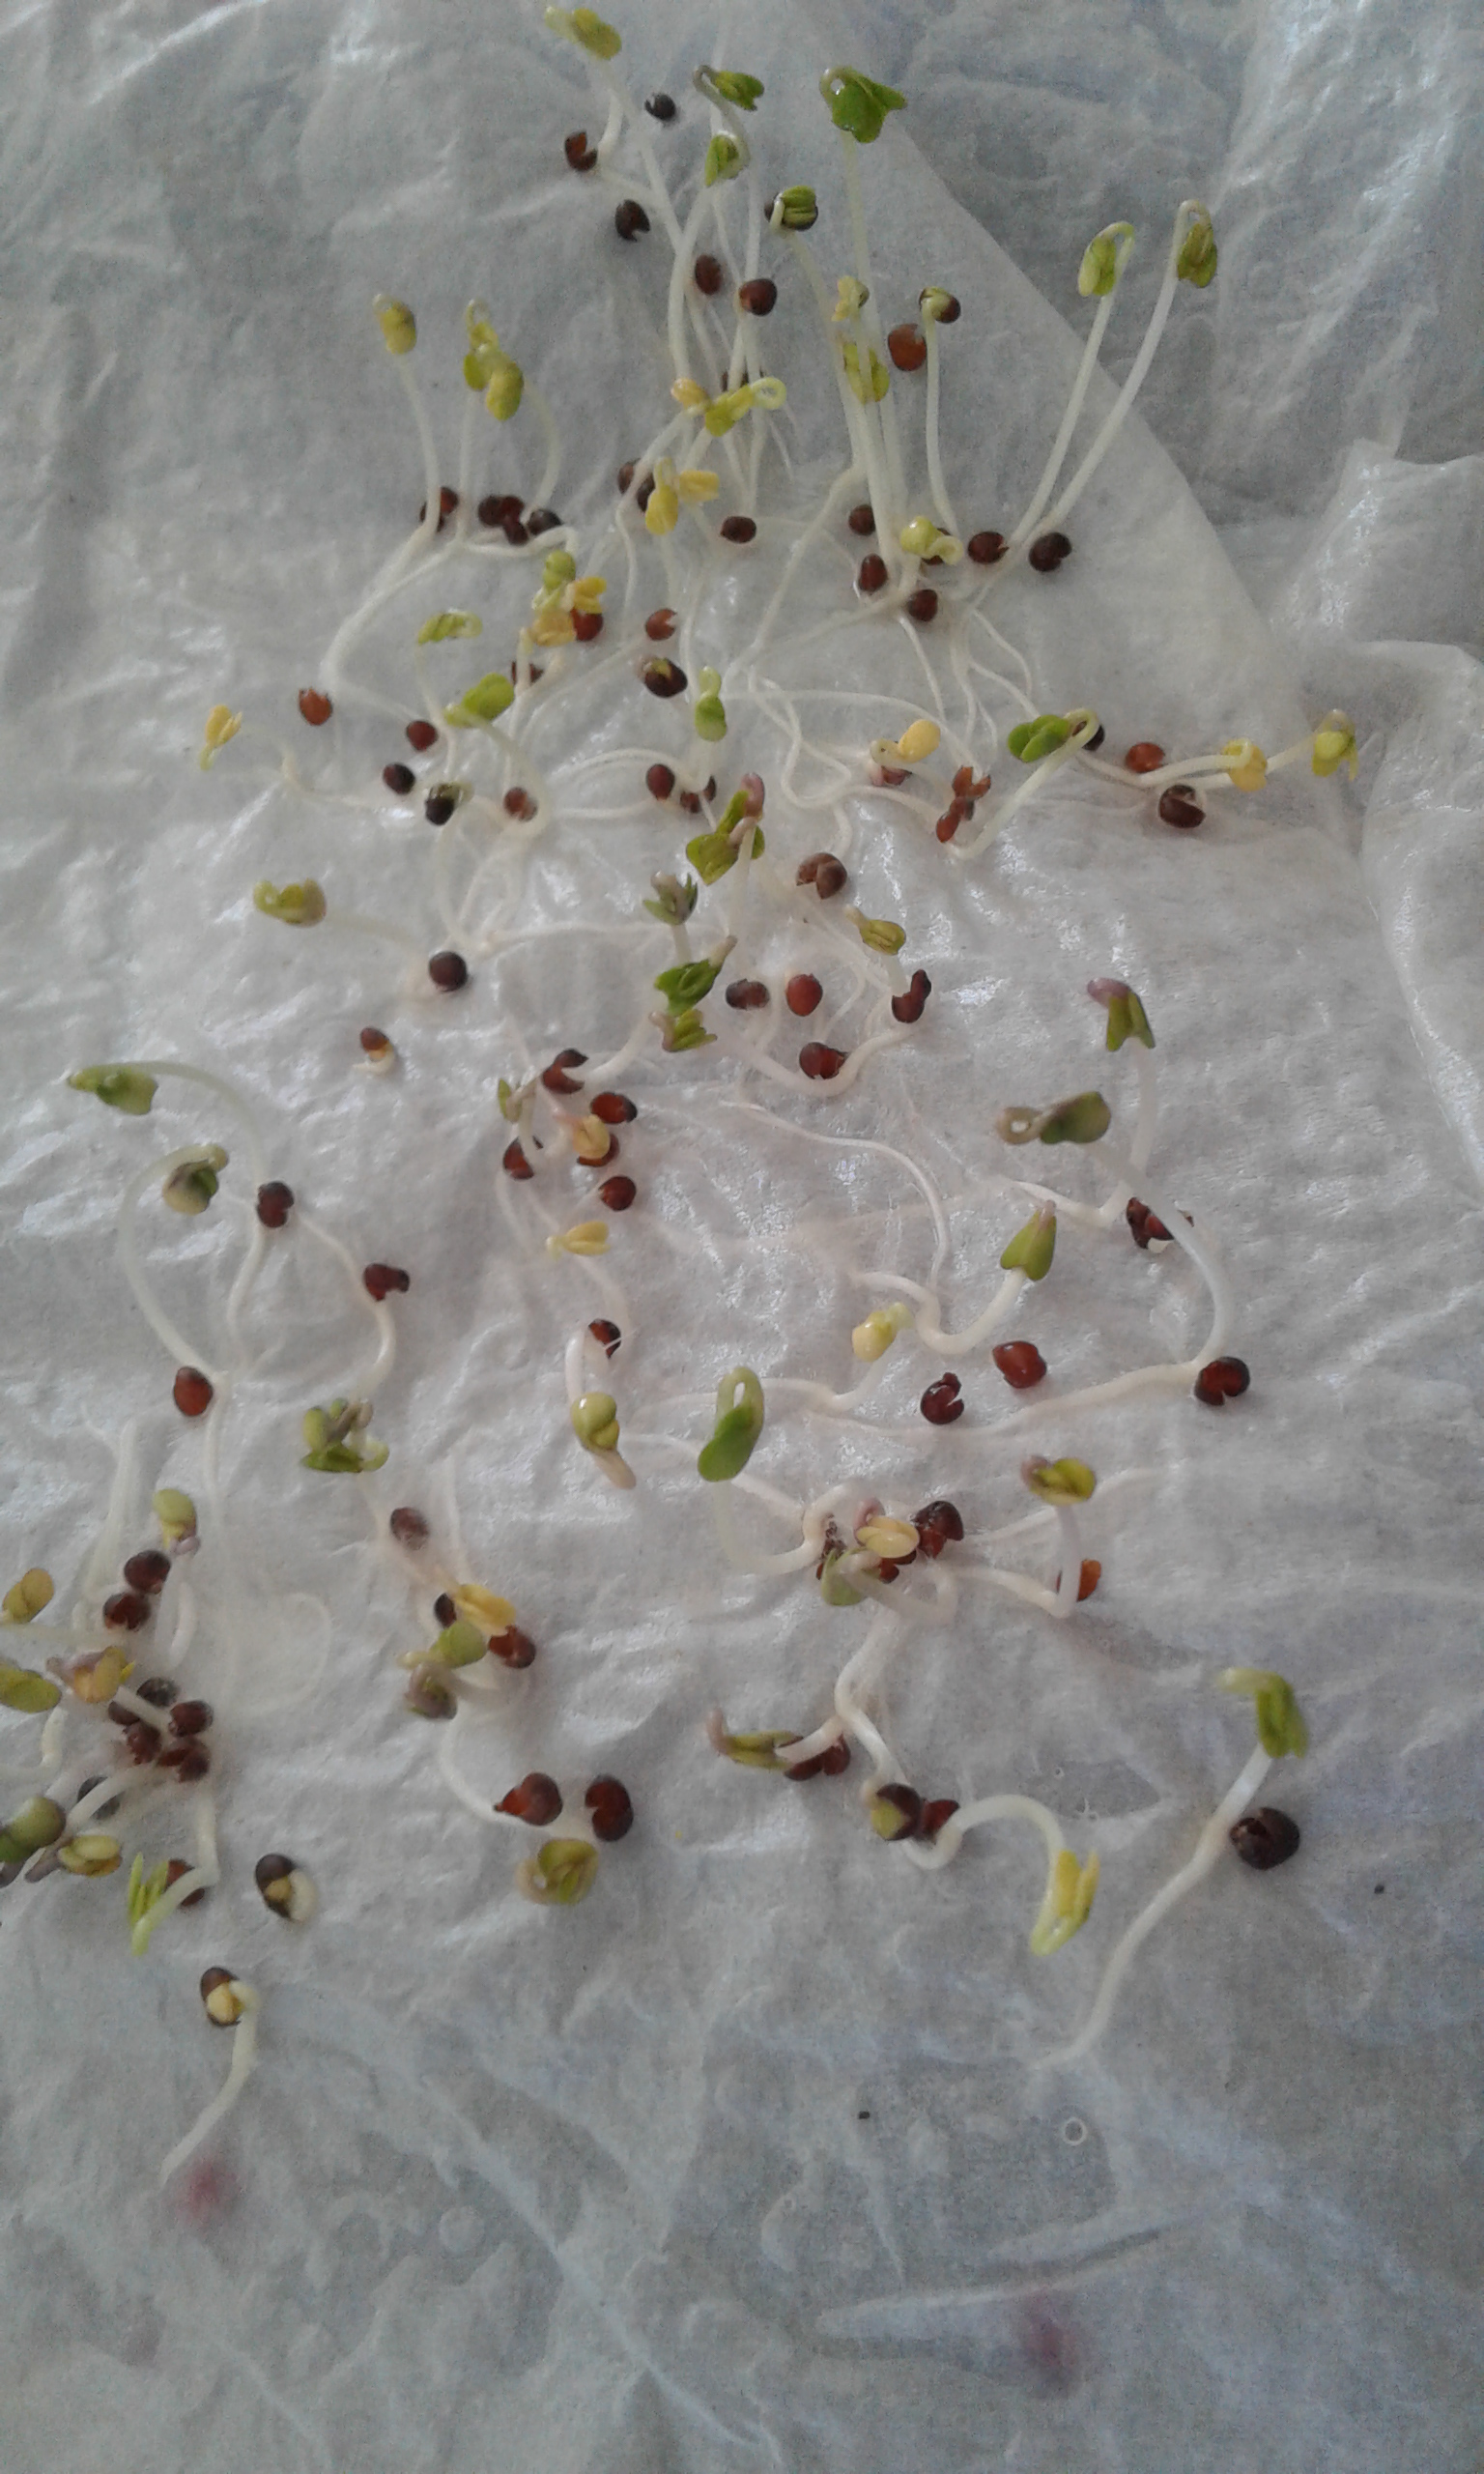
Total Garden Costs -$ 0 (I did not buy anything in the month, but lots of planting going on.. check the Garden Overview for list an full update
Total Garden Return – $248.00
Total Out cost for Jan on for the farm -$971
Total output of the farm in returns -$2,009
- Jan – In the hole –1,029
- Feb – In the Hole –1,429
- March-On the good side -$ 1,038
Yearly total Minus- 1,420 (still in negative but it was a good year in march none the less, Lambs, Goatling, Eggs, Milk and so seedlings are growing!)
March was a bad month weather wise, we set new records in regards to snow for those days and the time of year, we had deep cold temps that killed our sap runs.. and thank goodness for the big barn for all the new babies, and for baby coats. The cold slowed down egg laying for a number of the birds.
I know that this post is coming out one day early but I will adjust if needed but as I am home on the farm and have no shopping plans..
Goals- No selling of anything off the farm is planned, the saving costs are what we would have to pay if we bought in the local free market to replace what the farm produces that improves our lives.
Its a tracking year..
and also I have had and seen a number of comments many times of folks saying, my 5 acres and under homestead needs to pay for itself.. well, I like to think mine does, I like to think that a well-run homestead can do just that! So lets see if I am right or not?


")
")

")


")

")
")
")

")
")


")
")
")

")
")
 (2)")
")

