
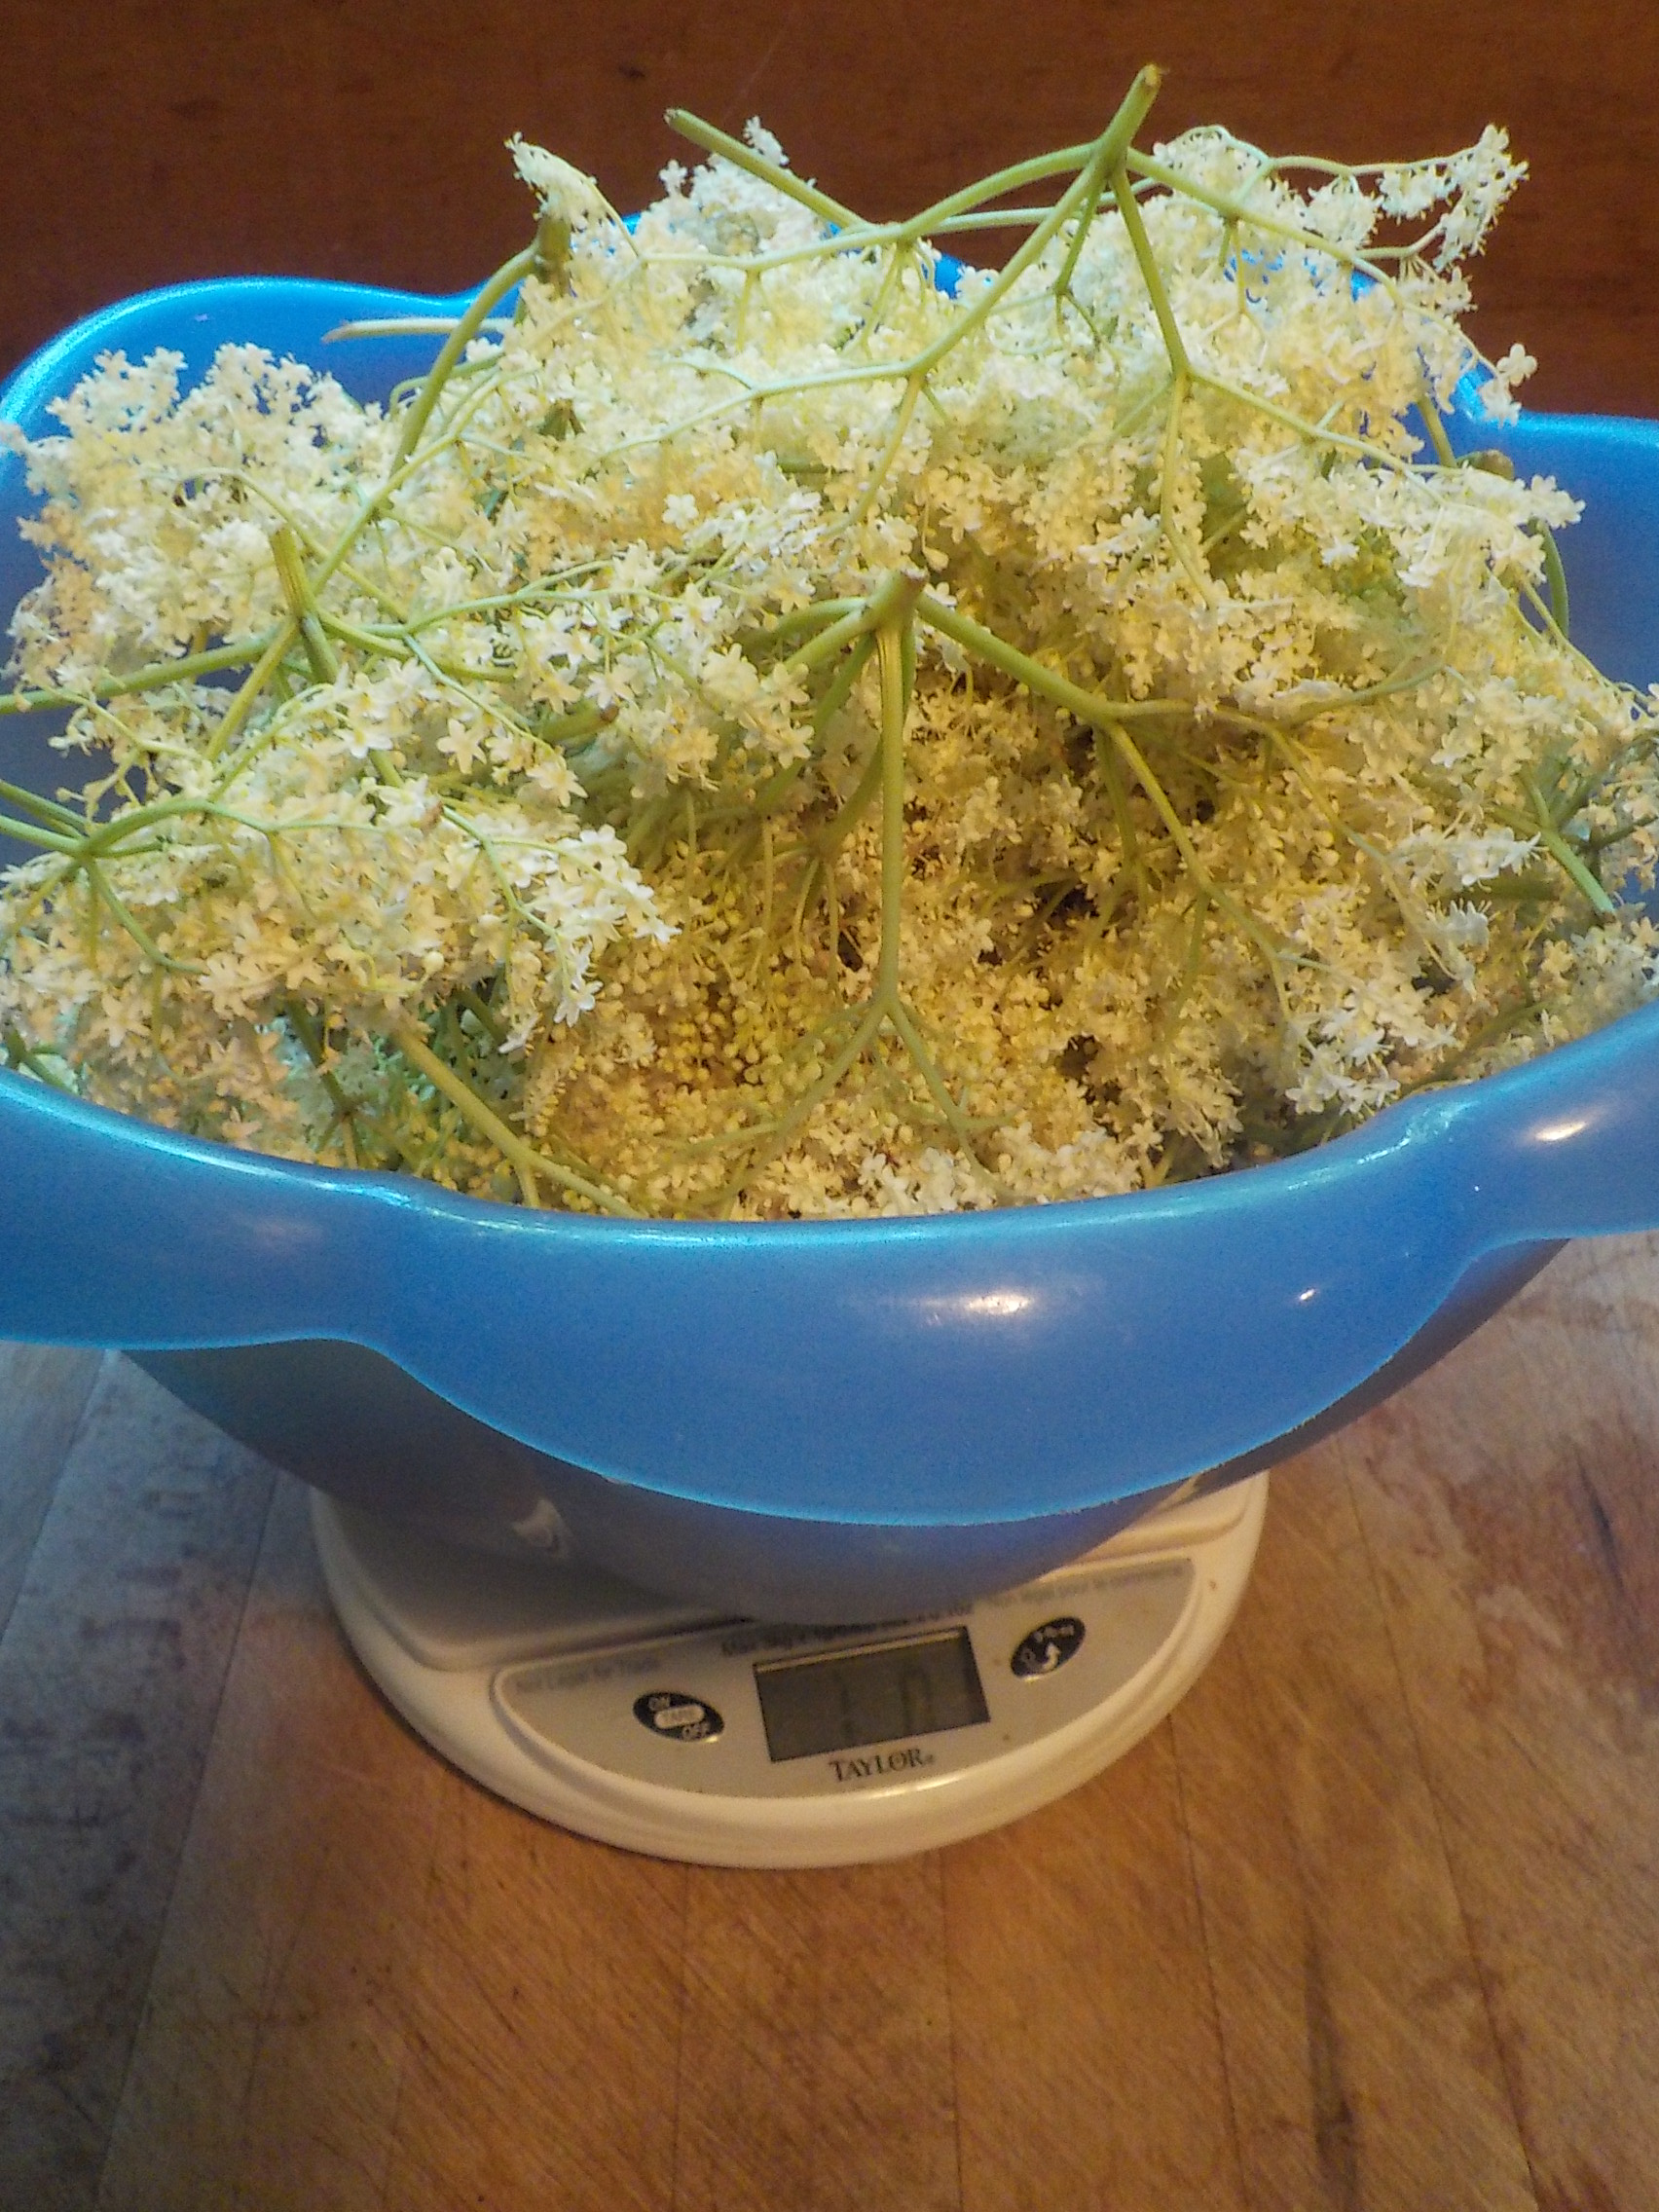
We picked into a laundry basket and in the end we picked just over 5 pounds worth of them and we were so lucky that we have the rains stop, the sun come out and the flowers were dry and perfect to be picked.. some bushes had finished blooming, others are still coming on.. but more then enough were in peak bloom.

It takes a bit bowl of fresh Elderflowers to hit that pound mark 🙂 I dried 3 pounds worth of them, I still have lots of elderflower jelly and elderflower syrup in the pantry, so this year I focused on drying them for winter use. I decided to take a cup of them and mix them with a cup of sugar, mix together and put into a jar for a couple days to infuse, then I am going to blend them together and use the infused sugar in a cake, along with fresh elderflowers both in the cake and on the icing (coming soon)

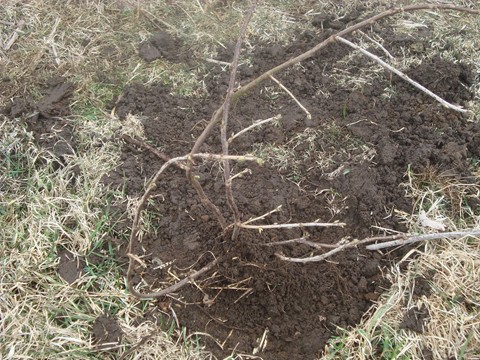
We only take off 1/3rd of the flowers per bush so that we will have lots of elderberry’s coming later this year, I find that taking off the 1/3rd of the flowers (I am the only one that harvested from these bushes) means bigger elderberries on the ones that remain, I also make sure that the one remain do not overwhelm any one branch, reducing the chance of breakage from berry weight.
I do recommend that you prune your flowers off with later berry production in mind. Hubby asked me to step up my herbal tea making for him and Elderflowers give a lovely light floral flavor to mixes.
How is your elderflowers doing this year?
Three Extra Thing’s to do with your Elderflowers
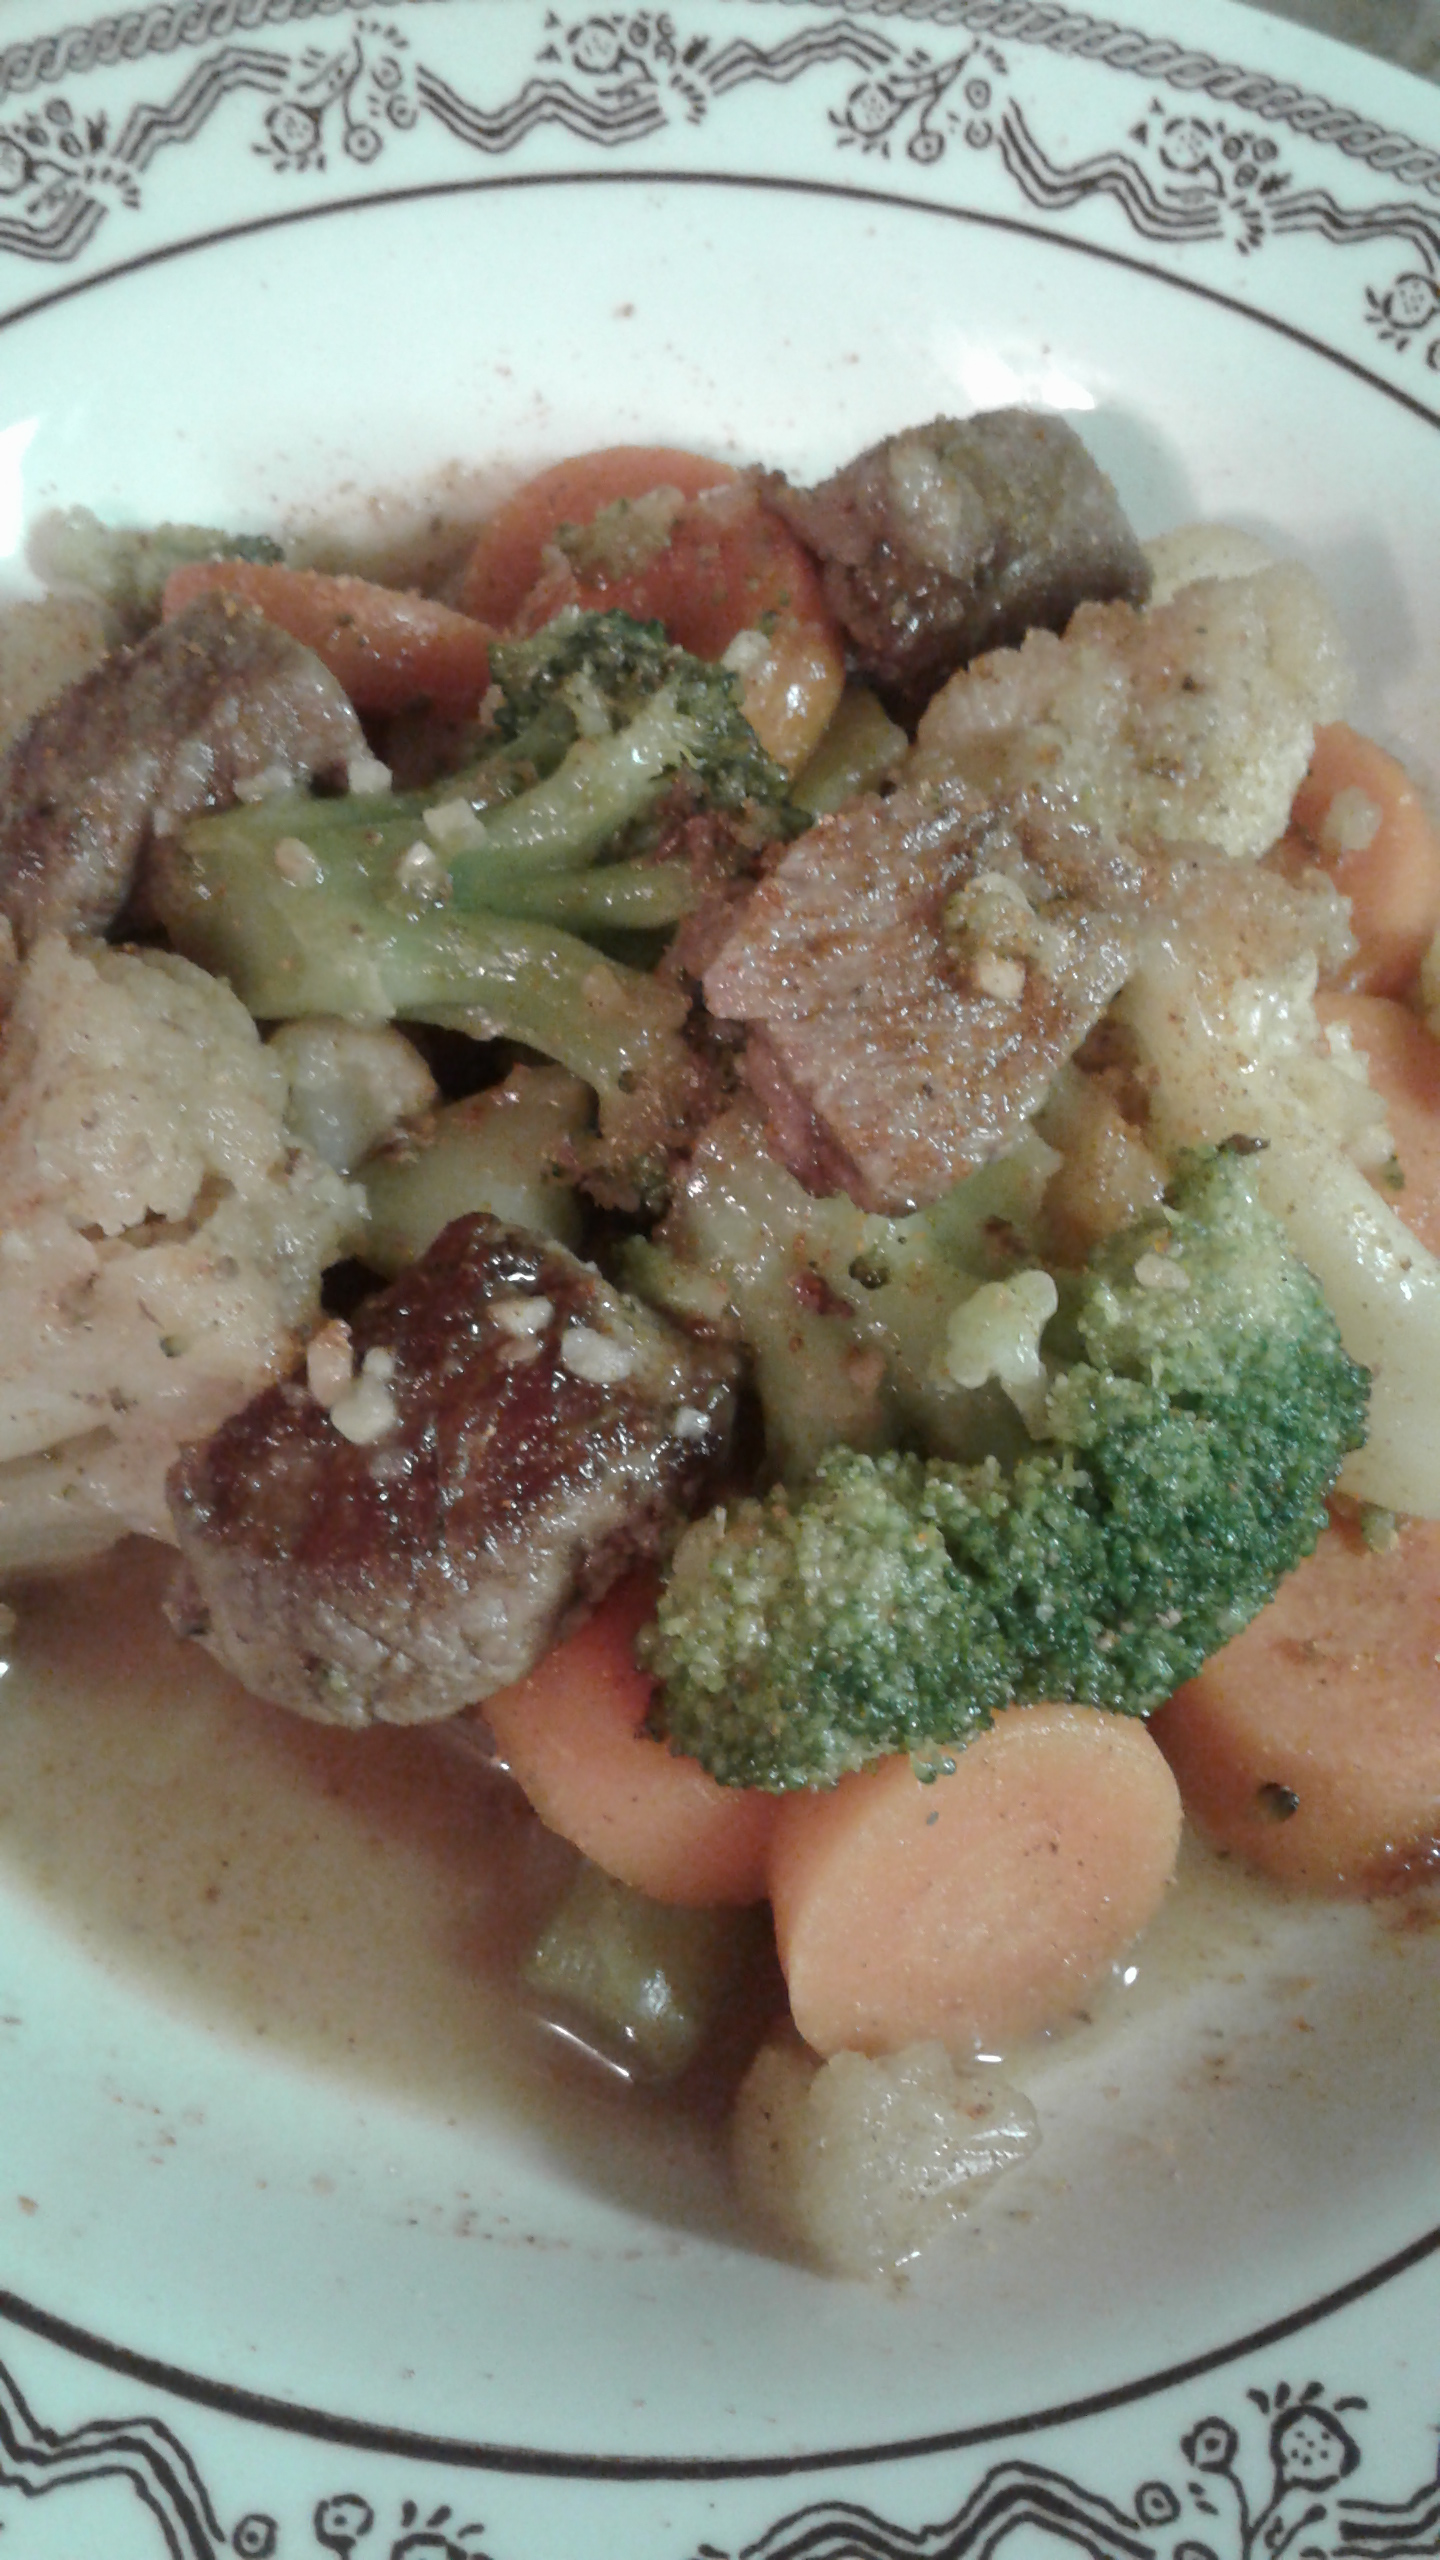
Gooseberry Elder Flower Pie
3 c Fresh gooseberries filling
1/2 To 1 cup fresh elder flowers
1 1/4 c Sugar
2 tbsp Tapioca
2 tb Lemon Juice
Pastry for 9″ double crust
Line a 9″ pie tin with pastry and put your fresh elderflowers in, don’t worry if they go a little light brown from bruising when you remove them from the stems, fill with gooseberry mixture. Cover with a round of pastry or with latticed strips of pastry.
Bake in 350 F until golden brown and you can see the filling is boiling hot.
Serve Cold with a dollop of whip cream or clotted cream or scoop of ice cream if you wish.
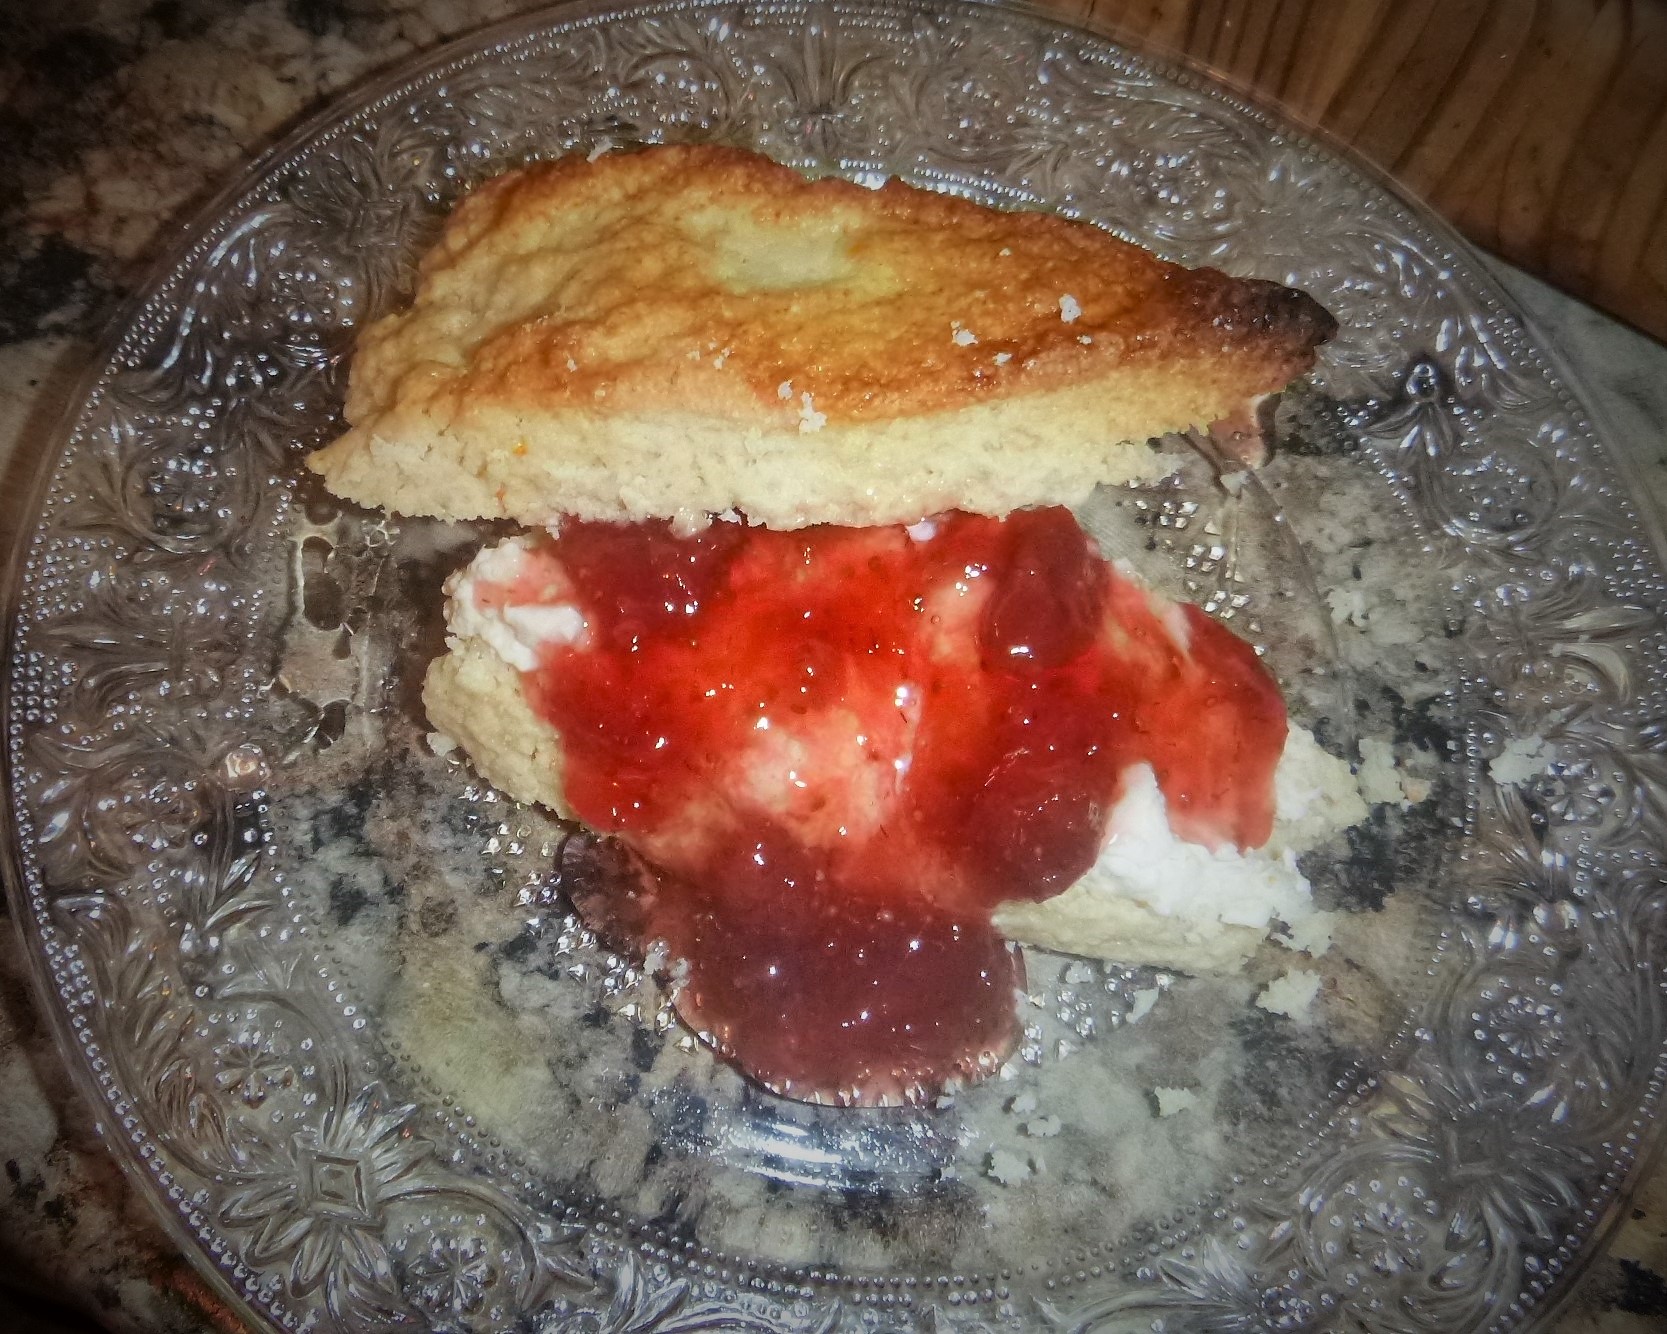
Glenny’s Elderflower and Lemon Ice cream Recipe
This recipe comes from The forgotten skills of cooking, and I did not farmgal this recipe, I made just this recipe and I can’t imagine tweeking it.. its just amazing.. it does need a ice cream machine ideally.
This is a itty bitty batch, so feel free to double it..
3/4th cups of whole milk
3/4th cup heavy cream
8 large elderflower heads
4 farm egg yolks (no whites)
6 tbsp. of sugar
2 tbsp. of lemon juice (as fresh as you can get)
Combine your milk, cream and elderflowers and warm gently to just below boiling point, steep for 15 min, strain.. beat your egg yolks and sugar together, add the warm infused milk slowly, stirring the whole time, return to heat and cook on very low till the custard sheet coats the back of your spoon, slowly mix in your lemon juice.
Pour into bowl and chill it in fridge till very cold, then follow the ice cream maker instructions.. heavenly!!! and if you want to just take this over the top, when ready, put into a tall narrow small pan, layer of ice cream, itty bits of half teaspoons of black current jelly mixed to break it as smooth as possible, cover with ice cream and repeat and freeze, depending on how hard your freezer freezes, you might need to allow to thaw a bit before serving, if wanted put a layer of parchment and lift it out and serve as colorful ice cream slices..
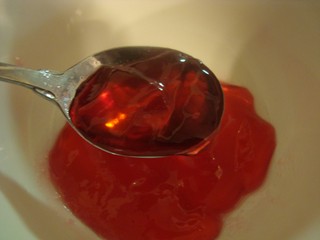
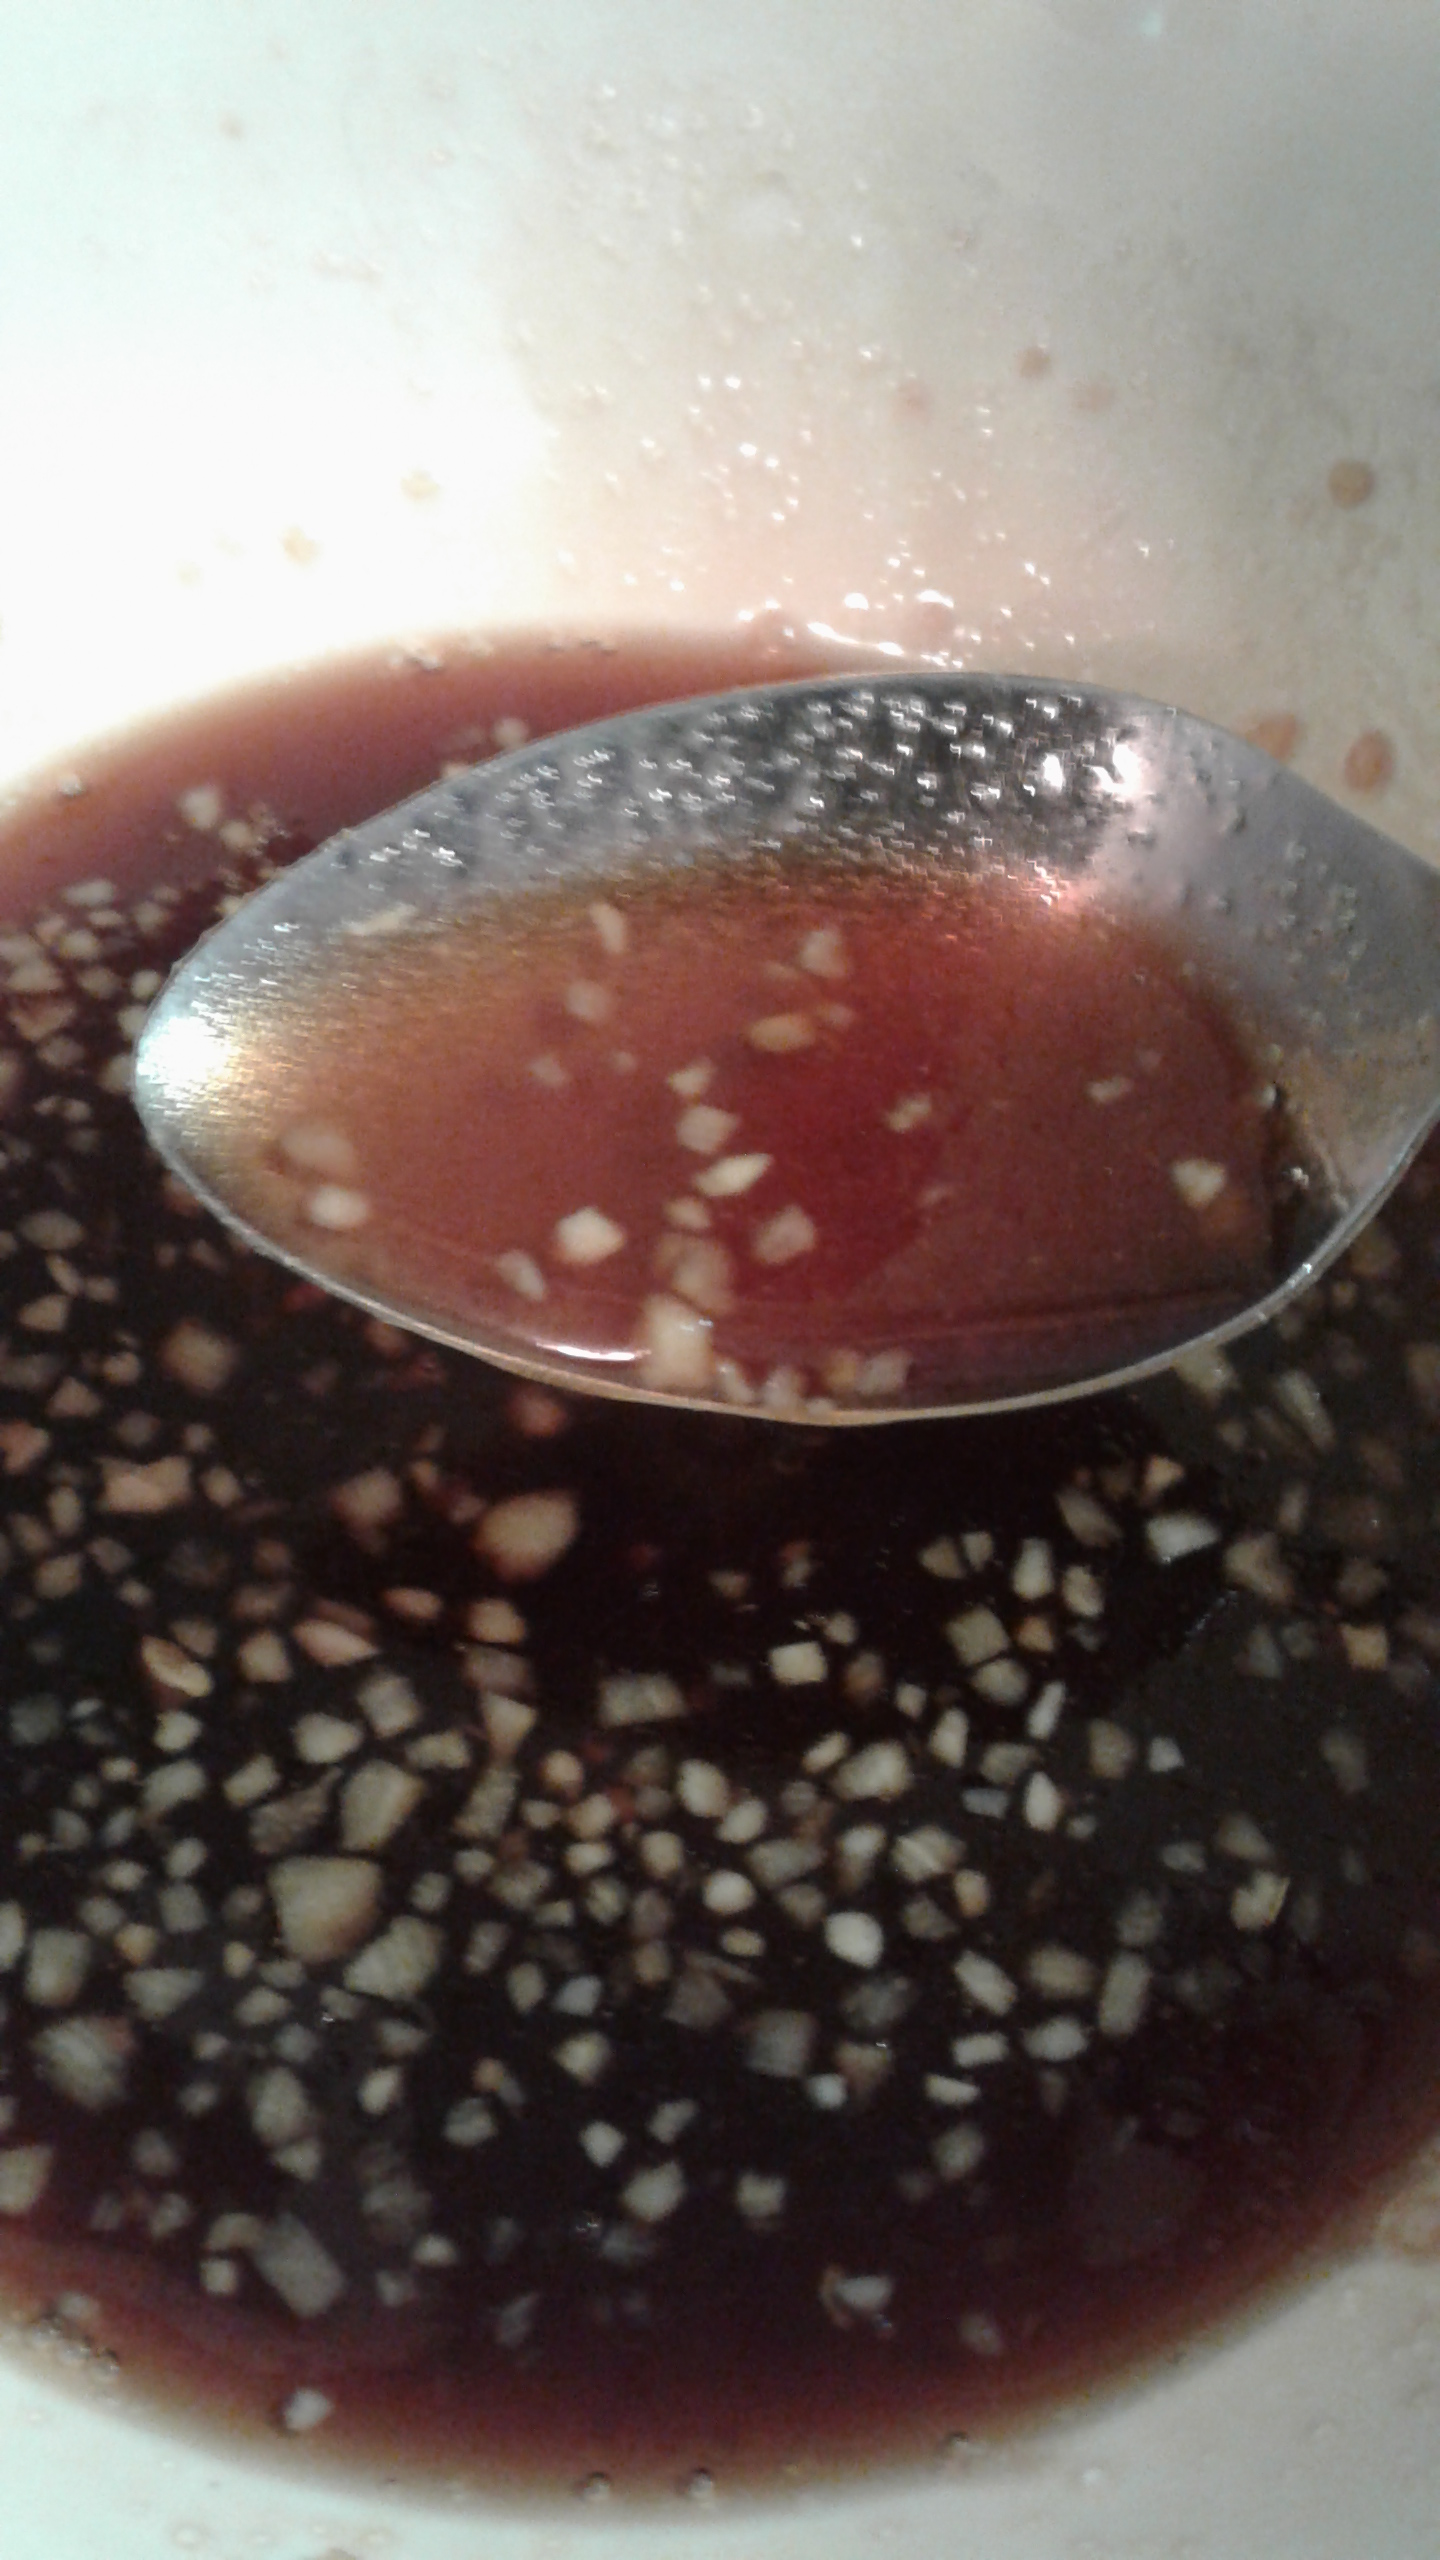
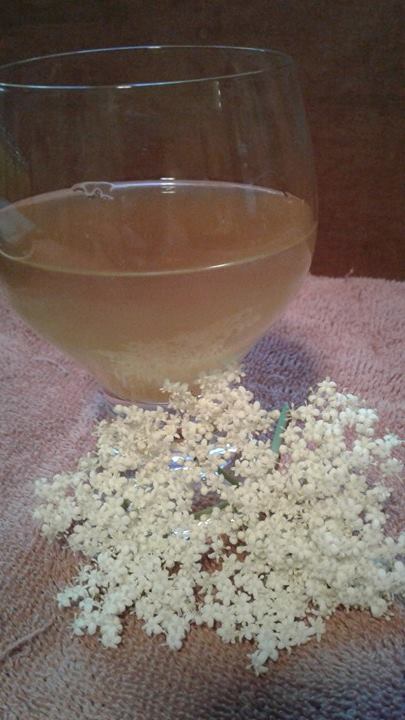
Elderflower Syrup Recipe

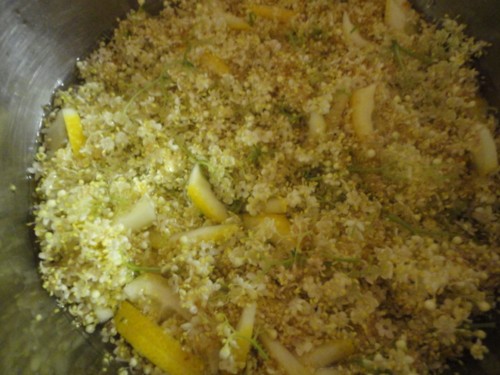
Pick the heavenly scented star shaped mini flowers off the stems over a bowl to catch them, you hold the stem and gently stripe them off with your clean hands. Put your flowers and one finely sliced lemon into a steel pot, just cover with water and bring to a simmer for ten min. Put into a cheese Cloth and allow to drain for at least four hours or overnight in the fridge.
Measure how much liquid you have and then I do a 2 to 1 ratio, so two cups of liquid to one cup of sugar and I bring it back up to a boil and into a clean hot jar, if you want to keep it for long term use, I will hot water bath it for 15 min.
Idea’s for this lovely golden yellow syrup, well pancakes and waffles are the easy off the top, but lets consider using it as the base for a wonderful cool refreshing summer drink, or drizzles over fresh fruit etc, a tiny bit goes a long way in the flavor department

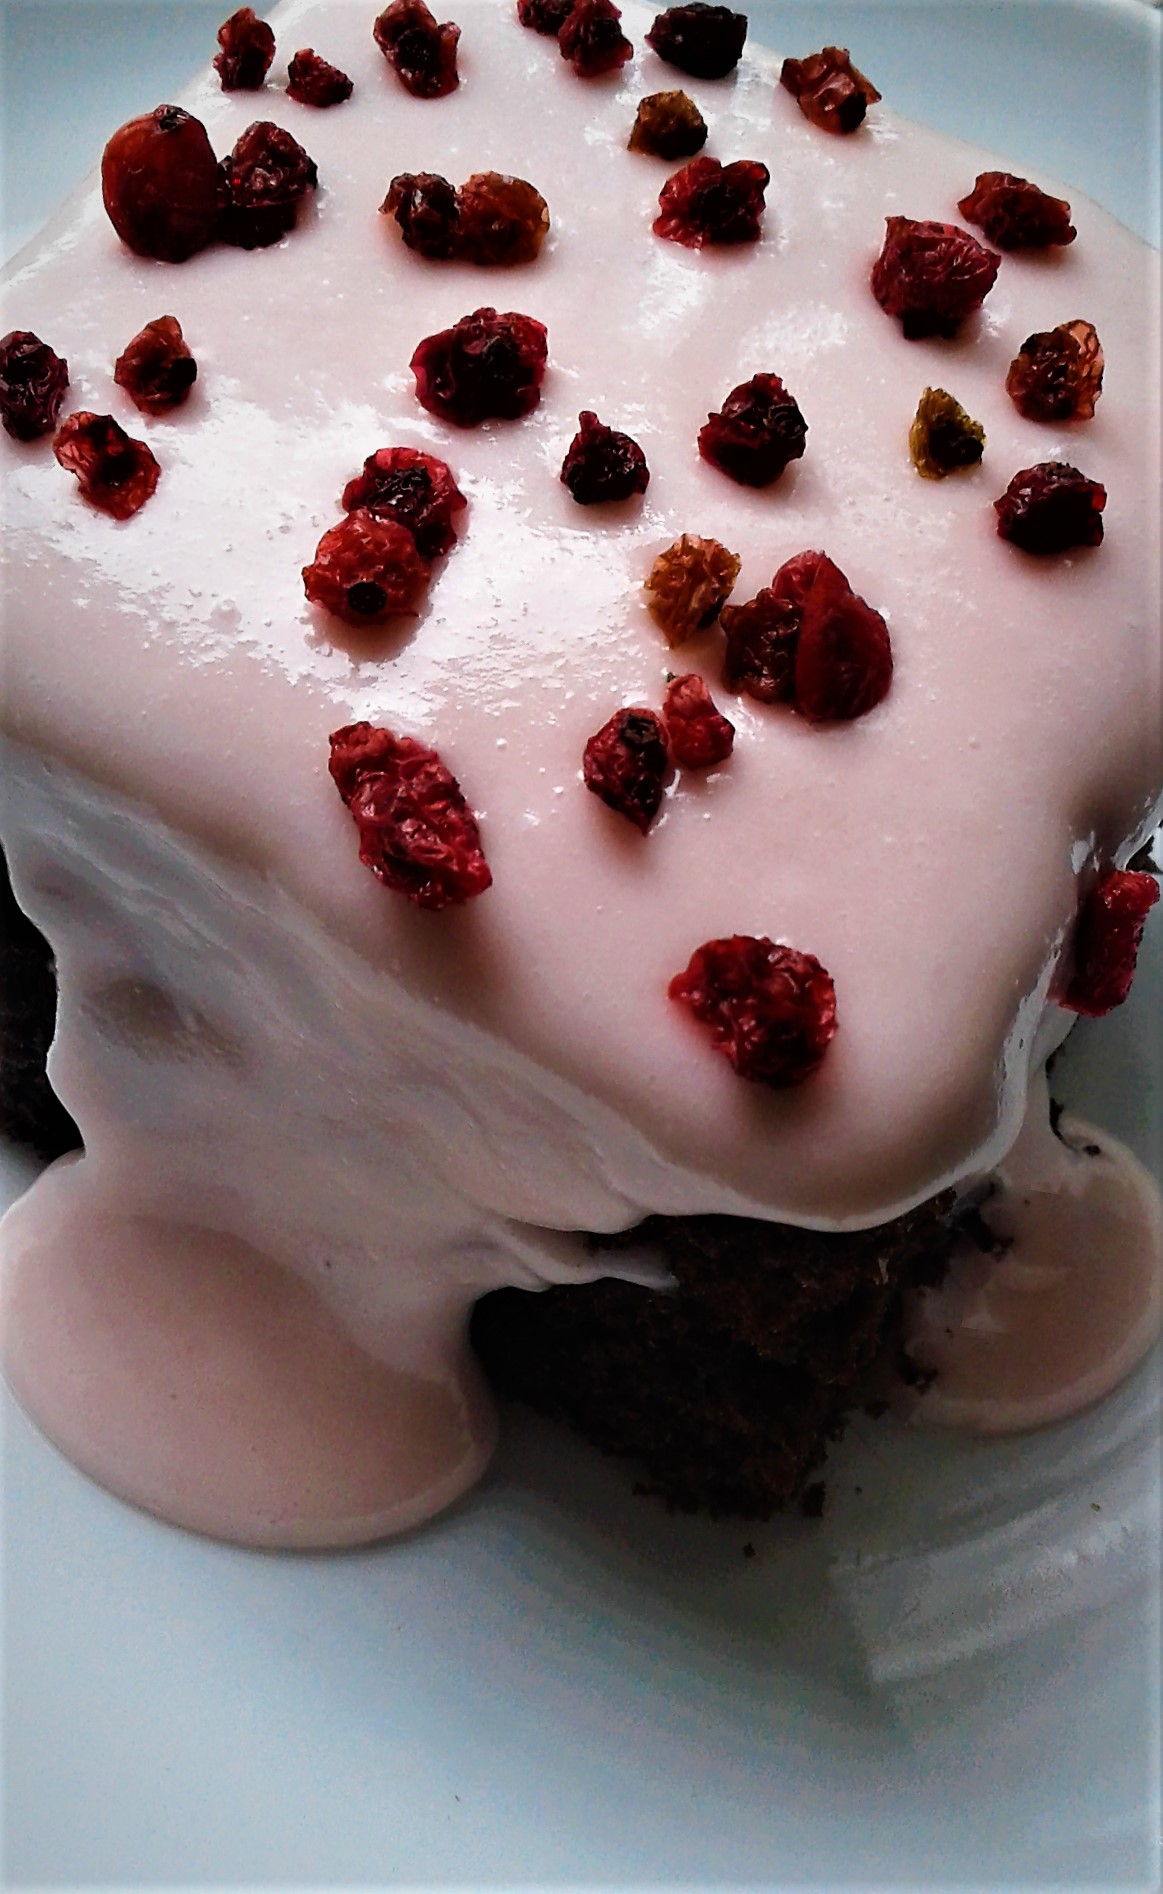
 Take your whole dried Red Currents and give them a sprinkle on the icing, it will bring a burst of fresh fruit tartness to the mix of dark chocolate cake mixed with sweet richness of the cream cheese icing..
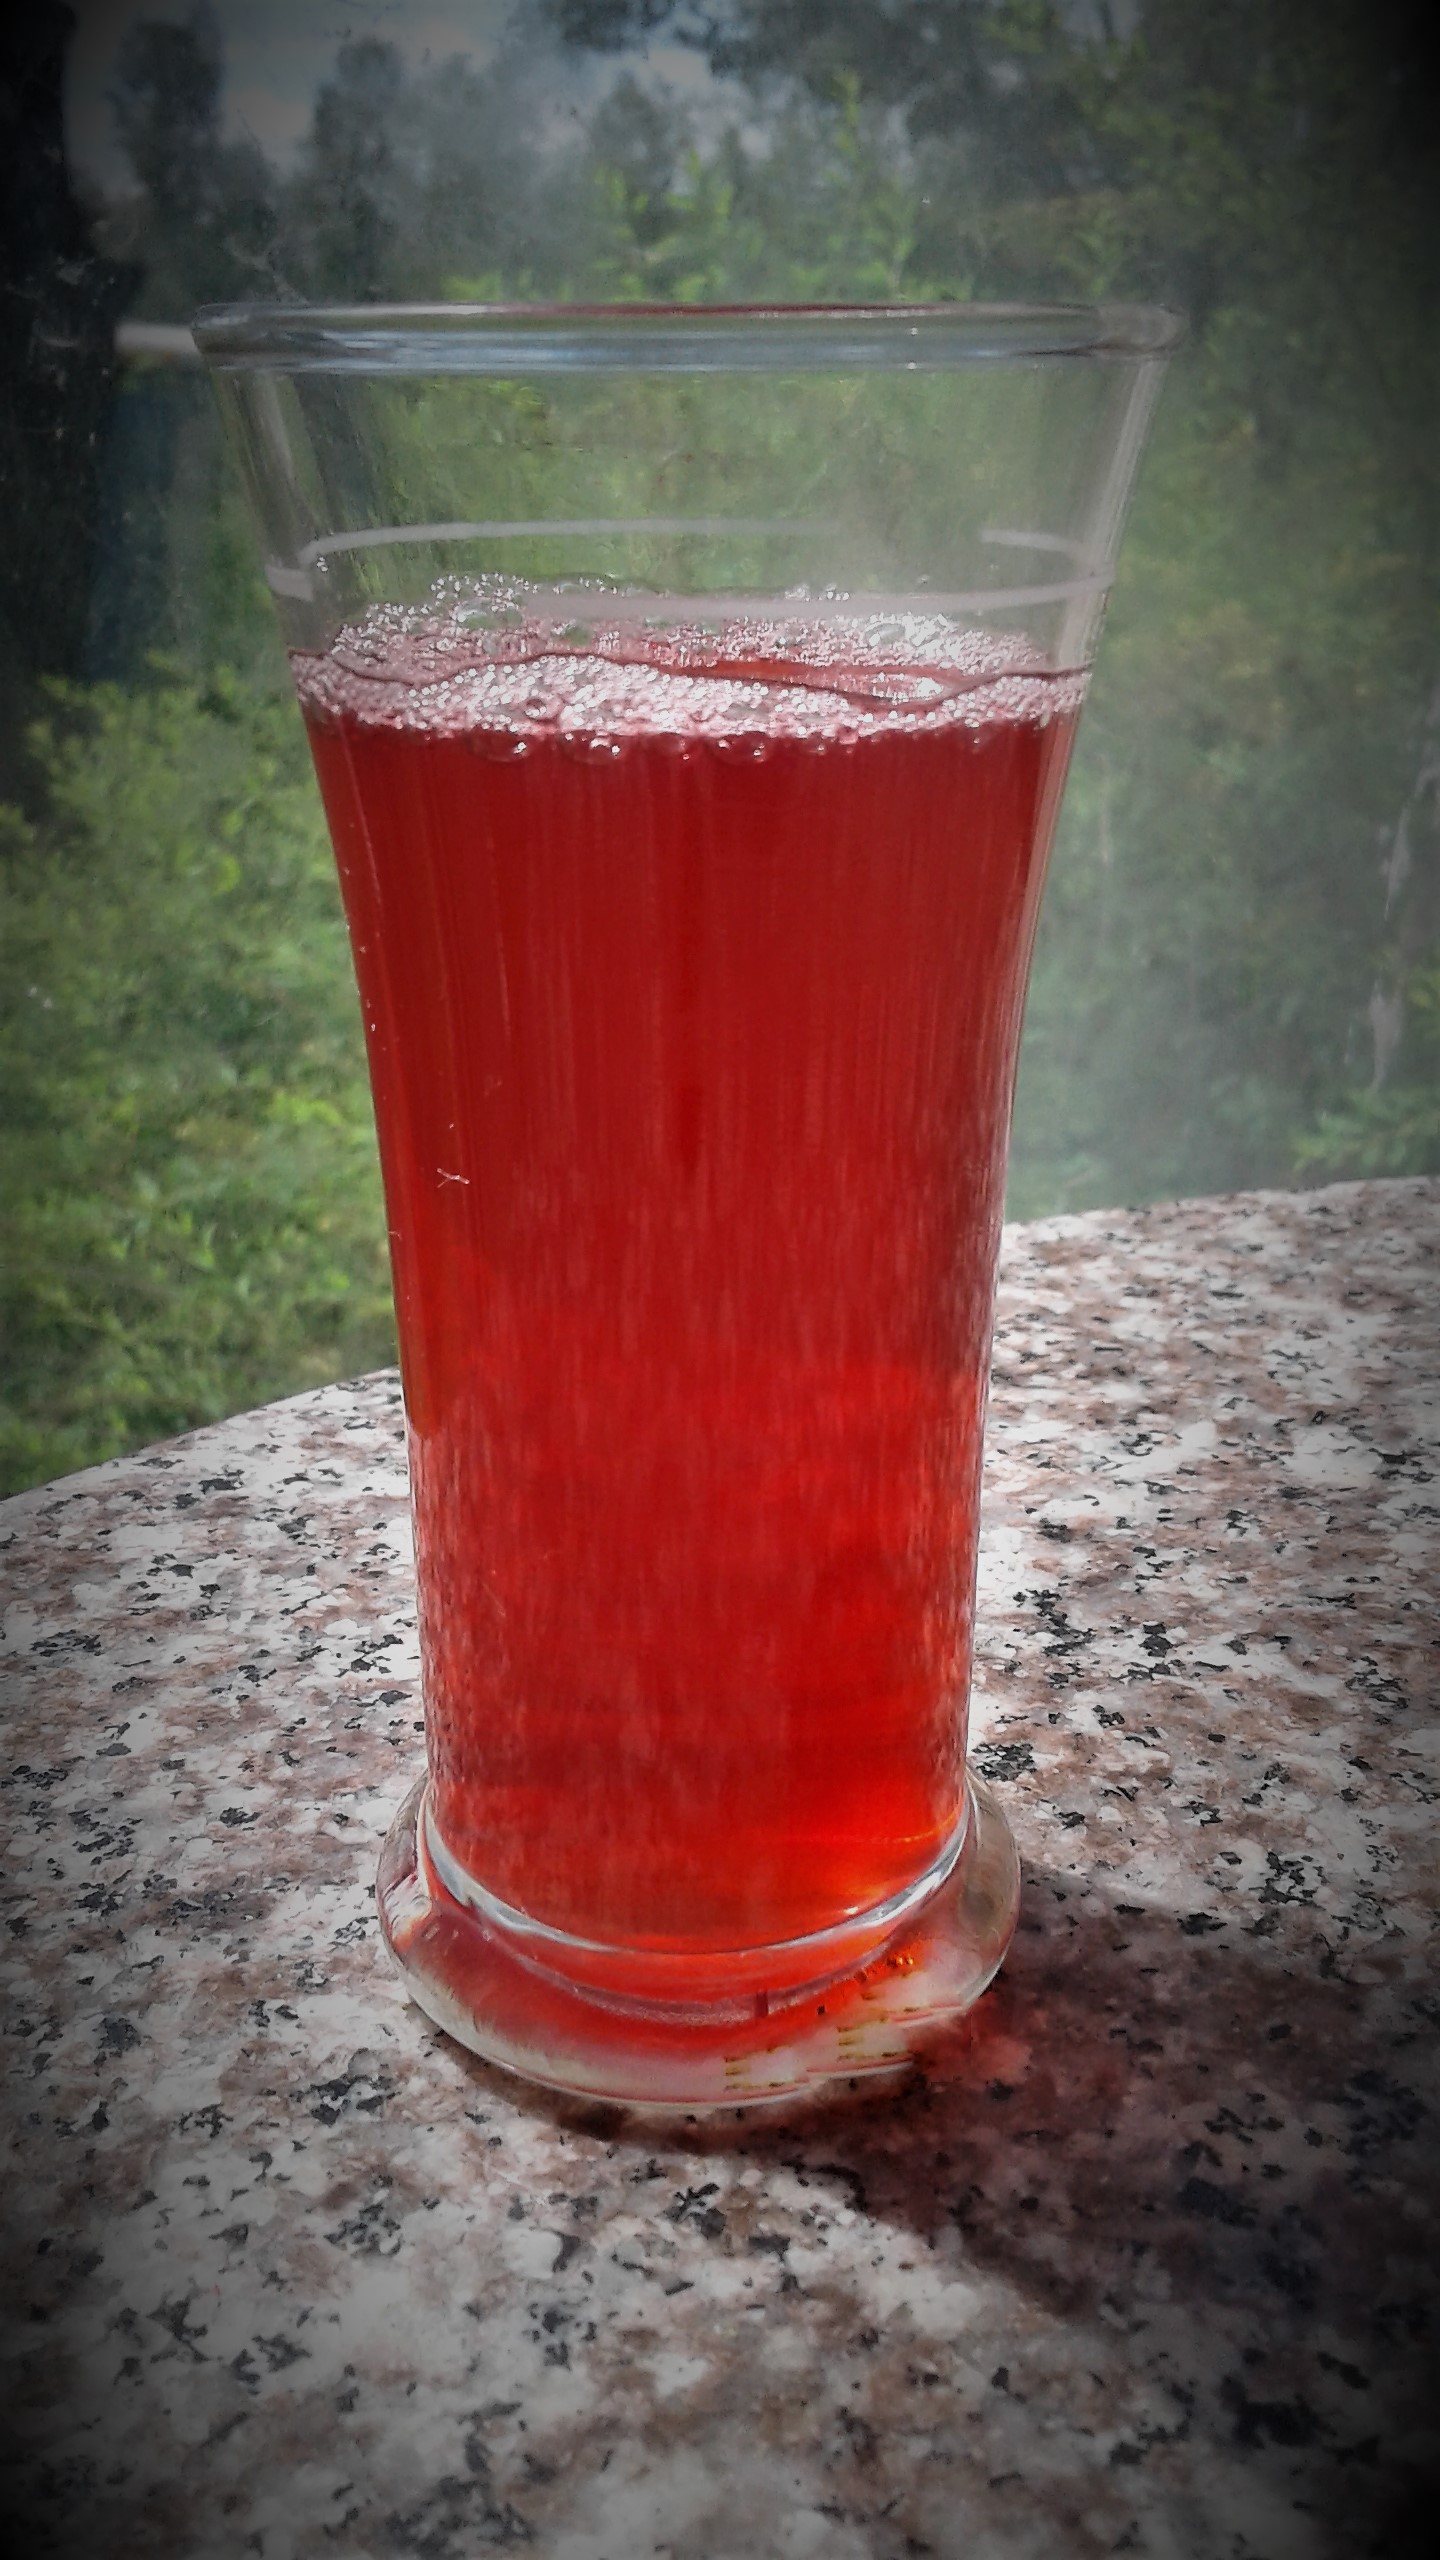


")


")
")
")
")

")
")
")


")
")
")
")
")

 (2)")
")
")

