 Yesterday which was the end of a run day of five days of above 0 temps in the day time and below freezing in the night (perfect weather for the sap run) hubby called me..

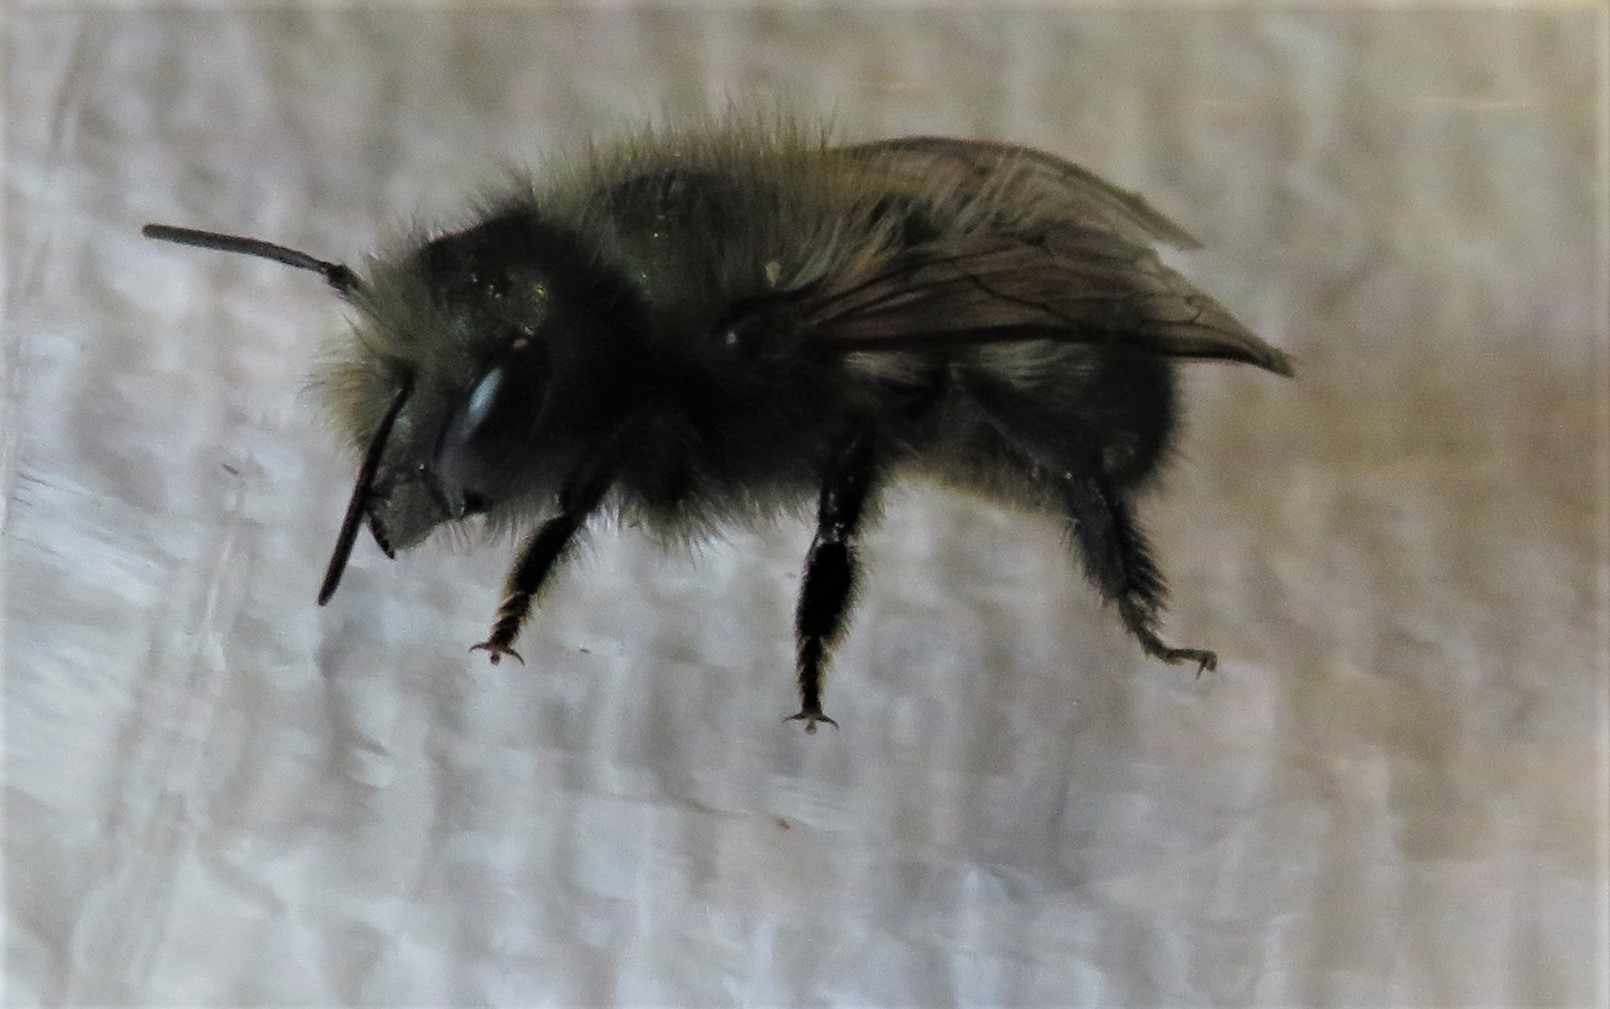
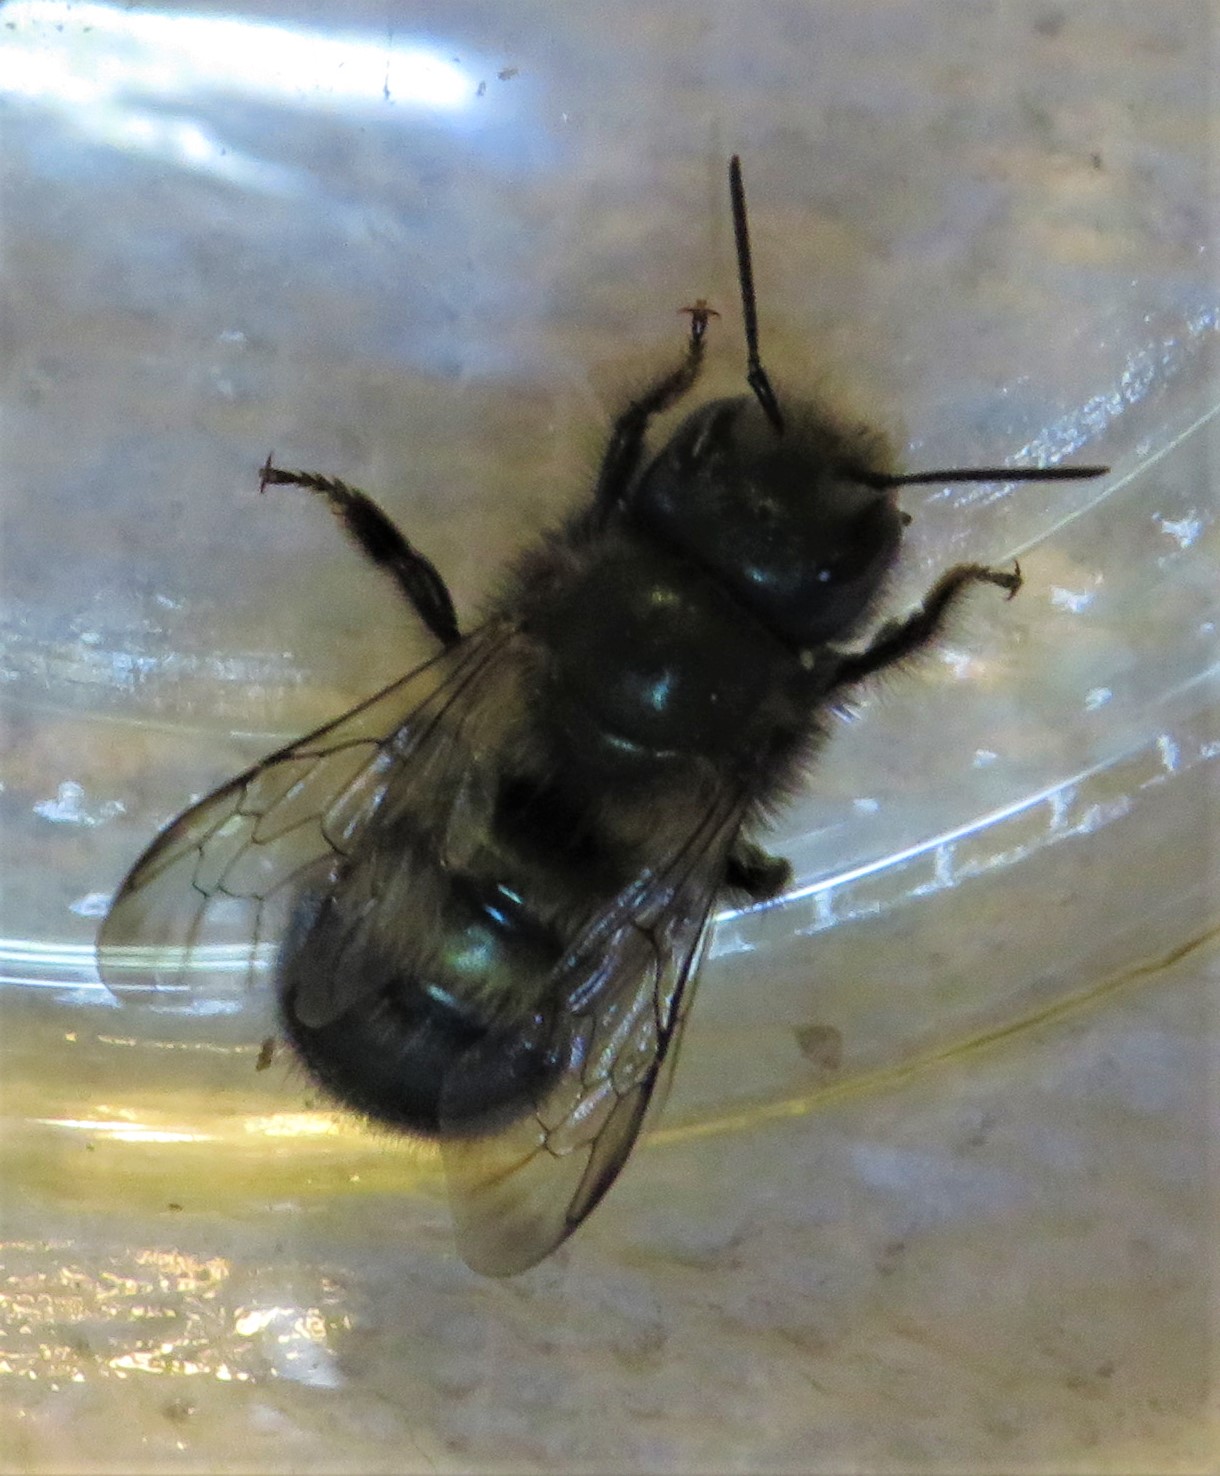
Three of this furry fat big boy (it would appear “thank you sandy” that these are most likely Osmia Lignaria ) had hatched out with very poor timing indeed given that it was a bad freezing raining day.. We scooped them up and I snapped a few photos and then we moved them to a close by but sheltered area and let nature take over from there..
I truly hope that there are more males to hatch yet from that area for breeding.. and I had better get a new house out for them this weekend.
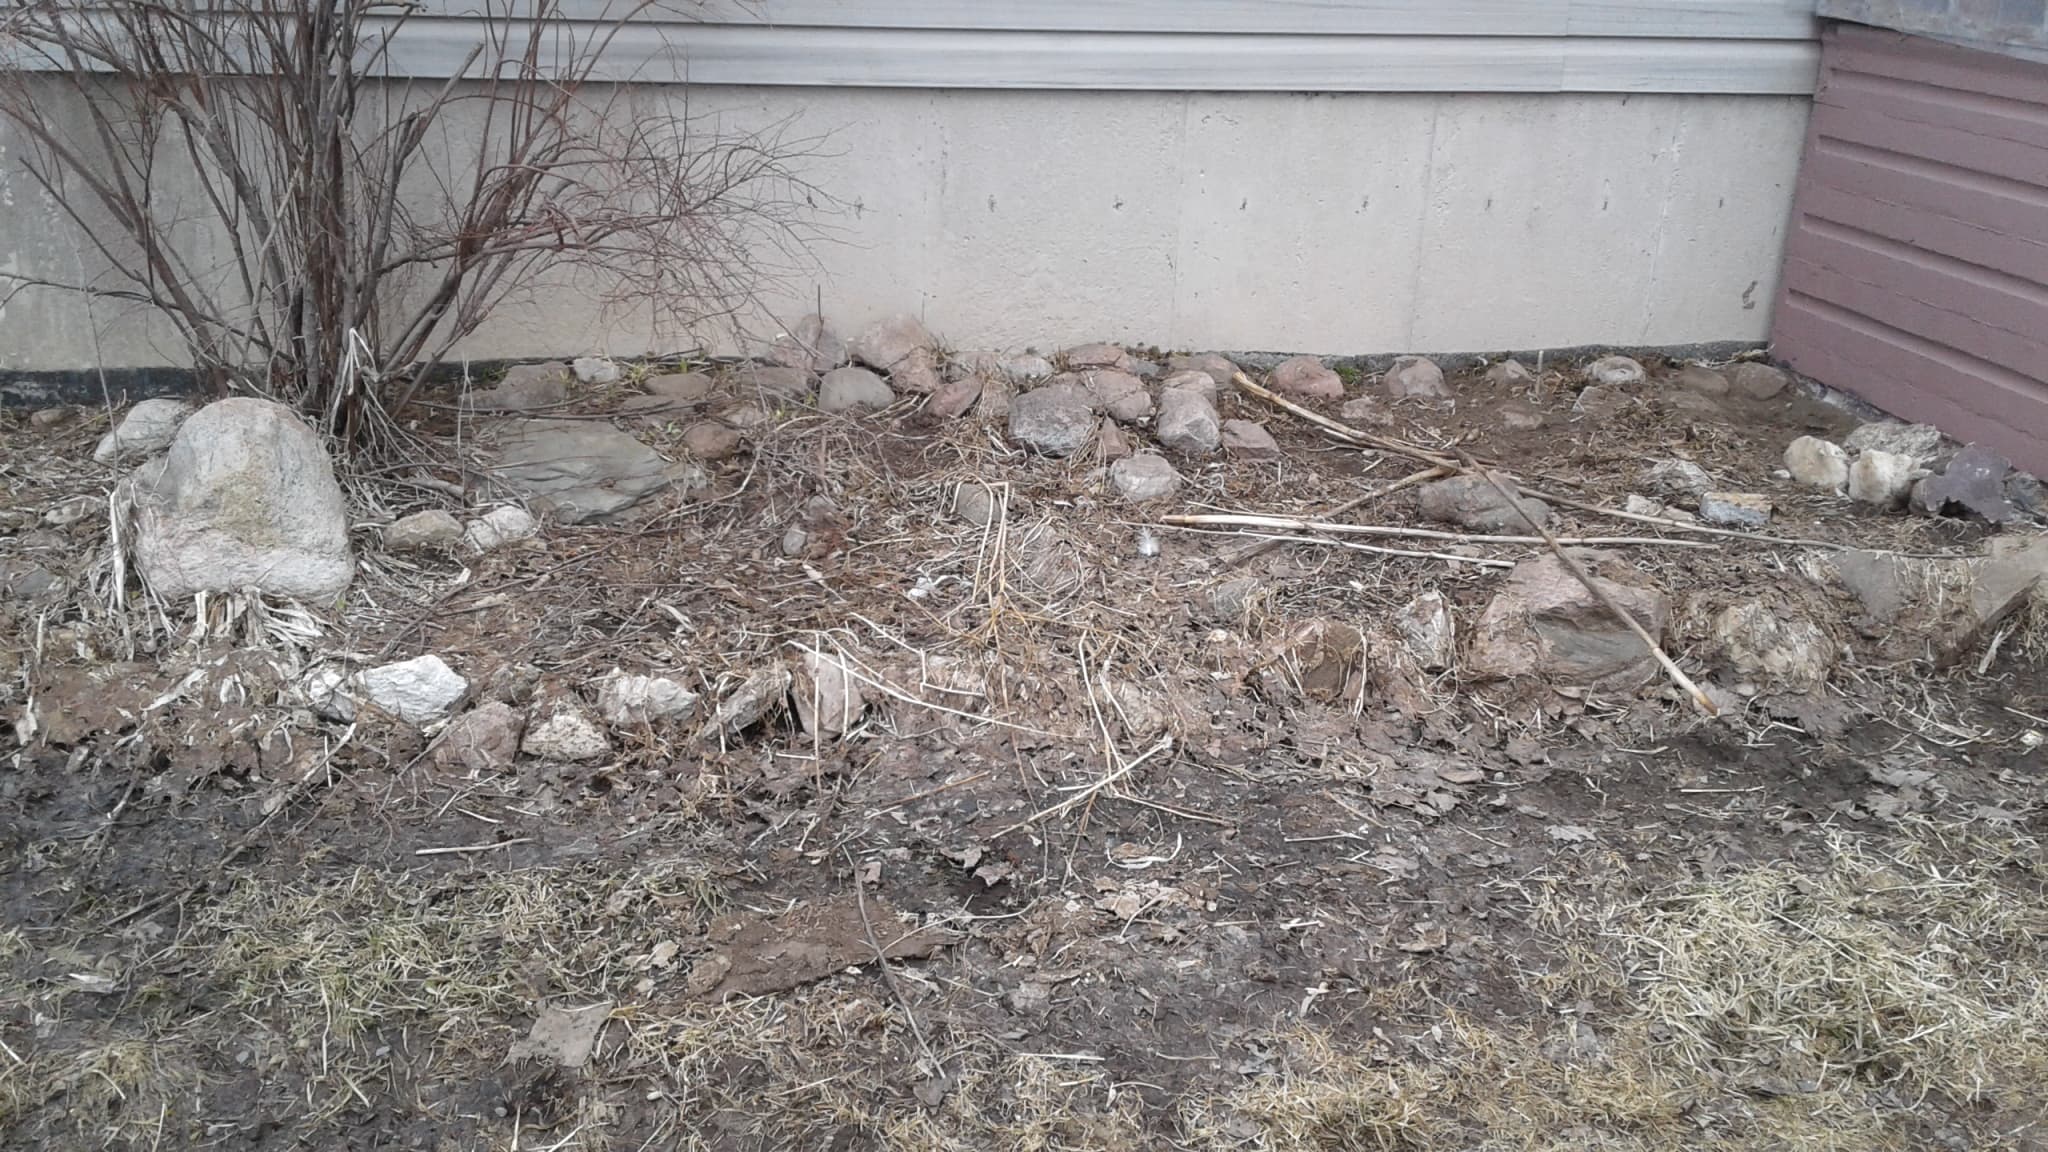
Where they came from is not a great location but I am also not surprised to be honest.. I will give the females that will come sooner than later a better choice or three close by where they were and will redo that area to highly encourage them to move to the older tree stumps and older logs that I am going to offer them.
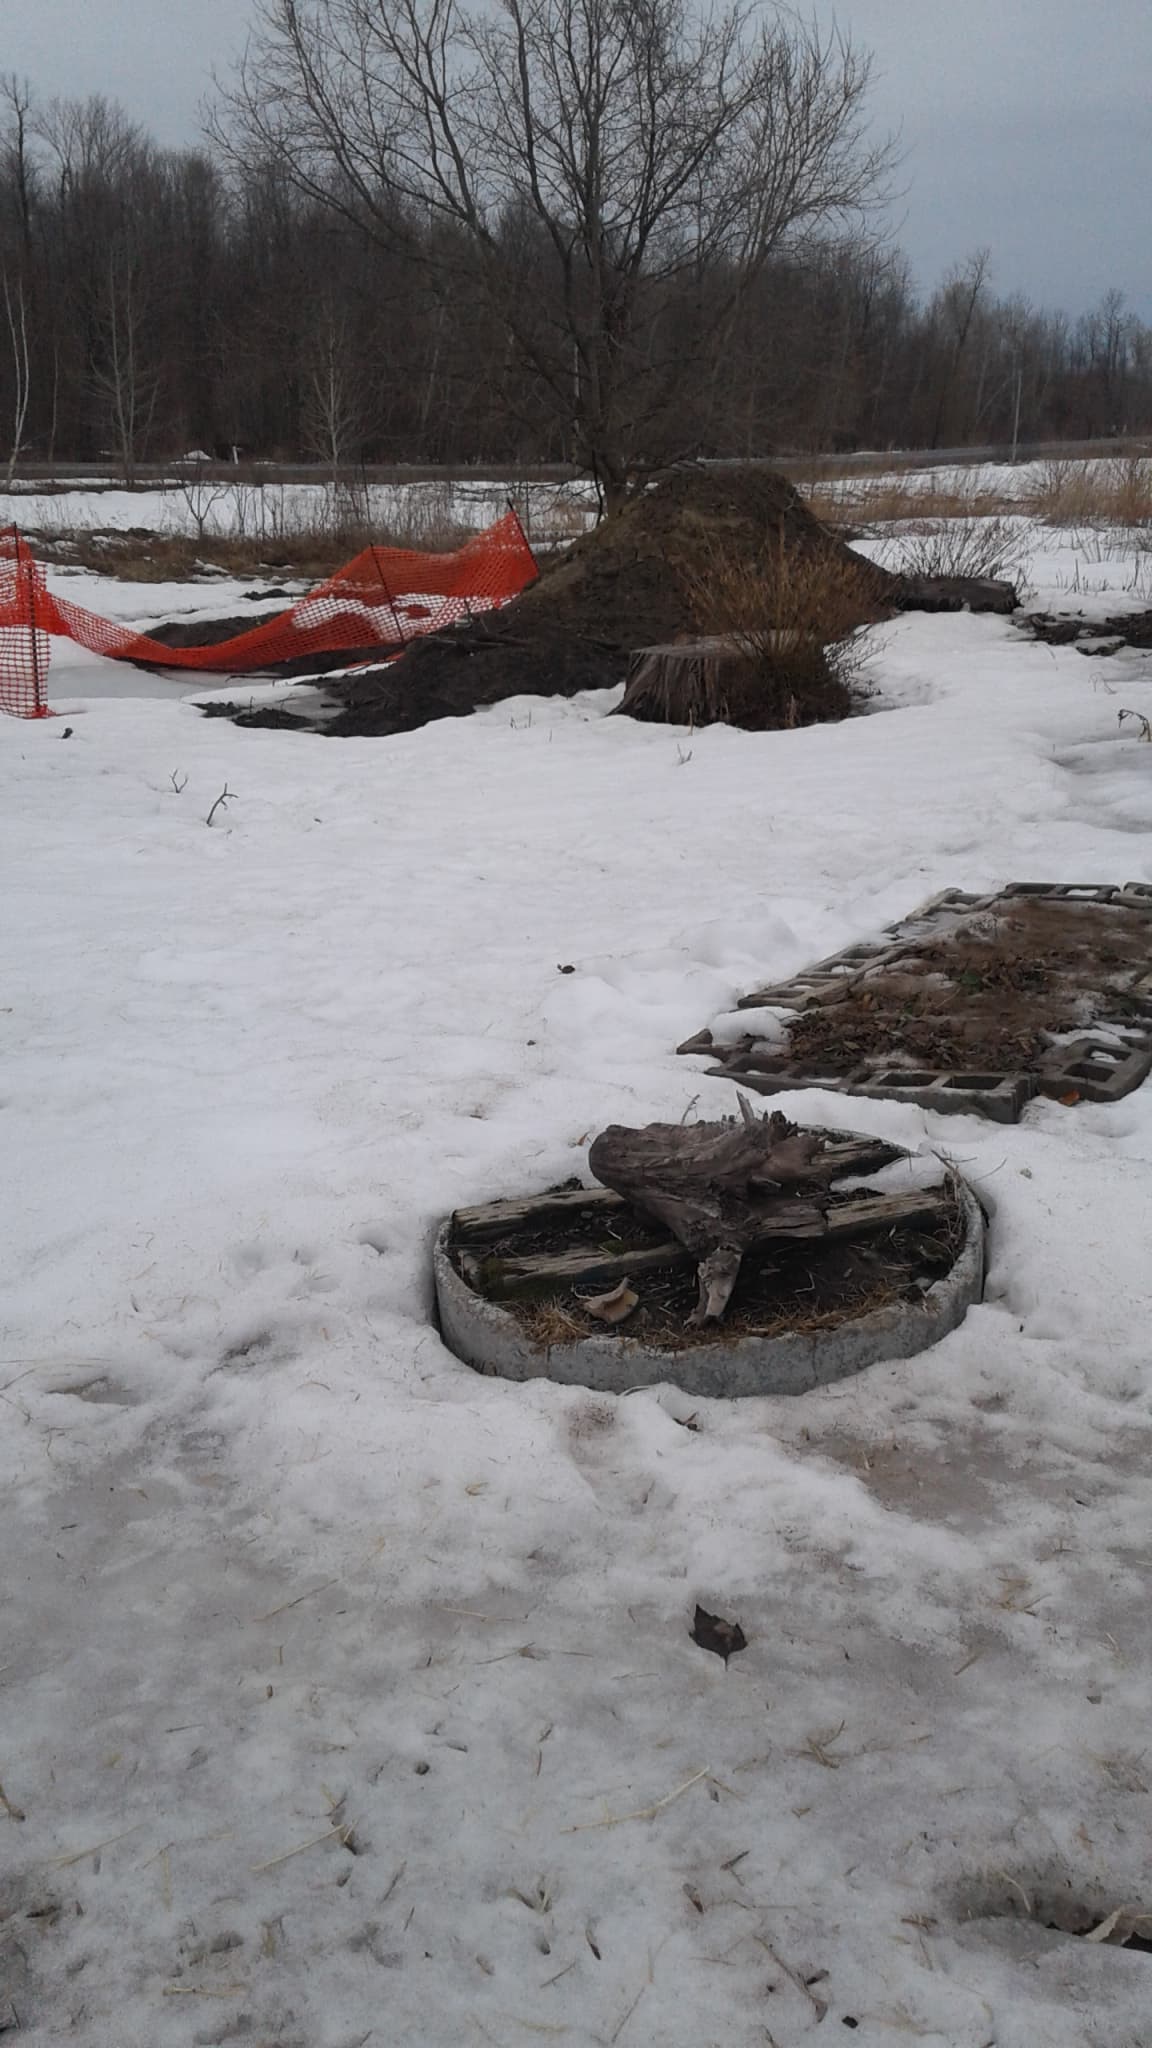
We were driving the other day and I said to hubby.. stop the car, we need to go back I spotted something in the ditch I want.. there was an old root/stump section just waiting to be picked up and hauled home. This one is not for drilling holes.. there are others that will have that, instead this one is for the carpenter. We have a lack of older wood at this point.
Lots of fresh cut wood but we will need to haul in and place our older stump parts and logs to give these wonderful pollinators a number of choices (besides my house/deck/barns) a place to set up their homes in.

I had so many bees that used the big old willow tree’s as their homes that I know they must have taken anything they could get their hands on last fall to make the winter though.. No real harm done.. but I can’t allow them to stay there all the time.. after all that is point in fact my deck and I have plans to finish the parts that were not done last time and it’s getting a new paint job as well as new climbers and such.
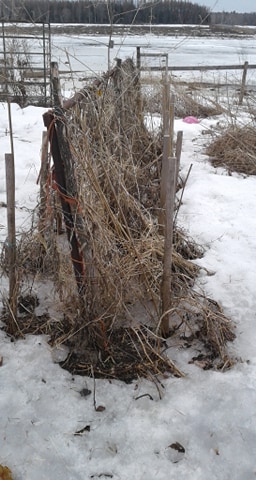
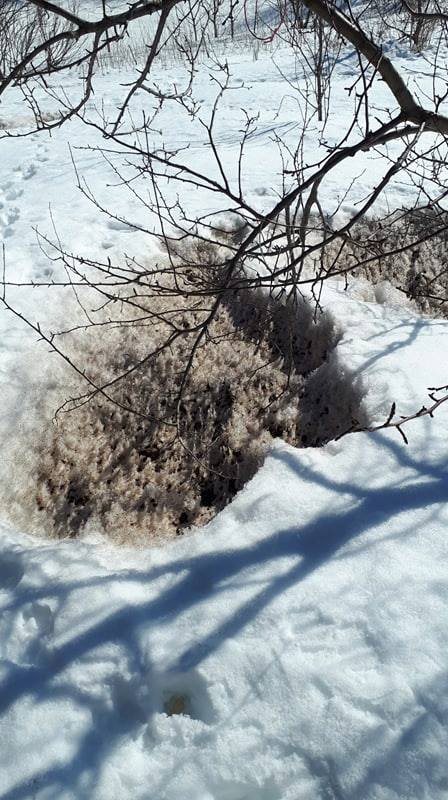
I am not sure that these guys will have made it.. not only did it freezing rain all day but then the snow arrived and the world is a cover of white over the weight of the ice, I am going to lose at least a two younger trees, I do not think they will be able to come back and I will not be able to leave them leaning like that..
There is a clear lack of feeding things out there at the moment.. The area that they hatched from for many years here on the farm would have had a much slower spring wake up but is this year a full sun area now.
This is part of the reason why I think its going to become so very important that we are food producers take it on ourselves to learn how to work with, help and care for the single native bees that produce coons that can be harvested and kept in controlled conditions over winter.

While I fully intend to continue to support my “wild” native bees in so many ways, I have come to the understanding that we are coming up or we have hit the point where we are going to have to step up our game to make sure we have the pollinators we need in our gardens all season long.
Honeybees are awesome and if you want to go that route.. wonderful.. most folks in the city’s and towns do not have this choice. Even those of us that do want honeybees can be put off by the cost investment into them.. Bees are not cheap at all and the overwinter loss’ can be hard on both new and older beekeepers.
The Native above ground bees on the other hand can be looked at as a way to hedge our bets for those wanting and willing to work with nature. I give a total nod of respect to those that want pretty flowers and pollinator gardens.. bless you..
Having said that, I am focused on working a program that supports the bees with the intent to increase pollination to increase food crop yields! Thankfully while there is a learning curve, the investment in terms of money itself can be very little if you are willing to do some of the work yourself.
I will be showing frugal ways to do this as well as showing ways to spend a little money or to be honest spend a bit larger amount for a higher return. I want to share all the different points and spread.
In general on Tuesday’s (and perhaps other days as well) I will be sharing a pollinator related post.. This can be on anything in this wide subject matter, from plants to bushes to houses to detailed reports on the viewing house I got.
As I watch the almost white out conditions in my winter wonderland, I can only sigh at the fate of these guys that came out yesterday.. To soon.. To soon! I hope you went back into your tunnels and are pouting guys!
So dear readers.. talk to me.. do you have a good amount of native bees in your gardens and or your homesteads? Have you noticed a increase or a decrease? I know that over the past couple years in many area and places, there have been reports of losses and to quiet gardens.. yet a few other folks reported to me that they are good and have lots!
What I am really looking for is, what was it like last year? Did you have lots of native bees and if so, lots though the whole season? or did you see weather and timing effecting their numbers?
I know here on the farm in 2018
Spring : very slow start.. lack of bees.. thankfully we did have a dozen plus Early Mason bees that got really busy in the spring so while we did not count many bees, we still got a good pollination count.
Late Spring: We had a second native bee appear that they feed on our caned fruits flowers in massive numbers and they did a outstanding job, we have lovely yields in this regards but despite that, we were down our at least 60 percent over our normal numbers.
Summer: mixed bag, we had our first hatching of at least three of our different native’s which was great but their numbers were lean and then the heat did a number on them.
Fall: then we had the massive yard shake up, we sadly know that we cut down and displaced at least five nests or breeding nests.. and we saw that reflected in our fall bees numbers.. this the time of the year where I normally see my asters, golden rod and my joe-pye weed crawling with last minute feeders.
I would say we headed into the fall of 2018 with at least 60 percent of my normal amount missing.. We will see what 2019 brings us.


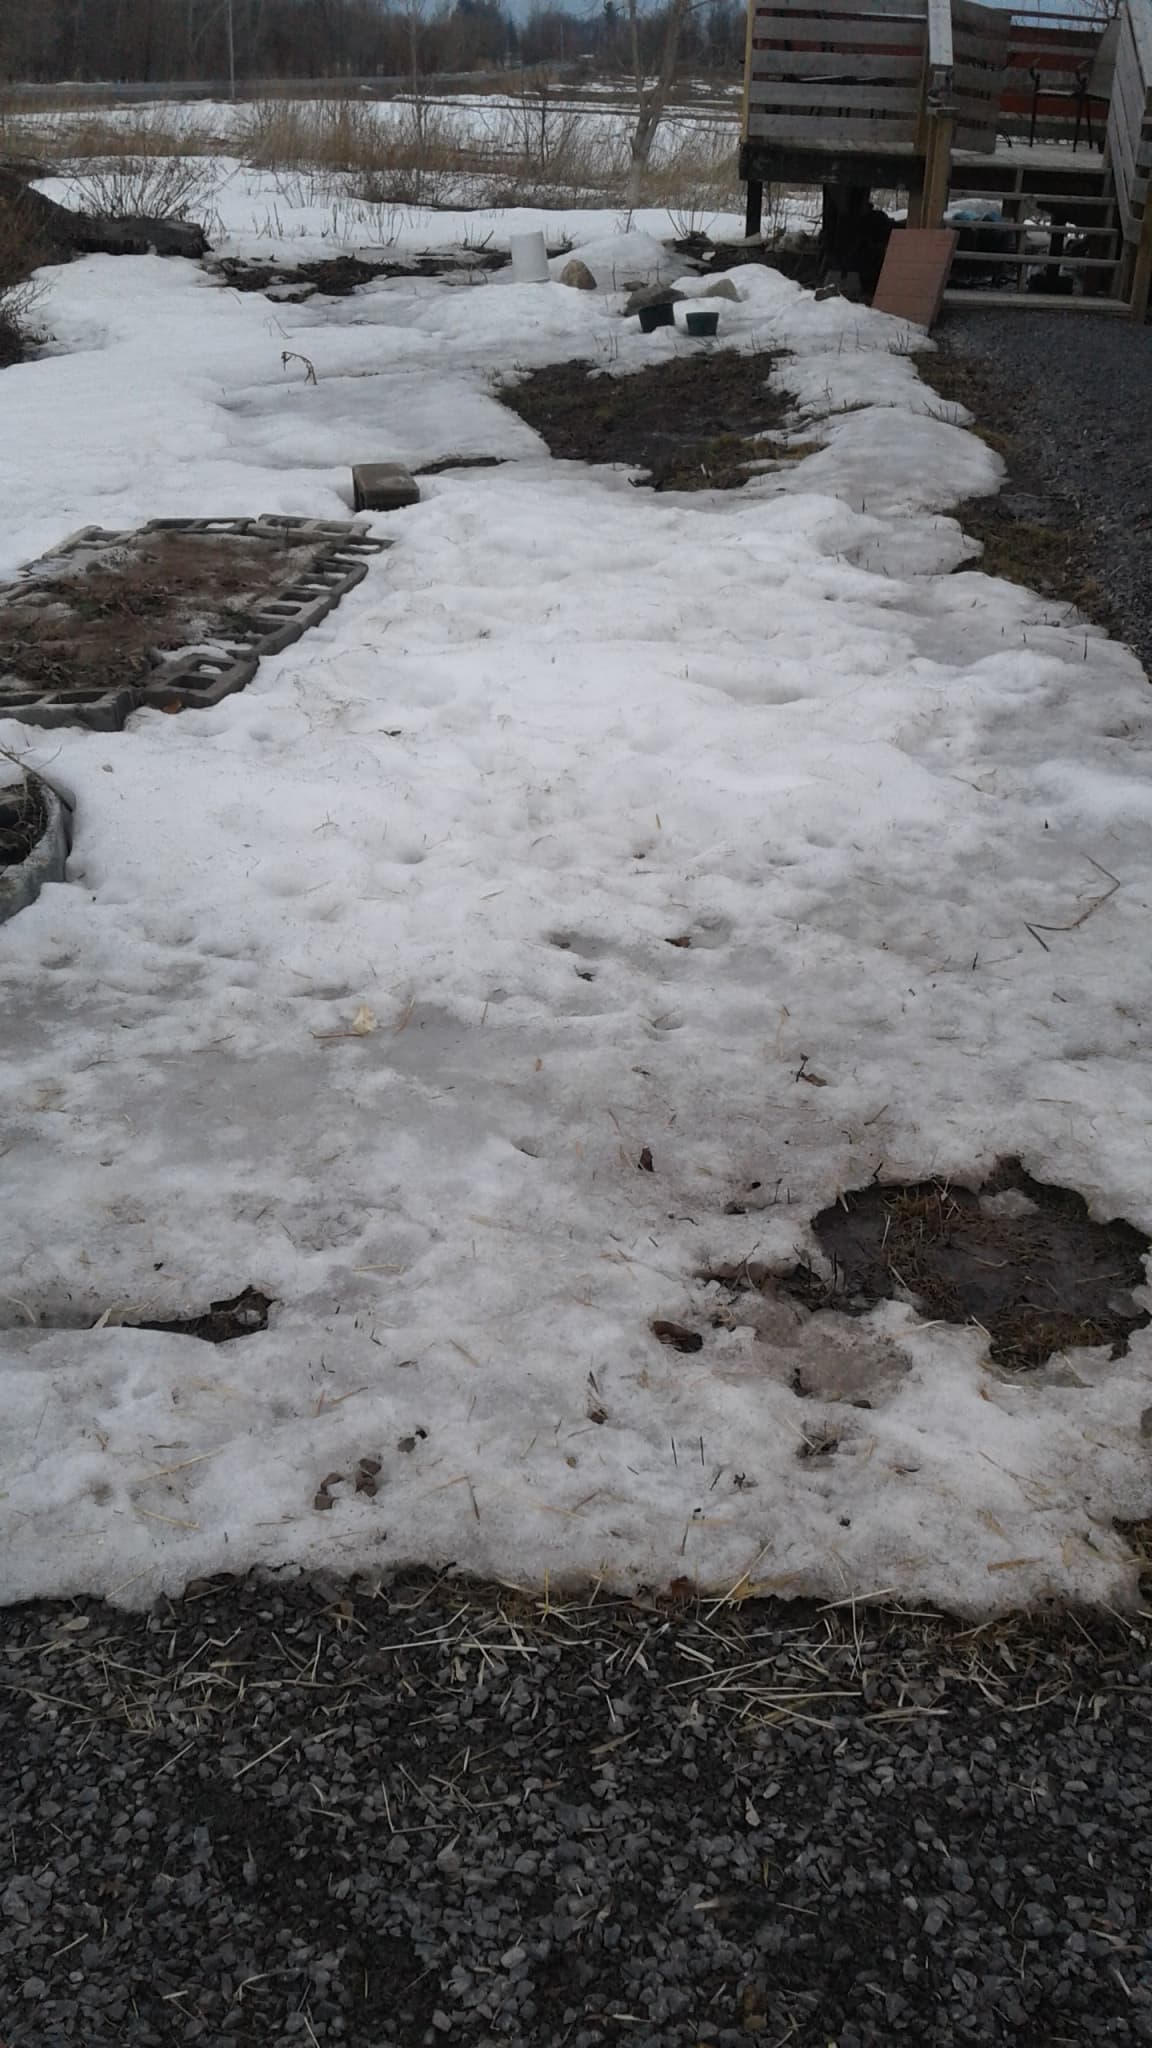
 However down the road, its been much worse.. this is not a lake.. this is hundreds of acres of fields.. hopefully it will start to drain soon.
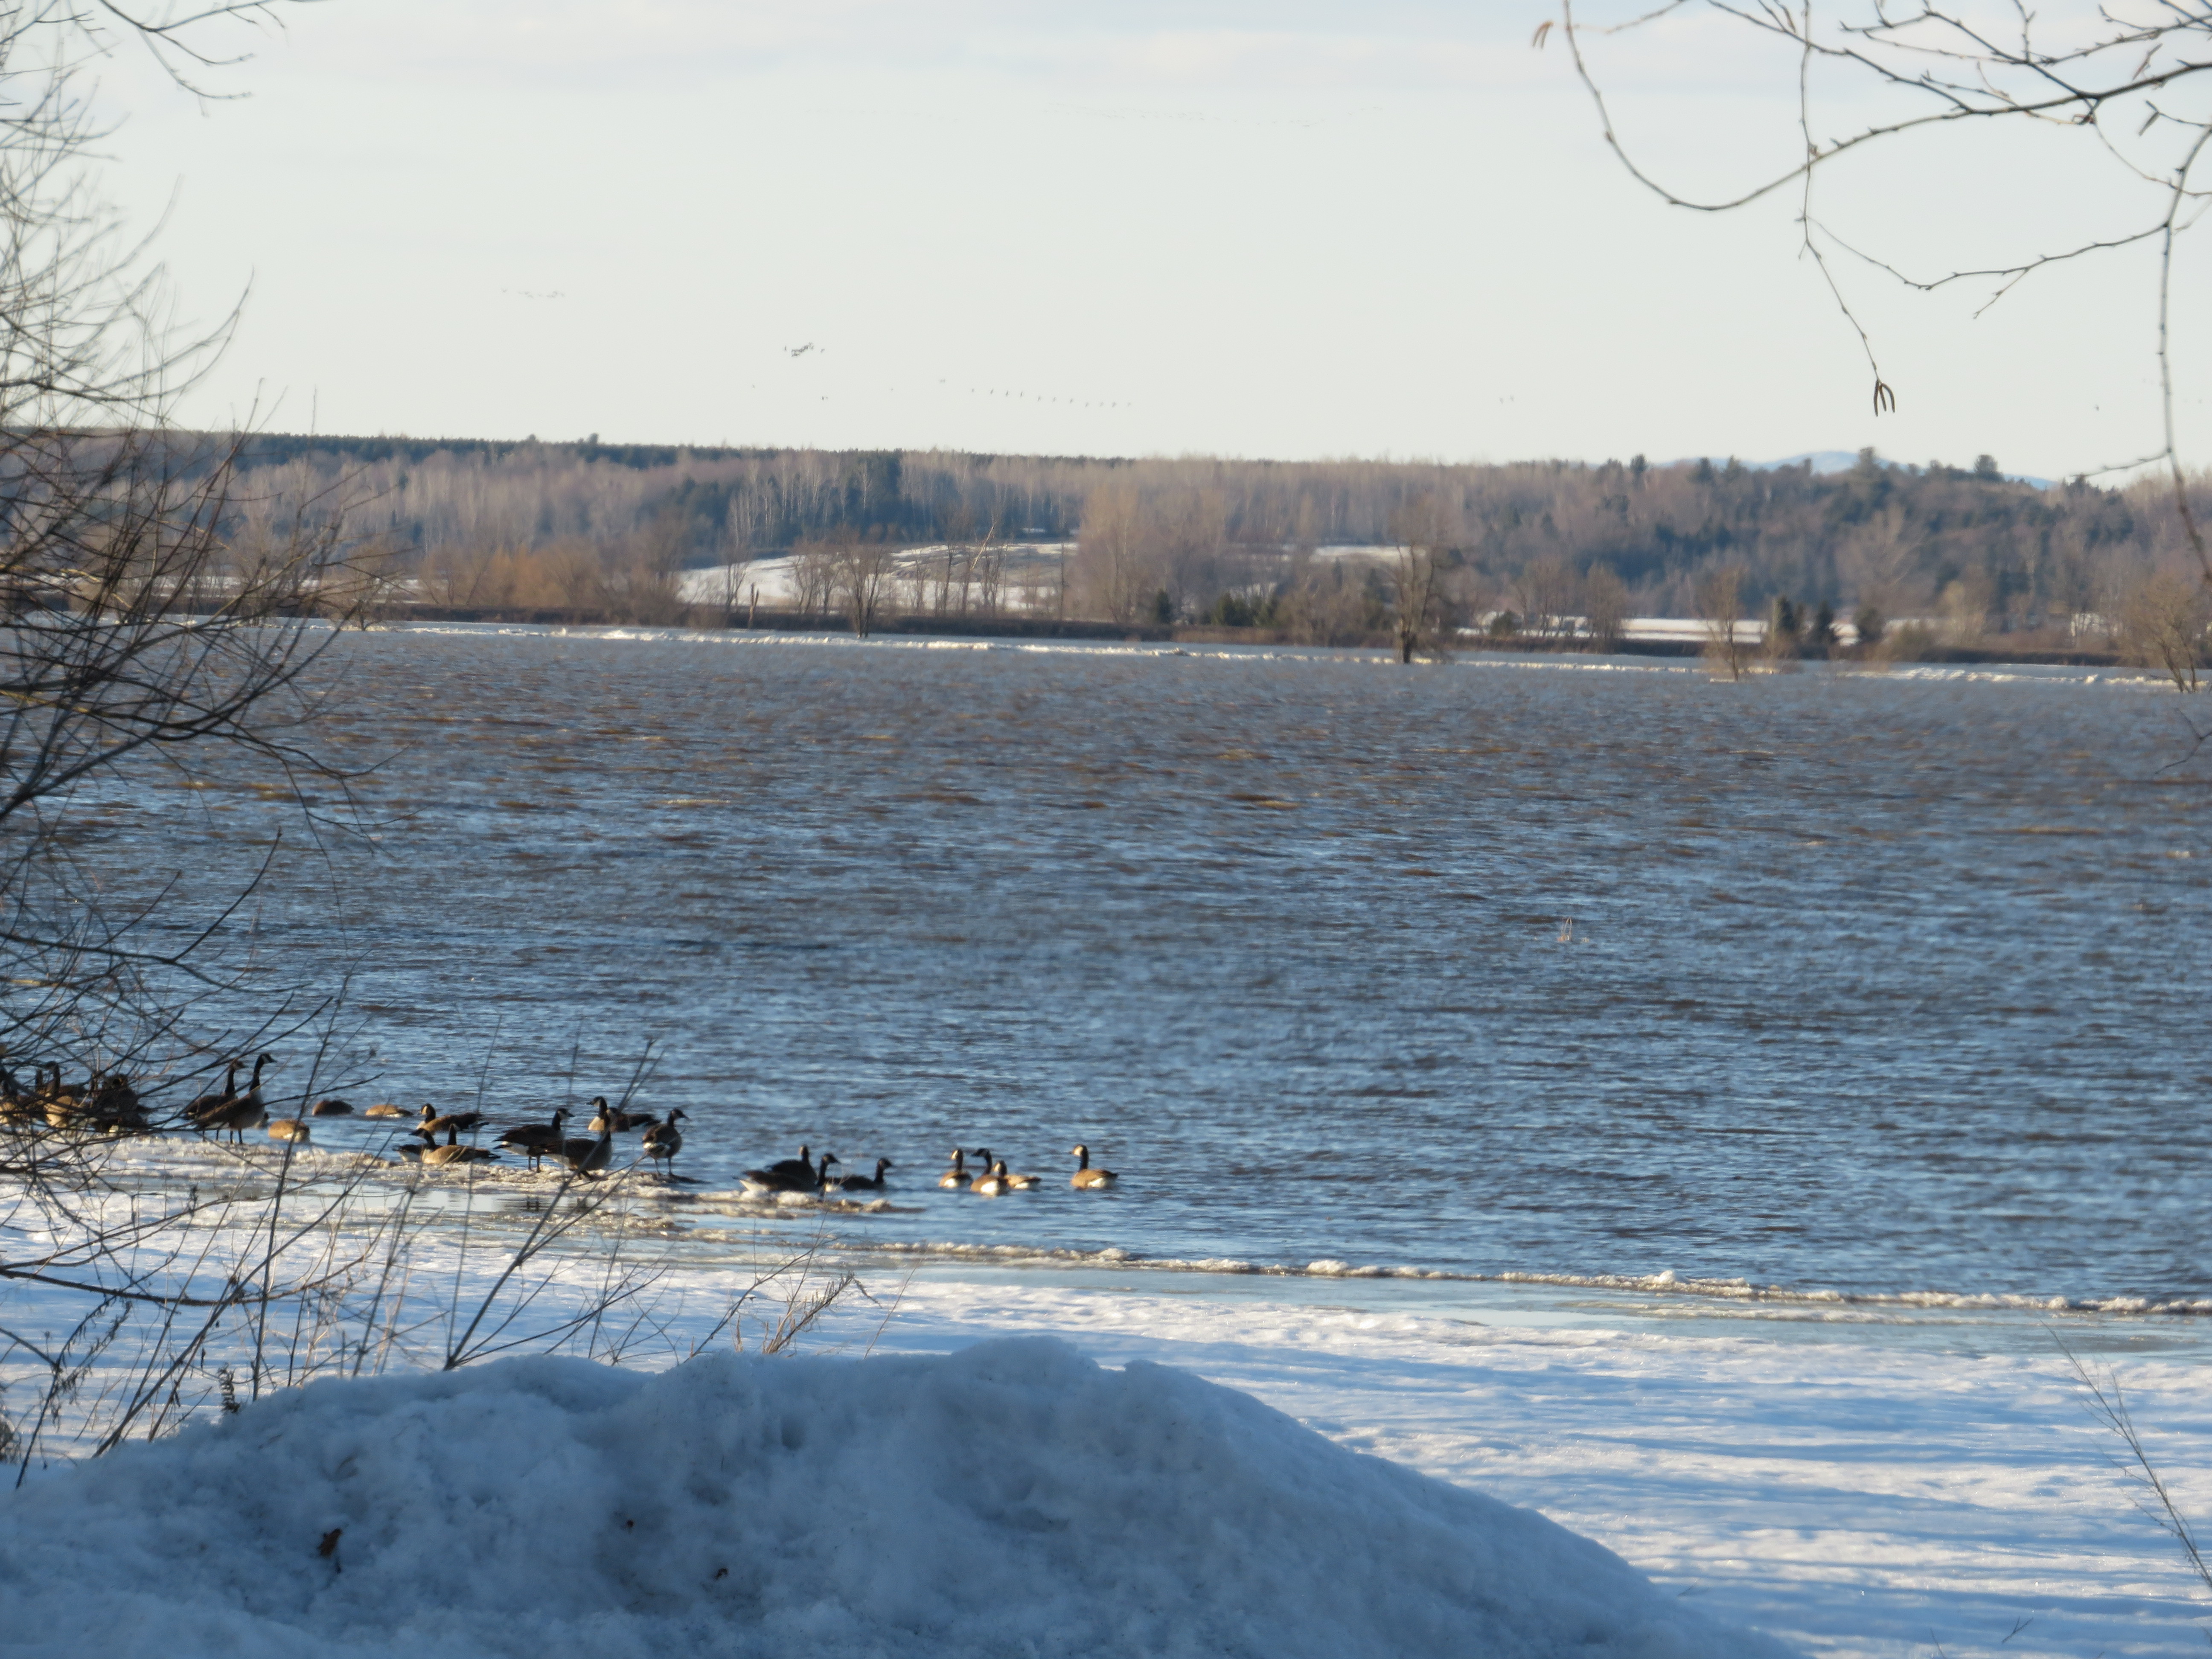


")
")

")
")

")
 (2)")


")
")
")

")
")
")
")

")


")
")

