
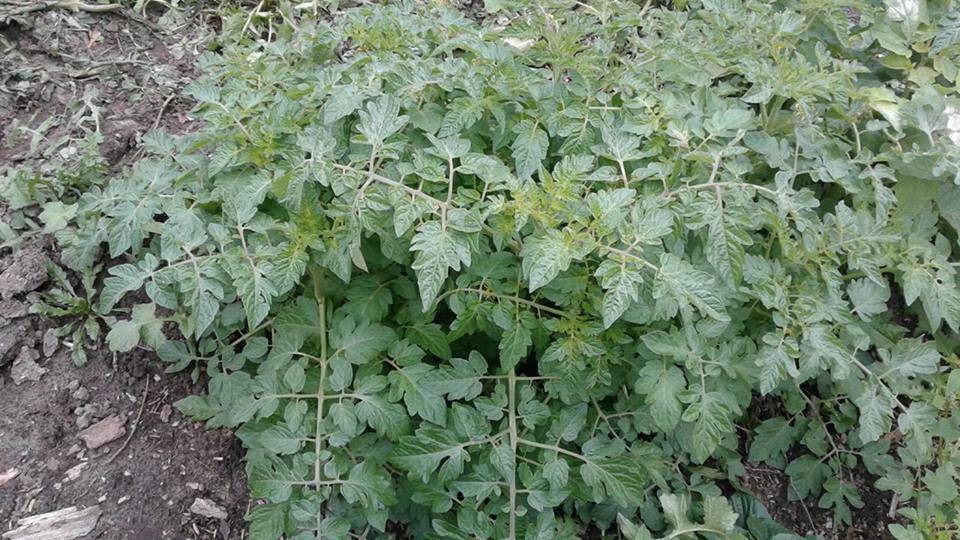
It the perfect time of year to head out and dig out some fresh new horseradish root. The first year root is still so young, smaller flexible, and much less heat than second year roots will be.
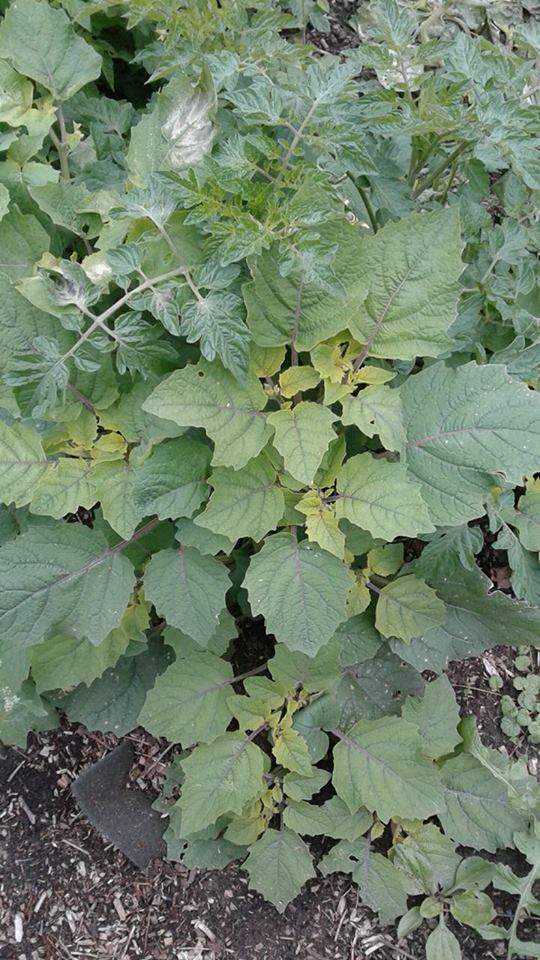
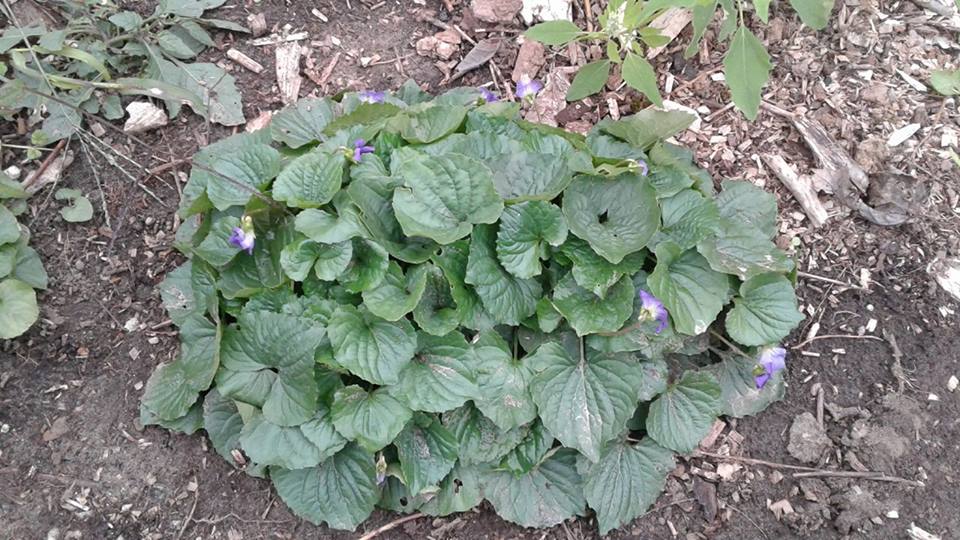
Do you grow horseradish in your garden? While it is a bad spreader and once its in an area, it’s there for life.. its such a great plant to have. Forget about the roots LOL, it’s the greens that are going to be the whole gardening eating plant.
I adore my horse-radish greens, eating them fresh for around seven months of the year and using them in my cooking for the winter time as a dried green (it replaces Basil perfectly in recipes)
However today in the light rain, I headed out to a compost pile and dug out a lovely this year’s root that was came out close to two feet long but narrow.. a quick scrub, a little bit of end trimming and a touch of the peeler as required and cut into smaller pieces and into the grinder it went..
I wanted to clean out my nose LOL
Helpful Hint, Watch your hands well after working with horseradish and do not touch your eyes 🙂
I got a lovely pile of fresh grated horseradish, it was a little baby root so it only made half a cup.
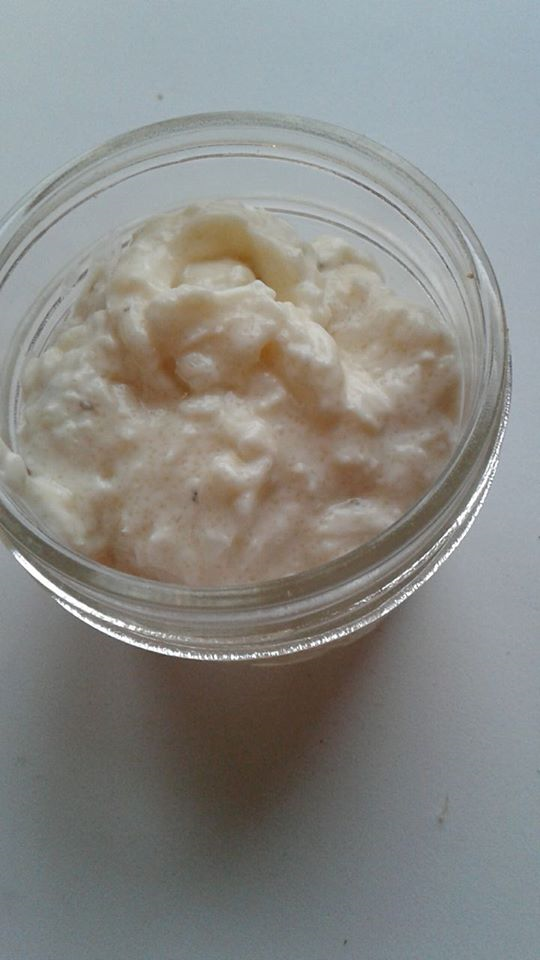
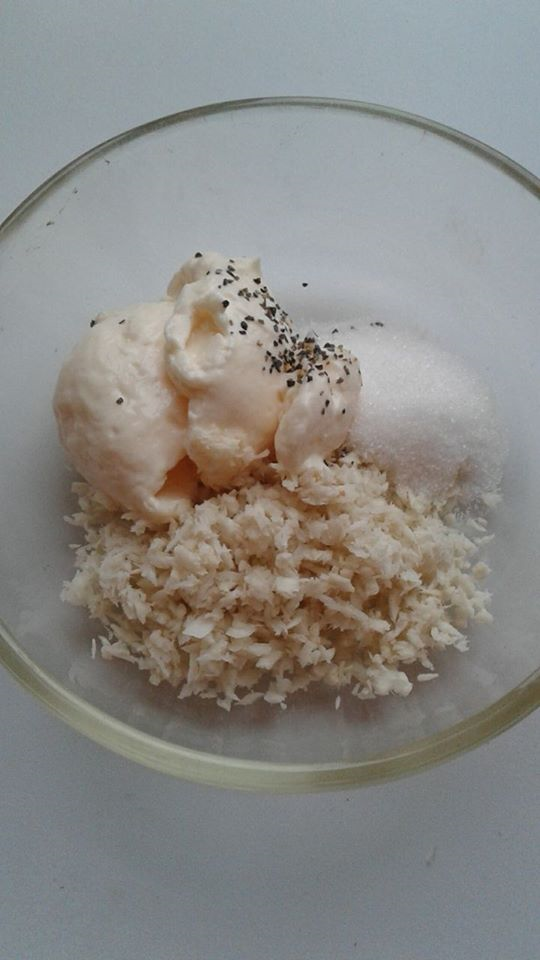
Creamy Horseradish Sauce
- half a cup of freshly grated horseradish
- half a cup of prepared Mayo
- 1/4 tsp of salt, pepper
- 1 tbsp. of sugar (this is something we like but you can skip it if you want)
That’s it folks.. mix it up and put it into jars with lids and into the fridge to meld.. best after it has at least a few hours to a day to meld. In this case, I want it to make a dish that is coming to the blog.
However it works for side relish for meats, including darker meats like beef or wild game. It also works really nicely on sandwiches as a thin spread in replacement of mustard.
Also can mix this in a bit of salad dressing for a added zip to your fall cabbage salad


")
")
")

")
")
")

")

")
")
")

 (2)")
")


")


")

")
")


