Come on in!

Watch out for the puddles, the melt has started.. sorry, can you come in by the farm porch, Mud season has started.. If you want to sit in the living room, give me a moment to take off the covers for all the wet prints from the indoor/outdoor time.
We had a leak on the pipe coming in from the well. Thankfully it decided to tell us about it earlier so we were able to get a repair patch on it before it really hit the spring thaw, the real question is will that patch hold for the whole spring thaw and I am not looking forward to adding that job on our list to do this year.. we will need to move the rocks, clear out yet another one of my gardens(WHY.. shakes fist at the sky) and dig down and repair it from the outside for a longer term fix and while we are at it.. update the seal on the underside.. it is pretty much year 21 since it was made, its the new part on the house, it got its new roof 2017, it will need a new window in 2019 and I guess some repair work as well.
We are not the only one’s the house just across the road up on the hill has had the foundation repair trucks there for a few days this week as well. Its just the year.. the hardware stores says folks are having issues all over the place. Heck, every morning this week, the local radio has had a time set for bringing in the experts, I was all excited this morning when they said they were going to be talking about basement window seeping.. the advice, shovel it away and cut a drainage channel.. ah.. duh.. yes I would if I could..
Thankfully only one window seal in the cellar (we have the old cellar and the newer basement) is seeping, the other two do not have the same snow build up. (And with today’s melt out, its now below the window seal and that means no more seeping there)
Speaking of water and seeping, on the one side of the older roof, we have a lifting happening on the metal roof.. bugger.. that will have to be looked at.. so far its just the one tiny spot where the screws have lifted but it will grow so that at least must get done this weekend.

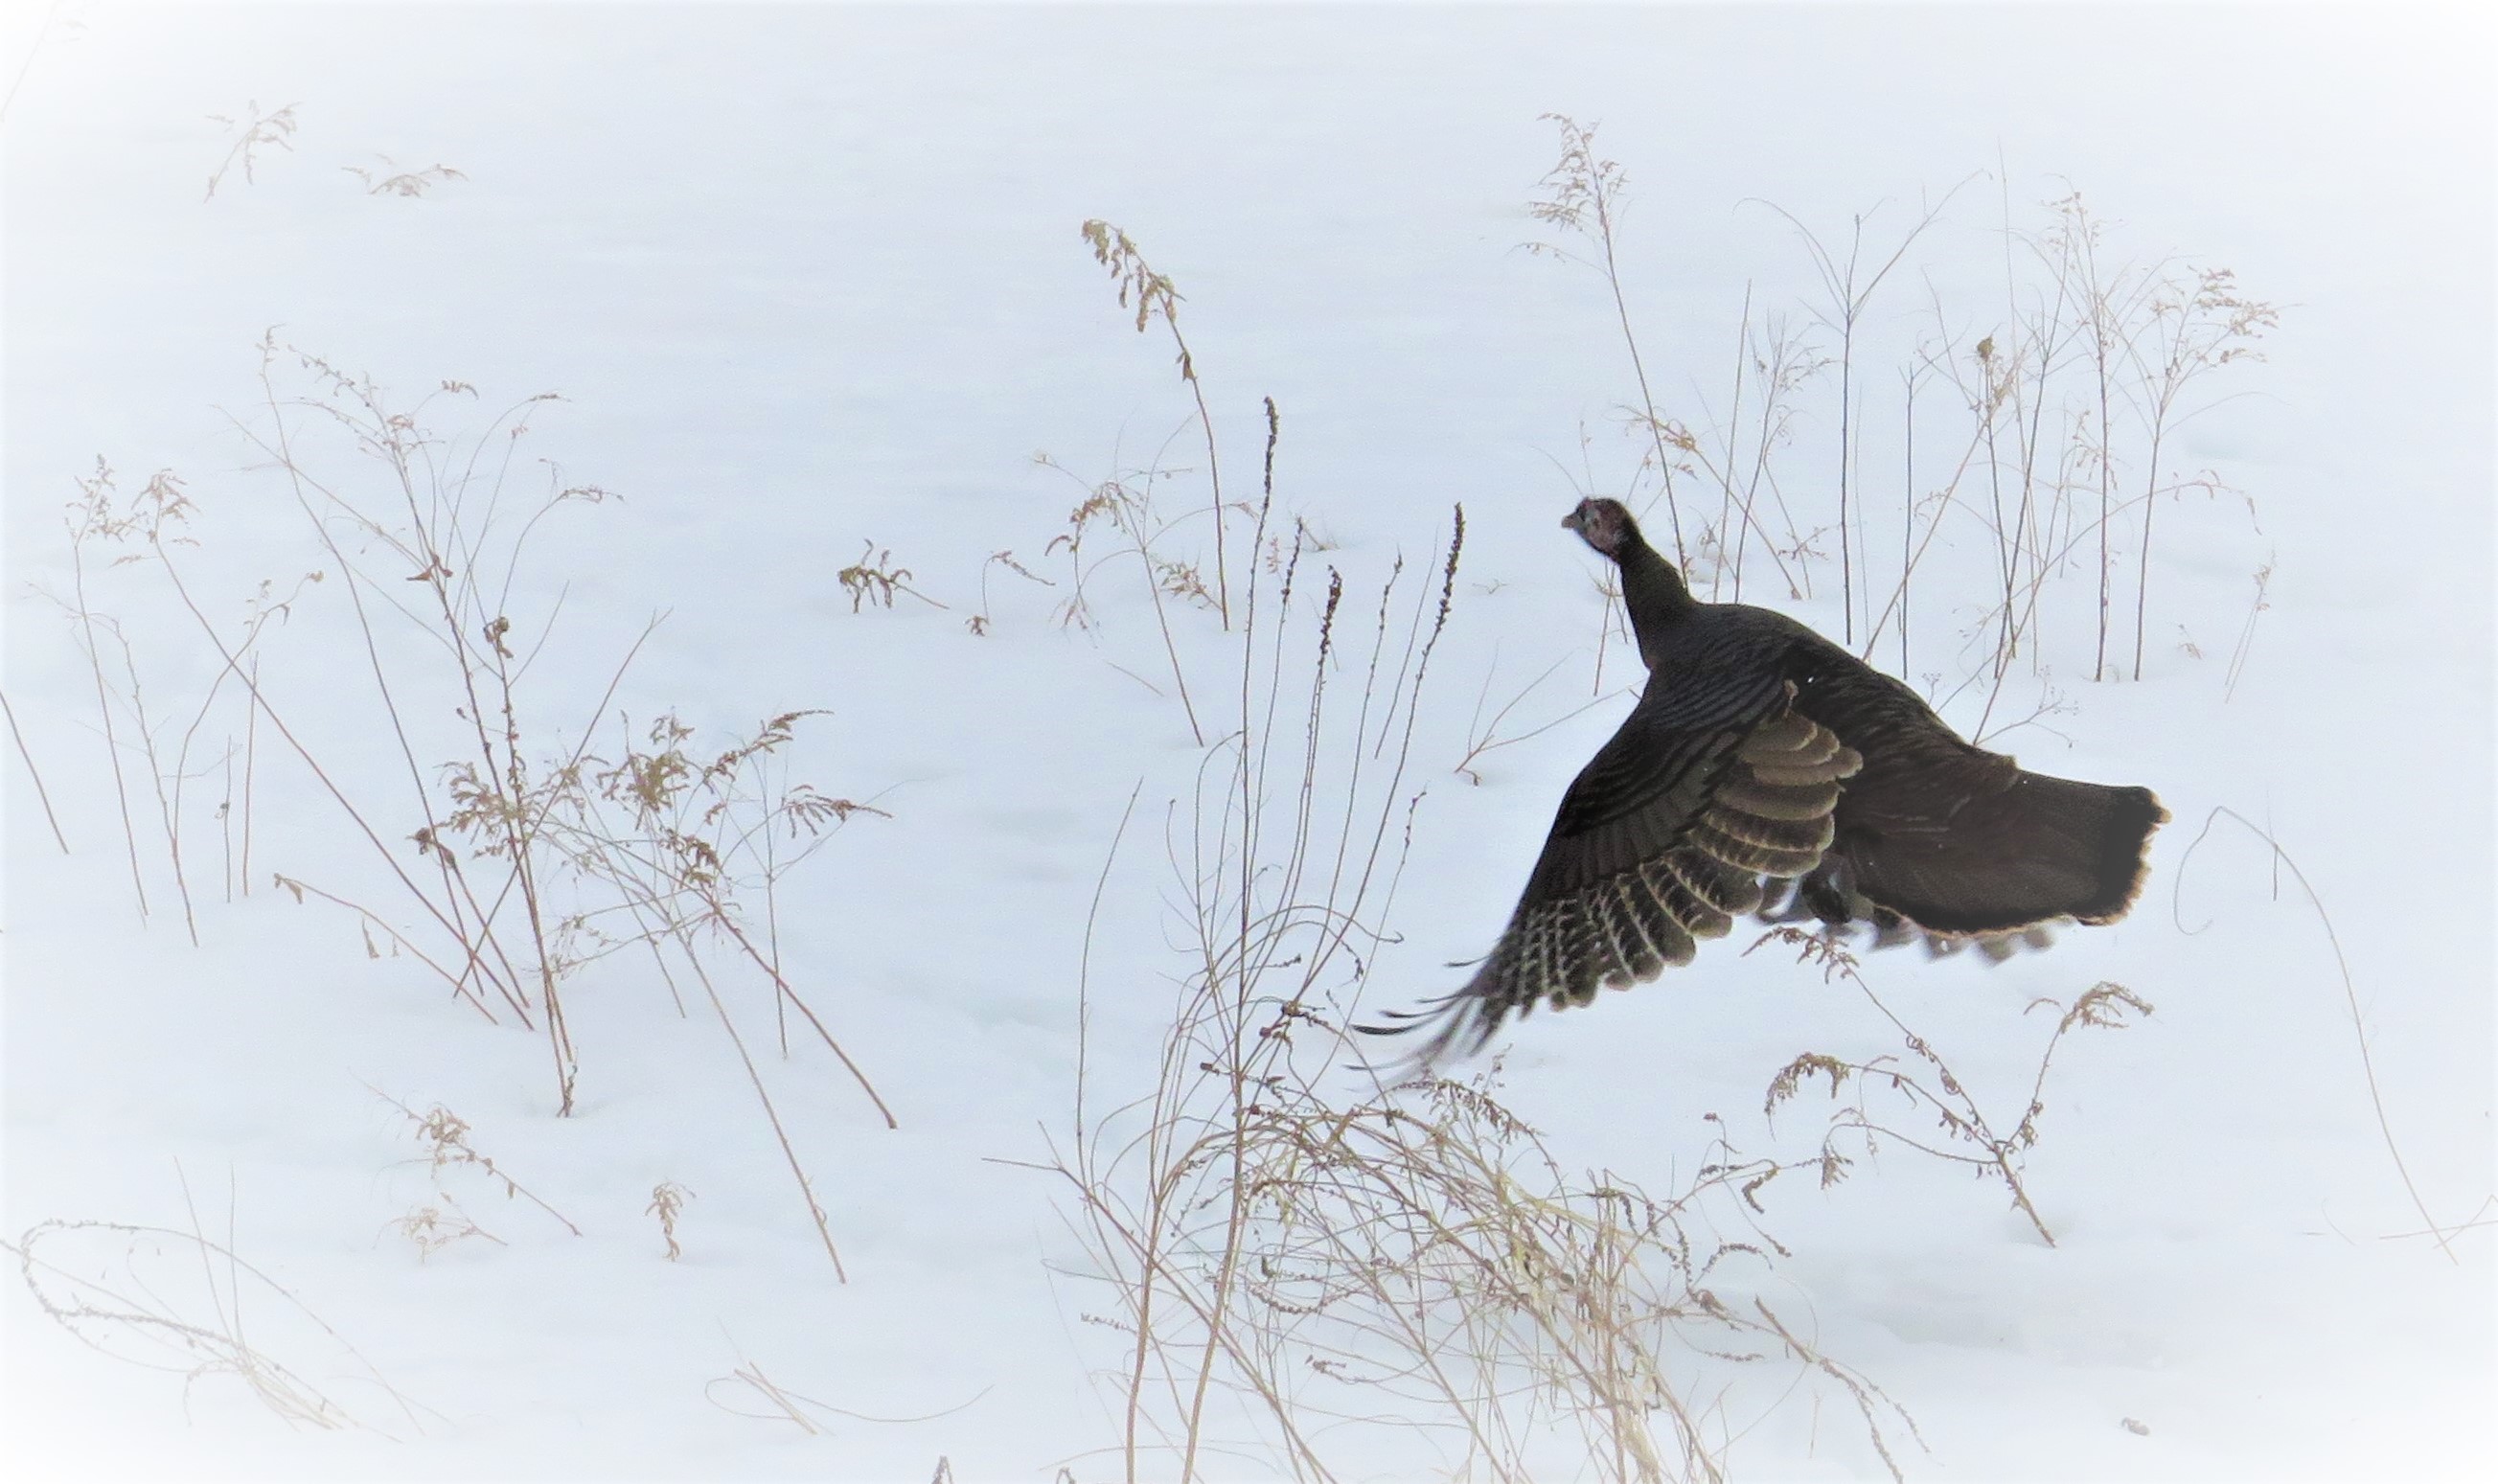
So before we had the melt, we had more snow and they say more is coming yet! We got a solid six inches in the first go and other inch or two on the second.
I am really wanting to get some butchering done this month, I should be already done my first one and showing all kinds of fun things on the blog, but we have a issue.. we can’t get to ground to dig the pit to put the extra’s in. I can’t draw in the crows/ravens or the coons or coy-wolves by trying to do a top coat and cover, they will just dig it out.. It really important that its properly down and if we could get under the snow pack, the ground itself can normally be quite able to be dug right now.
Its still very much on my list.. a few things will be cleaned up to a point and then some frozen and then use the mealworms to help clean them up for other uses.
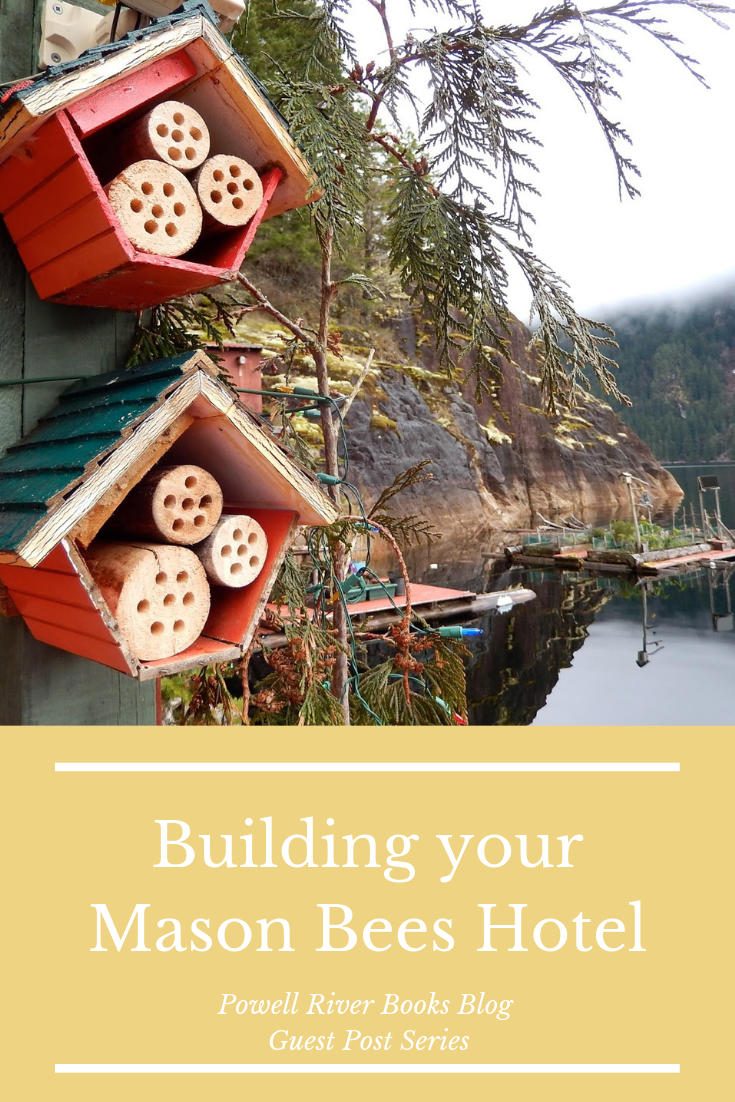
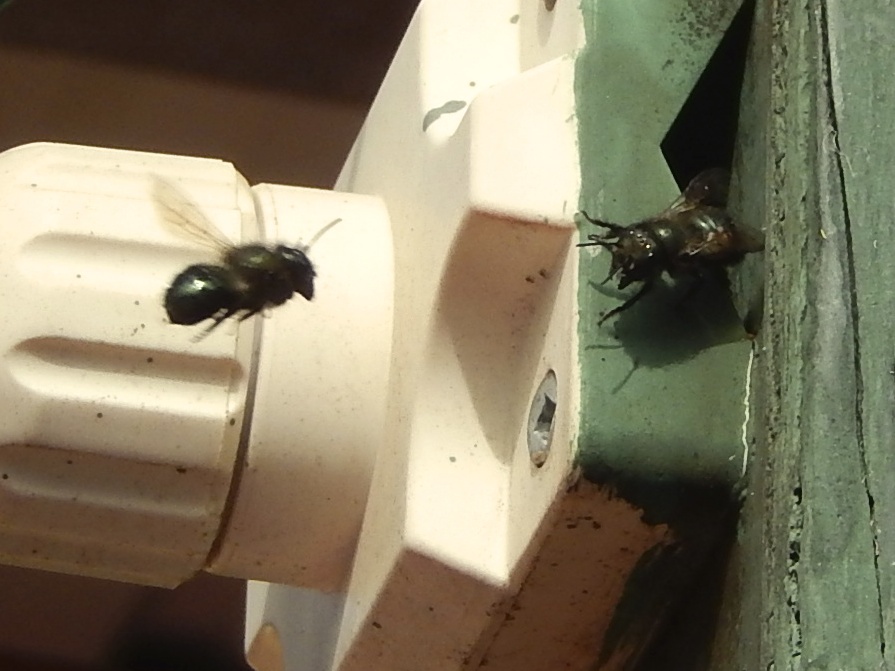
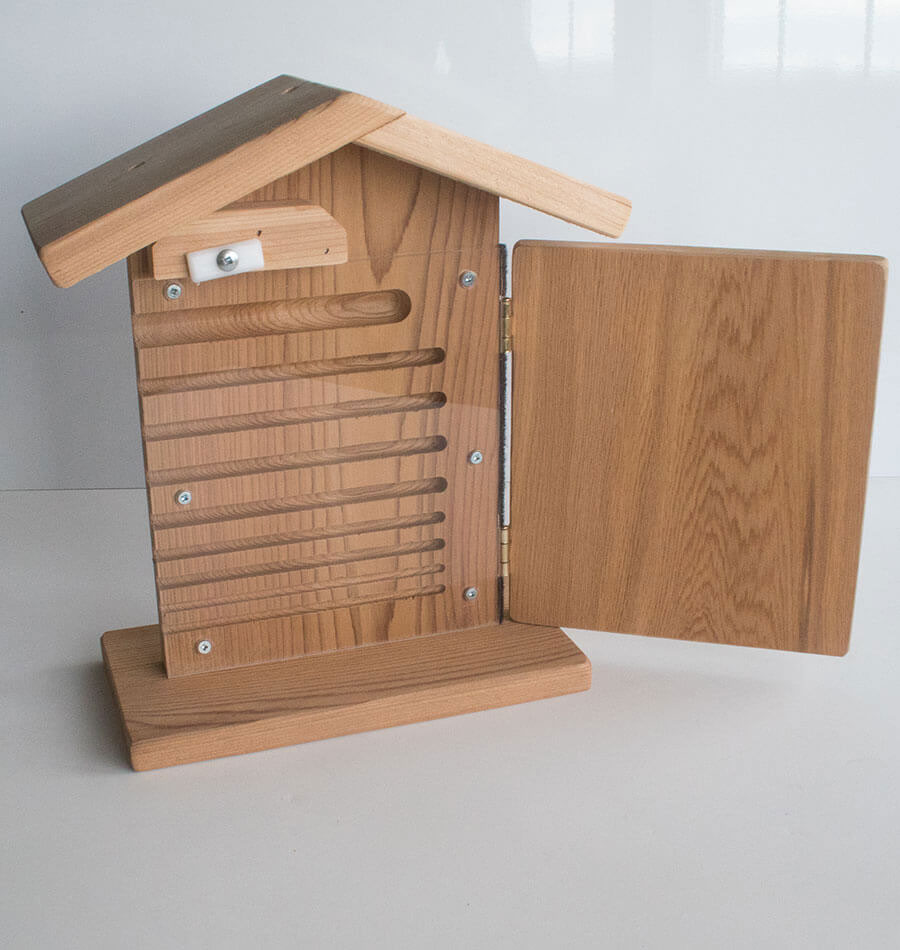
I am excited about trailing a number of different mason bee housing types and for a coming guest post series in regards to their Mason bee’s and houses/homes. I think it will be very interesting for you guys as well.

So I had had joined a homestead/green living group and I have been learning this and that, some things I like and other things I have struggled with but I have pushed myself to learn more things and try new things.. somethings got a trial and then I went nope.. other things are taking a slower more careful.. hmm.
It was interesting when I have been talking to someone and I went I can help with that and at the end of it, I laughed and went look at that, I was paying attention! I will be trying few more things and we will see if they stick or go to the side..
I opened up some classes this week and made the events pages on the Just another farm facebook page and I was thrilled that my Cold Process Soap Making Class filled up and was fully booked within 24 hours.
I will be promoting the other ones at some point here on the blog for locals and I am now at the half way point on the Master Rain Gardener Class and its keeping me busy on learning and homework that’s for sure.
I have been working on my new business cards, labels and so forth, my order is shipped and I am quietly working behind the scenes getting things ready for the launch of Farmgal’s Spring Soap and Salve Collection.
I am learning how to work Zoom and I am building my first “online course” which is taking me way longer then expected but I promise you even if it takes me a good while yet, my “Farmgal’s Adapting in Place” based on C5 Dark Green Mountain Research Center’s Adapters Series.
It will hold to his core values but will have my own spin on it, with my own examples and idea’s, and in keeping with working as a community, I will not be offering it as e-book, I will be offering it as a multi weekly gathering where you can see me, hear my voice, interact live asking questions and with follow up in a working facebook group for those that are interested in it. Its a work in progress.. wish me luck on it! Please 🙂
There are moments it seems simple and then there are times I spend far more time then I want to admit re-reading C5’s words and then mine. I know that it will have my voice but I really want to make sure it stays true!
I am thinking of doing a small test run on using Zoom with a shorter subject and hopefully a few of you will be willing to give me a helping hand and be my beta testers when the time comes.
That’s a Wrap for Today!


")


")
")

")


")
 (2)")
")
")

")
")
")

")
")
")
")
")

