
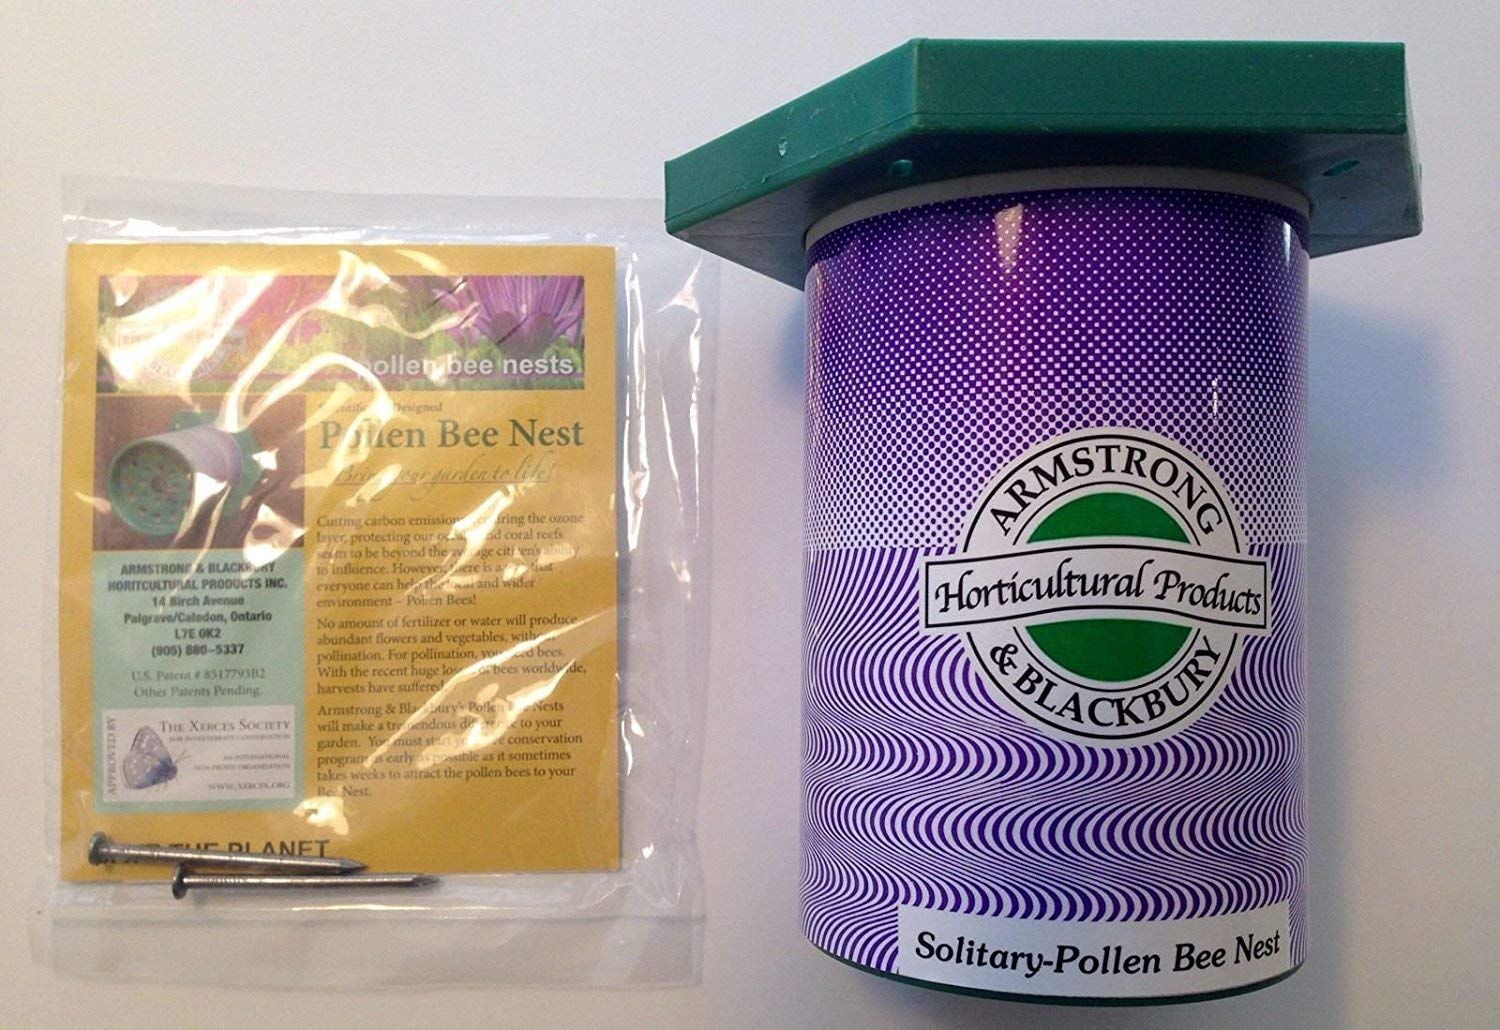
 These readily available houses will cost around 20 dollars and can be found at local garden centers as well as online.. I picked up a number of them, some for ourselves on the farm and some for placement in some of our “guest gardens”
We put up three of them this past sunday and we learned a few things quickly.. that I would like to share today to save folks some trouble down the road
- Forget about those nails that came in the package.. please just put them to the side and get out your screws and your powered drill. There is a couple reasons for this…
- Lets talk about the biggest one, there is a slot of the nails, which is pre-done which is awesome but when you place your item on the angle with the wooden wide marking pencil that is recommended to get your required angle so that water can not come in the house.. your nail come out on a angle and are pretty much useless at trying to get them to nail in straight..
- The next reason is that when you use your hammer on the nail, the filling in the tube starts moving and falling out of the tubes, this CAN NOT be a good thing!
- The third reason is you are going to need a 3rd screw that will be used on the bottom of the base to create stability.
- Angle and movement : The angle is required because unlike the bigger wooden houses, there is no cover, no real edge to this house, so they count on you putting it up with a angle being created, however as soon as you get that to happen on the top properly, the bottom becomes a swing feast. Every single book or site says.. these MUST be stable.. that the bee’s hate when there is movement in the nest or house..
- So take a third Screw and self-drill it though the plastic base and into your wooden base to that the house is in fact stable! (I expect that this is a cause of a number of the reports of they will not use this house)
- Forget about putting these up rounded posts or tree’s! I had picked out a tree that was highly trimmed up in one spot, turns out the truck was a slight angle and nothing we could do would fix the angle needed to keep the water out of the house.. nope.. can’t put that there!
- I had a nice big old fence post in the one area of a garden that I wanted one on.. nope.. a standard fence post is not wide enough to hold those nails (yes we were still on nails at that point) .. We had to screw in a board, attach it, and then screw in the Bee house onto the flat board.. I will have to figure out how to make it look a bit better at some point.
- If you can look for a totally flat surface to attach these to, great if you wanted to have more creative placement, be prepared that you might have to build and attach that flat surface before you can put up the bee house.
So that’s as far as we got.. three up.. at least four different placements that didn’t work but were a learning curve at least.. I can see myself fading these out and replacing them with the bigger cedar houses (which I have gotten as well for trailing this year)..
I know that the one house by the deck is within six feet of hatching Mason bees and I am making myself not harvest anything that might be feeding them in what will be my kitchen garden to be until most feeding sources come up and get moving in the yard.
Its a cool slow start to the spring.. we will keep a close eye on these houses and see how they do though the season and so forth, I will report back on the other two types of houses that will be put up by Easter weekend.
So far, they are a 3 out of 5.. losing two full points for the reason’s given above! Maybe they will earn some of that back over the coming season.. we will see..


")
")

")
 (2)")
")

")
")
")

")


")
")

")

")
")

")


")

